COMPUTER INPUT
Display area
Selects area displayed with this projector. Select the resolution at Display area dialog box.
Display area H
Adjustment of horizontal area displayed with this projector. Press POINT LEFT/RIGHT button(s) to decrease/increase value to match the resolurtion of image.
Display area V
Adjustment of vertical area displayed with this projector. Press POINT LEFT/RIGHT button(s) to decrease/increase value to match the resolurtion of image.
Full screen
Press POINT LEFT/RIGHT button(s) to switch Full screen function to “On” or “Off.” Set “On” to resize the image with 4 x 3 aspect ratio to fit the screen.
NOTE : Fine sync, Total dots, Display area (H/V) and Full screen cannot be adjusted when “1035i (HDTV)” or “1080i (HDTV)” is selected on PC SYSTEM Menu (P22).
3 Store
To store adjustment parameters, move a red frame pointer to Store icon and then press SELECT button. Move a red arrow pointer to any of Mode 1 to 5 that you want to store to and then press SELECT button.
Mode free
To clear adjustment parameters previously set, move a red frame pointer to Mode free icon and then SELECT button. Move a red arrow pointer to the Mode that you want to clear and then press SELECT button.
Other icons operates as follows.
Reset
Reset all adjust parameters on adjustment dialog box to previous figure.
Quit
Closes PC ADJUST MENU.
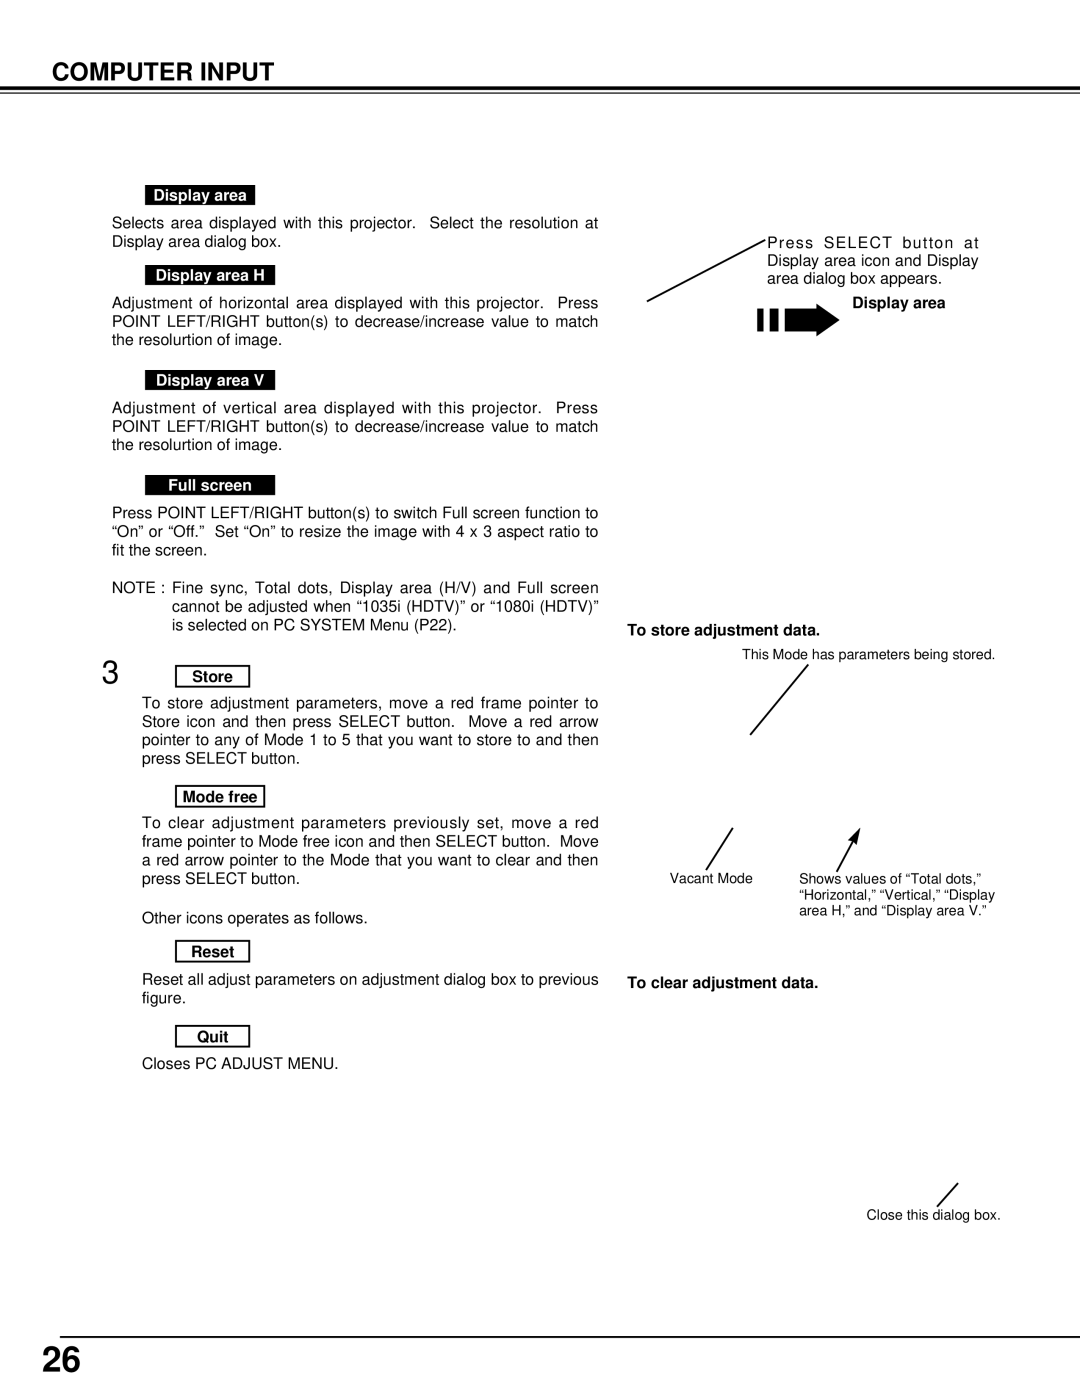
Press SELECT button at Display area icon and Display area dialog box appears.
Display area
To store adjustment data.
This Mode has parameters being stored.
Vacant Mode Shows values of “Total dots,” “Horizontal,” “Vertical,” “Display area H,” and “Display area V.”
To clear adjustment data.
Close this dialog box.
26
