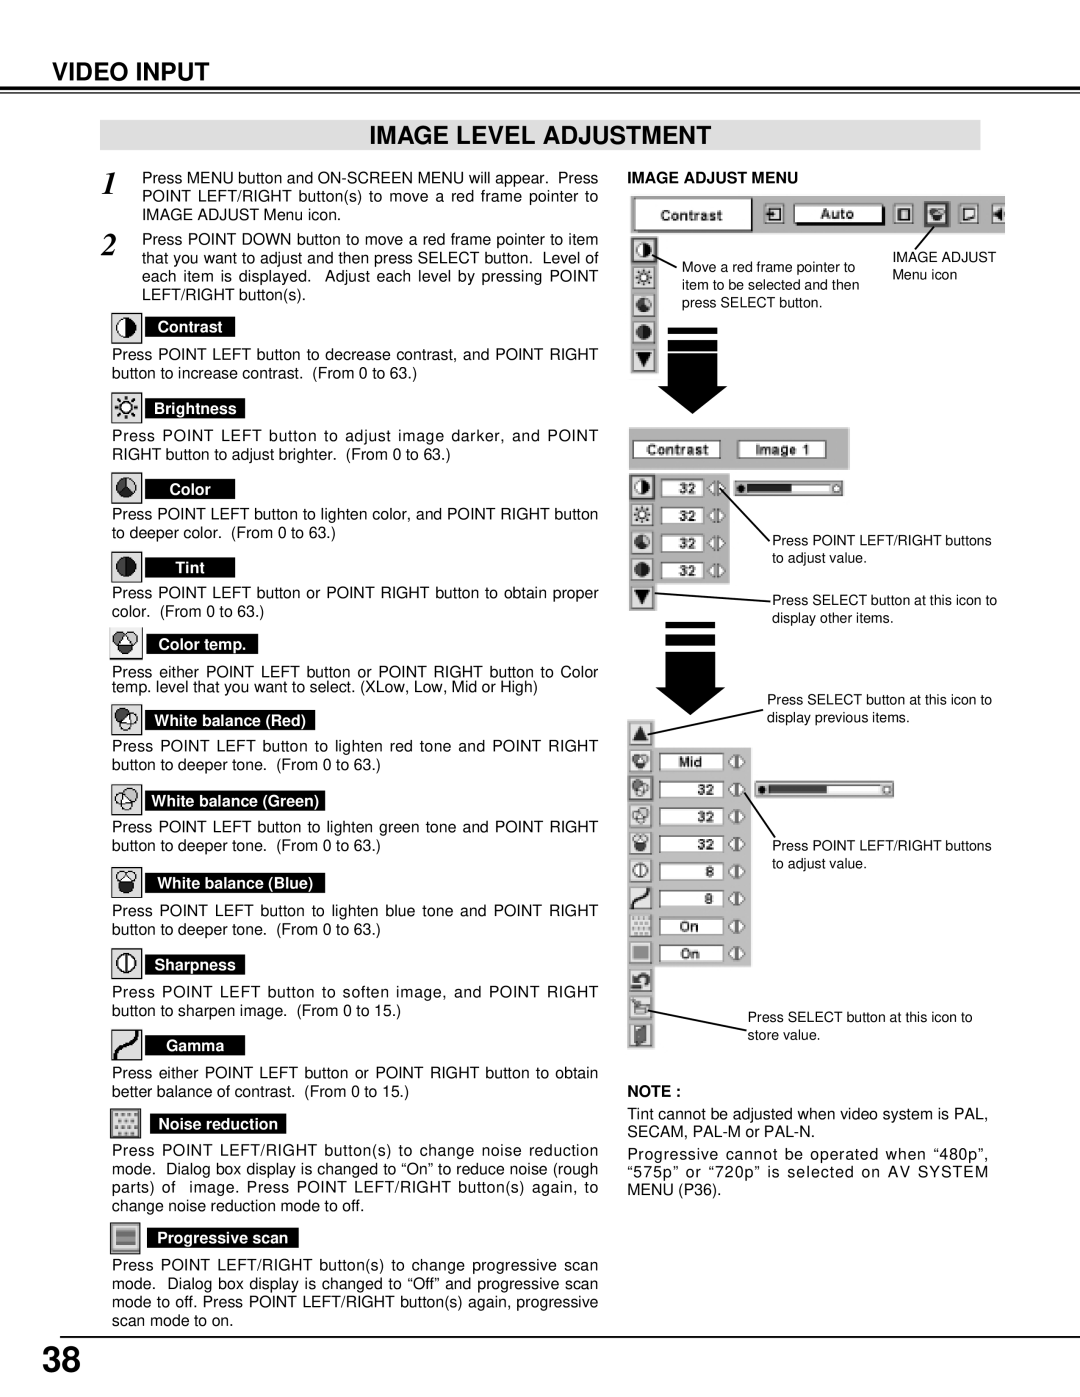
LC-XT3 specifications
The Eiki LC-XT3 is a cutting-edge multimedia projector designed for a wide range of applications, including corporate presentations, educational environments, and home theater setups. This projector embodies a combination of advanced technology and user-friendly features, making it a versatile option for anyone in need of high-quality visual displays.One of the standout features of the LC-XT3 is its impressive brightness rating of 5,500 ANSI lumens. This level of brightness ensures that images remain clear and vibrant even in well-lit environments, making it an ideal choice for conference rooms or classrooms where ambient light cannot be controlled. The projector also boasts a high contrast ratio of 10,000:1, which delivers deep blacks and vivid colors, enhancing overall image clarity.
It utilizes 3LCD technology, which is well-known for its ability to produce rich, accurate colors and sharp images. This technology works by projecting red, green, and blue light simultaneously, eliminating the rainbow effect often seen in single-chip projectors. This results in smoother, more natural color transitions, making it particularly advantageous for displaying detailed images or videos.
The LC-XT3 supports a range of resolutions, with WUXGA (1920 x 1200) being the native resolution, allowing for the projection of high-definition content. This projector also has the capability to handle 4K input signals, making it future-proof for users who wish to display ultra-high-definition content.
Connectivity is another area where the LC-XT3 excels. It features multiple input options, including HDMI, VGA, and USB ports, making it compatible with various devices, from laptops to streaming devices. This projector also includes a built-in wireless function, allowing for seamless presentations without the need for cumbersome cables.
For added convenience, the LC-XT3 comes equipped with an intuitive, user-friendly interface. It has a built-in speaker that provides adequate sound quality for presentations or small gatherings, while the included remote control allows for easy navigation of settings and features from a distance.
Durability is a key aspect of the Eiki LC-XT3, with a long lamp life of up to 20,000 hours in eco mode, ensuring lower maintenance costs and fewer interruptions during use. This makes it an economical choice for businesses and educational institutions alike.
In summary, the Eiki LC-XT3 is a powerful, versatile projector that meets the needs of various settings with its high brightness, excellent color accuracy, and extensive connectivity options. Its combination of advanced technology and user-friendly design positions it as a leading choice in the multimedia projector market.

