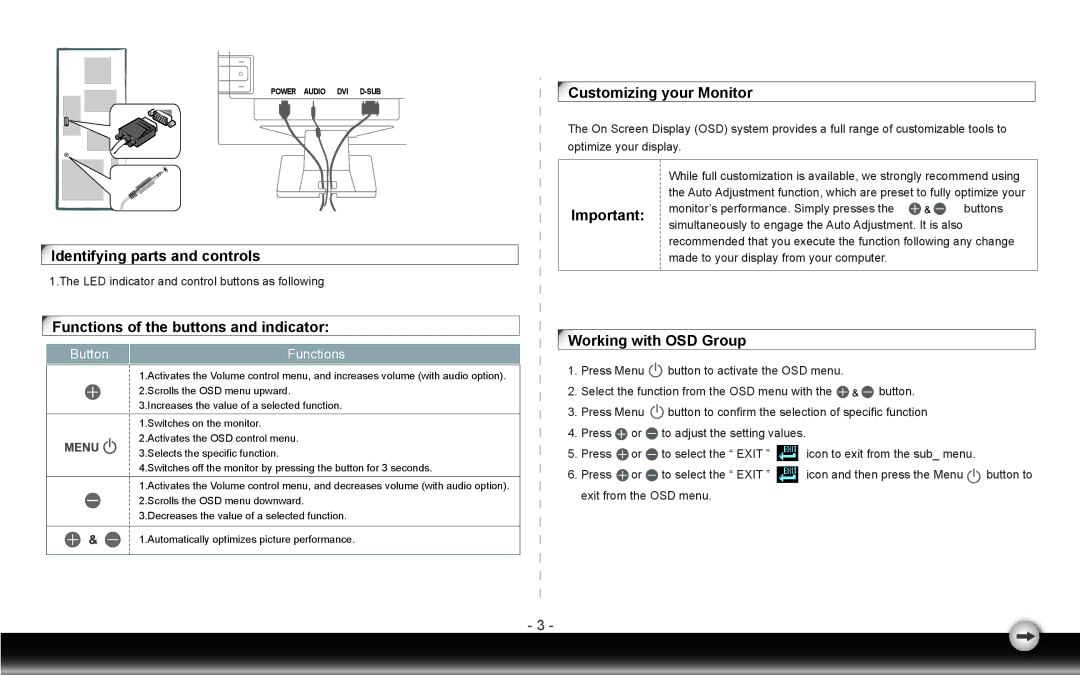
POWER AUDIO DVI
Identifying parts and controls
1.The LED indicator and control buttons as following
Functions of the buttons and indicator:
ButtonFunctions
1.Activates the Volume control menu, and increases volume (with audio option). 2.Scrolls the OSD menu upward.
3.Increases the value of a selected function.
| 1.Switches on the monitor. | |
MENU | 2.Activates the OSD control menu. | |
3.Selects the specific function. | ||
| ||
| 4.Switches off the monitor by pressing the button for 3 seconds. |
1.Activates the Volume control menu, and decreases volume (with audio option). 2.Scrolls the OSD menu downward.
3.Decreases the value of a selected function.
1.Automatically optimizes picture performance.
Customizing your Monitor
The On Screen Display (OSD) system provides a full range of customizable tools to optimize your display.
| While full customization is available, we strongly recommend using | |
| the Auto Adjustment function, which are preset to fully optimize your | |
Important: | monitor’s performance. Simply presses the | buttons |
simultaneously to engage the Auto Adjustment. It is also |
| |
|
| |
| recommended that you execute the function following any change | |
| made to your display from your computer. |
|
|
|
|
Working with OSD Group
1.Press Menu ![]() button to activate the OSD menu.
button to activate the OSD menu.
2.Select the function from the OSD menu with the ![]()
![]()
![]() button.
button.
3.Press Menu ![]() button to confirm the selection of specific function
button to confirm the selection of specific function
4.Press ![]() or
or ![]() to adjust the setting values.
to adjust the setting values.
5.Press ![]() or
or ![]() to select the “ EXIT ”
to select the “ EXIT ” ![]() icon to exit from the sub_ menu.
icon to exit from the sub_ menu.
6.Press ![]() or
or ![]() to select the “ EXIT ”
to select the “ EXIT ” ![]() icon and then press the Menu
icon and then press the Menu ![]() button to exit from the OSD menu.
button to exit from the OSD menu.
- 3 -