INSTALLATION INSTRUCTIONS FOR THE SS13 Wireless Wall Switch
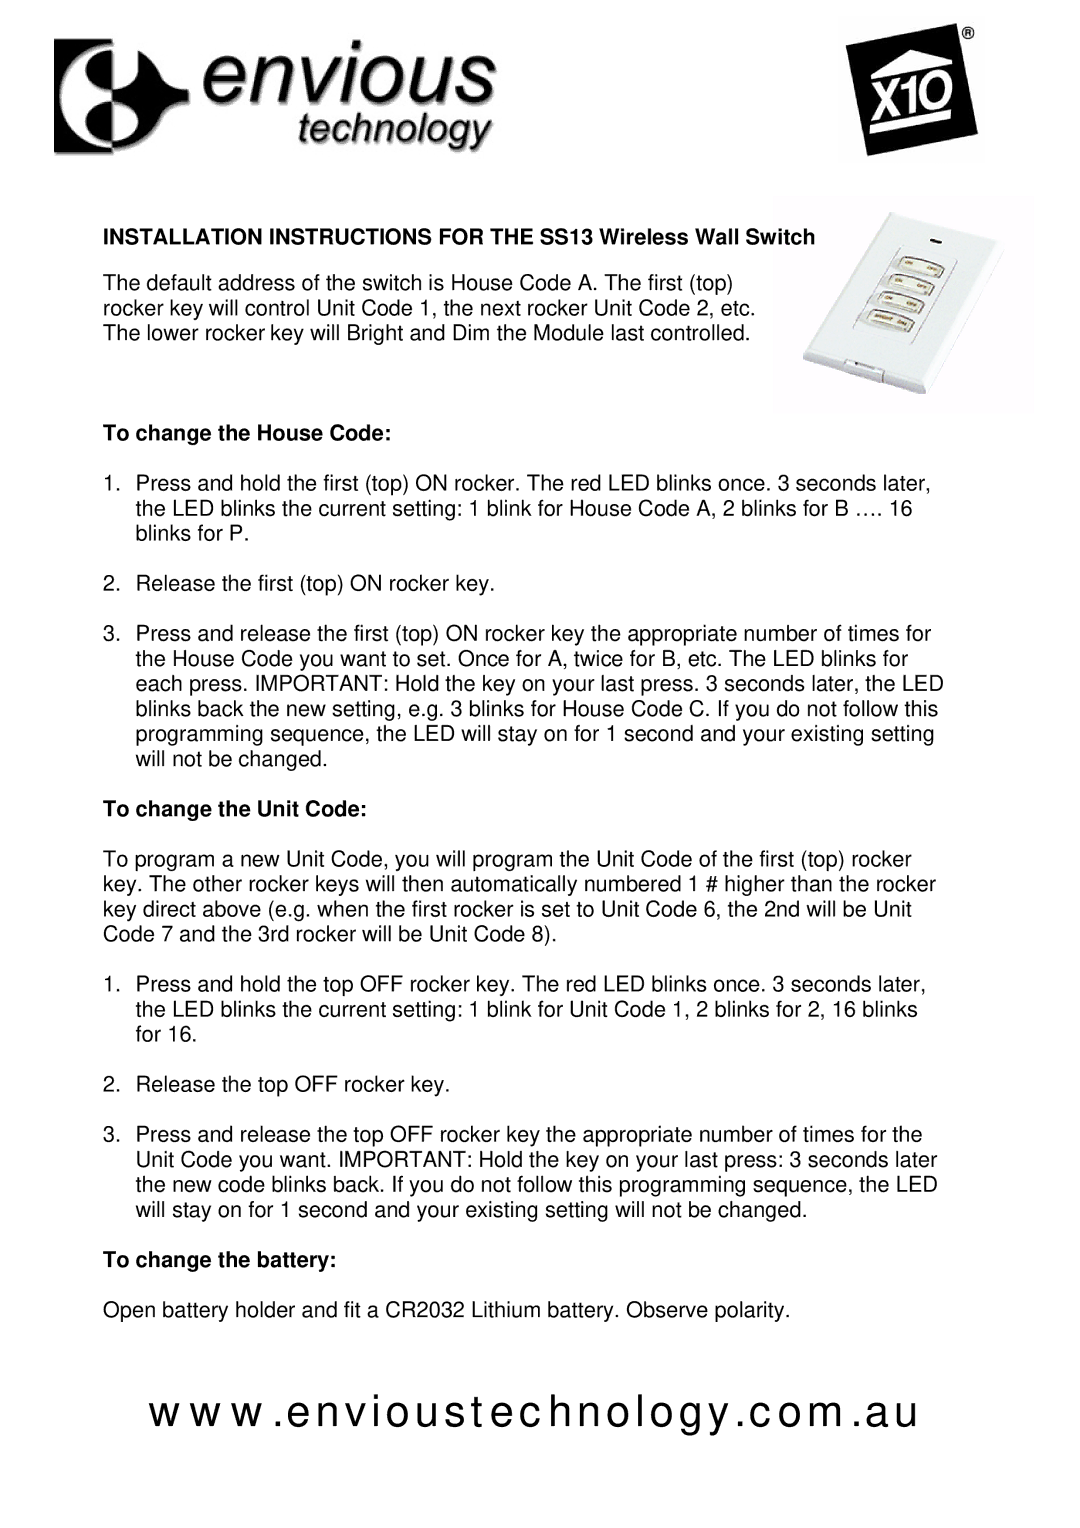
The default address of the switch is House Code A. The first (top) rocker key will control Unit Code 1, the next rocker Unit Code 2, etc. The lower rocker key will Bright and Dim the Module last controlled.
To change the House Code:
1.Press and hold the first (top) ON rocker. The red LED blinks once. 3 seconds later, the LED blinks the current setting: 1 blink for House Code A, 2 blinks for B …. 16 blinks for P.
2.Release the first (top) ON rocker key.
3.Press and release the first (top) ON rocker key the appropriate number of times for the House Code you want to set. Once for A, twice for B, etc. The LED blinks for each press. IMPORTANT: Hold the key on your last press. 3 seconds later, the LED blinks back the new setting, e.g. 3 blinks for House Code C. If you do not follow this programming sequence, the LED will stay on for 1 second and your existing setting will not be changed.
To change the Unit Code:
To program a new Unit Code, you will program the Unit Code of the first (top) rocker key. The other rocker keys will then automatically numbered 1 # higher than the rocker key direct above (e.g. when the first rocker is set to Unit Code 6, the 2nd will be Unit Code 7 and the 3rd rocker will be Unit Code 8).
1.Press and hold the top OFF rocker key. The red LED blinks once. 3 seconds later, the LED blinks the current setting: 1 blink for Unit Code 1, 2 blinks for 2, 16 blinks for 16.
2.Release the top OFF rocker key.
3.Press and release the top OFF rocker key the appropriate number of times for the Unit Code you want. IMPORTANT: Hold the key on your last press: 3 seconds later the new code blinks back. If you do not follow this programming sequence, the LED will stay on for 1 second and your existing setting will not be changed.
To change the battery:
Open battery holder and fit a CR2032 Lithium battery. Observe polarity.
www.envioustechnology.com.au
