Printer Accessories specifications
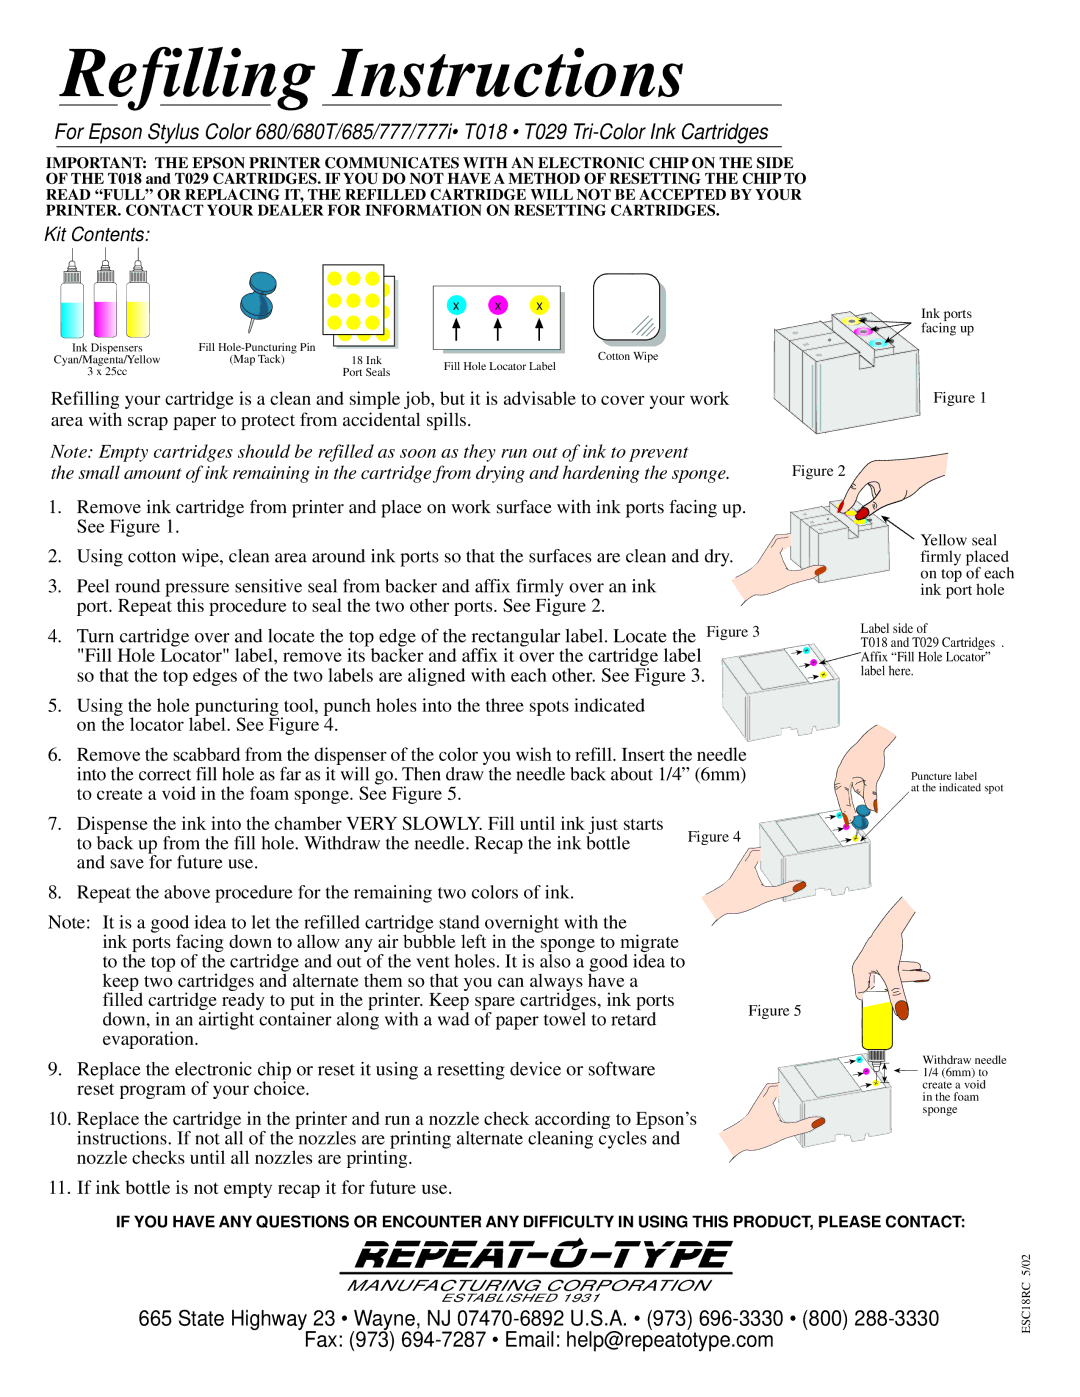
Epson printers are renowned for their reliability, performance, and quality, and a range of accessories is available to enhance their functionality and usability. Understanding the various Epson printer accessories can help users maximize the benefits of their printing solutions.One of the most essential accessories is the ink cartridge. Epson offers several types of cartridges, including standard and high-capacity options. High-capacity cartridges allow for longer print runs without the need for frequent replacements, which is particularly beneficial for high-volume printing environments. Epson’s EcoTank line of printers drastically reduces ink costs with refillable tanks that can print thousands of pages before needing more ink, making it an economical choice for both home and office users.
Another critical accessory is the paper type. Epson provides a wide array of papers, including photo paper, fine art paper, and plain paper, tailored for different printing needs. Their specialty papers are designed to deliver optimal performance, enhancing the vibrancy and clarity of printed images. Users can also find packs specifically for double-sided printing, ensuring high quality on both sides of the page.
For those needing to print photos or large documents, Epson offers a variety of scanners and all-in-one printers that incorporate advanced scanning technologies. Features such as high-resolution scanning, automatic document feeders, and wireless connectivity improve efficiency and versatility, allowing users to digitize documents easily or print from mobile devices.
Epson also provides various maintenance accessories, including print head cleaning kits and maintenance boxes. Regular maintenance is vital for ensuring print quality and extending the life of the printer. These accessories help clean the print heads, preventing clogs and ensuring consistent ink flow.
For enhanced connectivity, Epson’s range of wireless printing solutions allows users to print directly from smartphones, tablets, or laptops. Technologies like Wi-Fi Direct and NFC enhance the ease of printing, enabling users to establish connections without needing a network.
In addition to these, Epson printers can be outfitted with advanced features like automatic duplexing and borderless printing. These characteristics promote efficiency and versatility, making them ideal for professional and personal projects alike.
In conclusion, Epson printer accessories significantly enhance printing capabilities, providing users with options for ink efficiency, paper quality, and overall device performance. By choosing the right accessories, users can ensure their Epson printers deliver top-notch results for any printing task.

