OPERATING INSTRUCTIONS

OPERATING INSTRUCTIONS

Components

Power “On” Light (red): This light will illuminate when the unit is plugged into the 120V. wall outlet. This light will cycle on and off with the steam ready light.

CAUTION: Read the instructions for “Filling the Water Tank” before opening the Safety Cap.

CAUTION: Always unplug before filling. ALLOW UNIT TO

COOL FOR FIFTEEN (15) MINUTES BEFORE REFILLING.

IMPORTANT: Do NOT add cleaning solutions, scented perfumes, oils or any other chemicals to the water used in this appliance. Use tap water or distilled/purified water if the tap water in your area is very hard.

Filling or Refilling Your Steam Cleaner With Water

IMPORTANT: Always insure that the unit is “UNPLUGGED” from the wall receptacle prior to initial filling or re-filling the water tank and has been allowed to cool for 15 minutes. Never attempt to fill this unit under a water tap, always use the filling funnel provided.

Step 1: Before refilling the steam cleaner, make sure that the unit is NOT plugged in and has been allowed to cool for fifteen (15) minutes.

Step 2: Plug the power cord in to an electrical outlet and press the steam switch on the hand grip to the “ON” position to vent of any residual steam that is in the boiler.

Step 3: Remove the power cord from the electrical outlet and turn the steam switch on the hand grip to the “OFF” position.

Step 4: Place the unit on a flat, stable surface. Slowly turn the safety filler cap counter clockwise until it is removed.

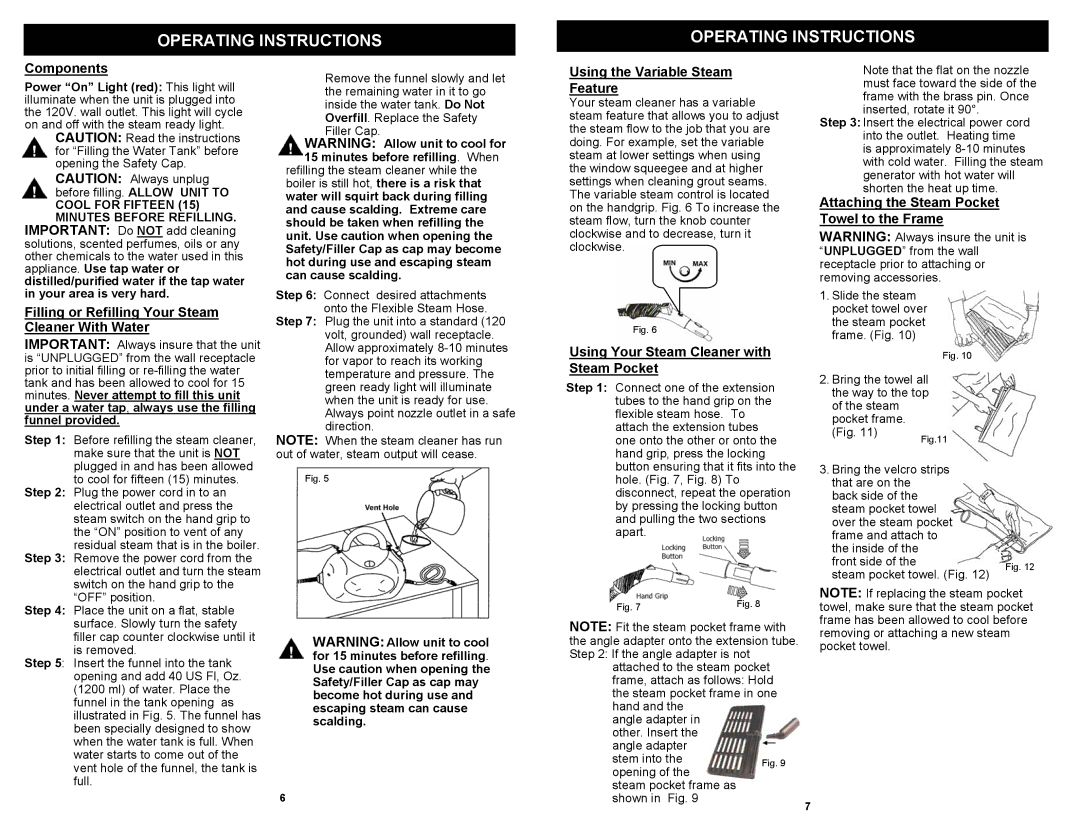
Step 5: Insert the funnel into the tank opening and add 40 US Fl, Oz. (1200 ml) of water. Place the funnel in the tank opening as illustrated in Fig. 5. The funnel has been specially designed to show when the water tank is full. When water starts to come out of the vent hole of the funnel, the tank is full.

Remove the funnel slowly and let the remaining water in it to go inside the water tank. Do Not Overfill. Replace the Safety Filler Cap.

WARNING: Allow unit to cool for 15 minutes before refilling. When

refilling the steam cleaner while the boiler is still hot, there is a risk that water will squirt back during filling and cause scalding. Extreme care should be taken when refilling the unit. Use caution when opening the Safety/Filler Cap as cap may become hot during use and escaping steam can cause scalding.

Step 6: Connect desired attachments onto the Flexible Steam Hose.

Step 7: Plug the unit into a standard (120 volt, grounded) wall receptacle. Allow approximately 8-10 minutes for vapor to reach its working temperature and pressure. The green ready light will illuminate when the unit is ready for use. Always point nozzle outlet in a safe direction.

NOTE: When the steam cleaner has run out of water, steam output will cease.

Fig. 5

WARNING: Allow unit to cool for 15 minutes before refilling.

Use caution when opening the Safety/Filler Cap as cap may become hot during use and escaping steam can cause scalding.

6

Using the Variable Steam

Feature

Your steam cleaner has a variable steam feature that allows you to adjust the steam flow to the job that you are doing. For example, set the variable steam at lower settings when using the window squeegee and at higher settings when cleaning grout seams. The variable steam control is located on the handgrip. Fig. 6 To increase the steam flow, turn the knob counter clockwise and to decrease, turn it clockwise.

Fig. 6

Using Your Steam Cleaner with Steam Pocket

Step 1: Connect one of the extension tubes to the hand grip on the flexible steam hose. To attach the extension tubes one onto the other or onto the hand grip, press the locking button ensuring that it fits into the hole. (Fig. 7, Fig. 8) To disconnect, repeat the operation by pressing the locking button and pulling the two sections apart.

Fig. 7

Fig. 8


NOTE: Fit the steam pocket frame with the angle adapter onto the extension tube. Step 2: If the angle adapter is not

attached to the steam pocket frame, attach as follows: Hold the steam pocket frame in one hand and the

angle adapter in the other. Insert the angle adapter

stem into theFig. 9 opening of the

steam pocket frame as shown in Fig. 9

7

Note that the flat on the nozzle must face toward the side of the frame with the brass pin. Once inserted, rotate it 90°.

Step 3: Insert the electrical power cord into the outlet. Heating time is approximately 8-10 minutes with cold water. Filling the steam generator with hot water will shorten the heat up time.

Attaching the Steam Pocket Towel to the Frame

WARNING: Always insure the unit is “UNPLUGGED” from the wall receptacle prior to attaching or removing accessories.

1.Slide the steam pocket towel over the steam pocket frame. (Fig. 10)

Fig. 10

2.Bring the towel all the way to the top of the steam pocket frame.

(Fig. 11)

Fig.11


3. Bring the velcro strips


that are on the


back side of the


steam pocket towel


over the steam pocket


frame and attach to


the inside of the


front side of the


Fig. 12

steam pocket towel. (Fig. 12)


NOTE: If replacing the steam pocket towel, make sure that the steam pocket frame has been allowed to cool before removing or attaching a new steam pocket towel.

Page 8
Image 8
Euro-Pro EP922HA Components, Filling or Refilling Your Steam Cleaner With Water, Using the Variable Steam Feature

EP922HA specifications

The Euro-Pro EP922HA is a versatile and innovative handheld vacuum cleaner designed to provide efficient cleaning solutions while offering a range of features that enhance usability and performance. This model is particularly popular among homeowners looking for a reliable and powerful vacuum that can handle various cleaning tasks seamlessly.

One of the standout features of the Euro-Pro EP922HA is its powerful suction capability, which is made possible by its advanced motor technology. The vacuum is designed to capture dirt, dust, and debris from multiple surfaces, including carpets, hardwood floors, and upholstery. Users appreciate its ability to pick up even the most stubborn particles, ensuring a thorough clean throughout their living spaces.

The Euro-Pro EP922HA boasts a lightweight and ergonomic design, making it easy to maneuver and carry. Weighing just a few pounds, it minimizes user fatigue during extended cleaning sessions. The convenient handle with an easy-to-grip texture promotes comfort and control, allowing users to navigate tight spaces and reach high areas without strain.

Another significant aspect of this vacuum is its bagless technology. Equipped with a large dust cup, the Euro-Pro EP922HA allows for easy emptying and cleaning, eliminating the need for purchasing replacement bags. This feature not only saves users money over time but also contributes to a more environmentally friendly cleaning option. The dust cup is easily removable and washable, ensuring hygienic disposal of collected debris.

The vacuum includes multiple attachments, such as crevice tools and brushes, catering to various cleaning needs. These tools enable users to clean intricate areas, such as corners and upholstery, with optimal efficiency. With the flexibility of switching between attachments, the Euro-Pro EP922HA can adapt to different cleaning situations, enhancing its utility.

Filtration is another critical characteristic of the Euro-Pro EP922HA. It incorporates a high-efficiency particulate air (HEPA) filter that captures allergens and fine particles, making it an excellent choice for allergy sufferers. This feature ensures that the air is cleaner after vacuuming, contributing to a healthier home environment.

Overall, the Euro-Pro EP922HA is a reliable and effective cleaning tool equipped with powerful suction, lightweight design, bagless convenience, versatile attachments, and advanced filtration technology. It is an ideal choice for those seeking a dependable handheld vacuum cleaner that delivers exceptional performance and adaptability for various cleaning tasks.