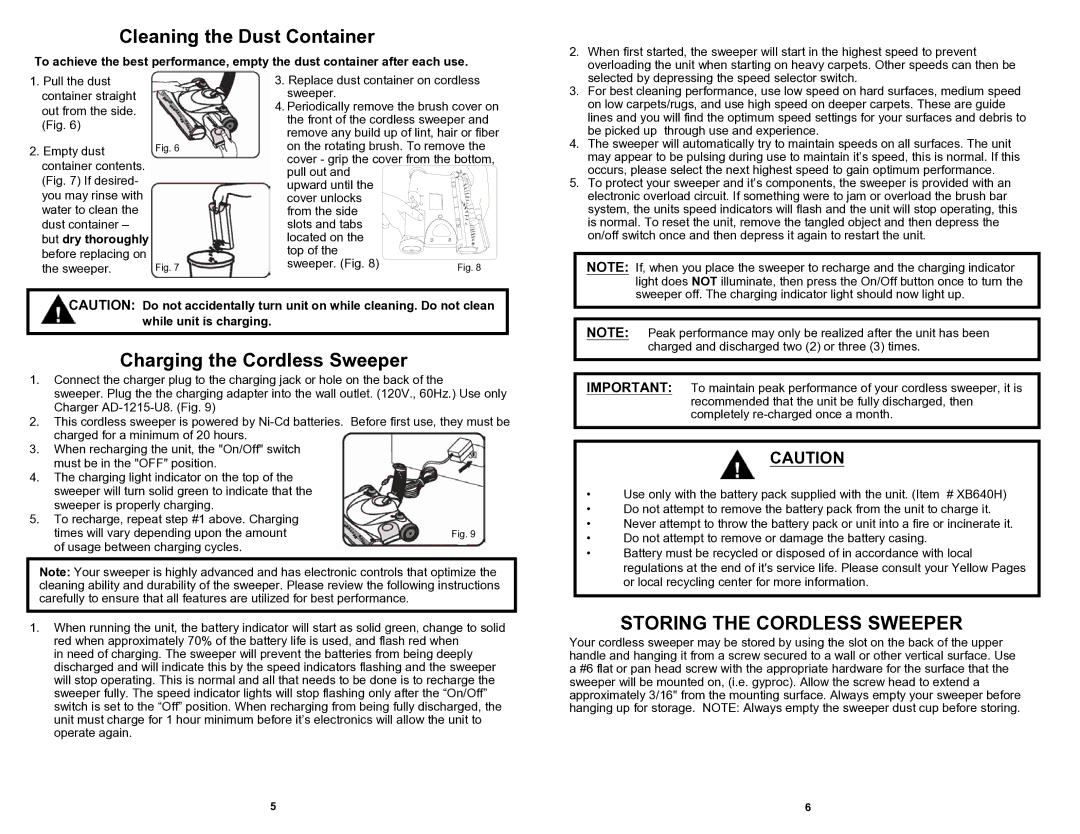
Fig. 9
Fig. 8

Cleaning the Dust Container

To achieve the best performance, empty the dust container after each use.

2. When first started, the sweeper will start in the highest speed to prevent

overloading the unit when starting on heavy carpets. Other speeds can then be

1.Pull the dust container straight out from the side. (Fig. 6)

2.Empty dust container contents. (Fig. 7) If desired- you may rinse with water to clean the dust container – but dry thoroughly before replacing on the sweeper.

Fig. 6

Fig. 7

3.Replace dust container on cordless sweeper.

4.Periodically remove the brush cover on the front of the cordless sweeper and remove any build up of lint, hair or fiber on the rotating brush. To remove the

cover - grip the cover from the bottom, pull out and upward until the

cover unlocks from the side slots and tabs located on the top of the sweeper. (Fig. 8)

selected by depressing the speed selector switch.

3. For best cleaning performance, use low speed on hard surfaces, medium speed

on low carpets/rugs, and use high speed on deeper carpets. These are guide

lines and you will find the optimum speed settings for your surfaces and debris to

be picked up through use and experience.

4. The sweeper will automatically try to maintain speeds on all surfaces. The unit

may appear to be pulsing during use to maintain it’s speed, this is normal. If this

occurs, please select the next highest speed to gain optimum performance.

5. To protect your sweeper and it’s components, the sweeper is provided with an

electronic overload circuit. If something were to jam or overload the brush bar

system, the units speed indicators will flash and the unit will stop operating, this

is normal. To reset the unit, remove the tangled object and then depress the

on/off switch once and then depress it again to restart the unit.

NOTE: If, when you place the sweeper to recharge and the charging indicator

light does NOT illuminate, then press the On/Off button once to turn the

sweeper off. The charging indicator light should now light up.

CAUTION: Do not accidentally turn unit on while cleaning. Do not clean while unit is charging.

Charging the Cordless Sweeper

1.Connect the charger plug to the charging jack or hole on the back of the

sweeper. Plug the the charging adapter into the wall outlet. (120V., 60Hz.) Use only Charger AD-1215-U8. (Fig. 9)

2.This cordless sweeper is powered by Ni-Cd batteries. Before first use, they must be charged for a minimum of 20 hours.

3.When recharging the unit, the "On/Off" switch must be in the "OFF" position.

4.The charging light indicator on the top of the sweeper will turn solid green to indicate that the sweeper is properly charging.

5.To recharge, repeat step #1 above. Charging

times will vary depending upon the amount of usage between charging cycles.

Note: Your sweeper is highly advanced and has electronic controls that optimize the cleaning ability and durability of the sweeper. Please review the following instructions carefully to ensure that all features are utilized for best performance.

1.When running the unit, the battery indicator will start as solid green, change to solid red when approximately 70% of the battery life is used, and flash red when

in need of charging. The sweeper will prevent the batteries from being deeply discharged and will indicate this by the speed indicators flashing and the sweeper will stop operating. This is normal and all that needs to be done is to recharge the sweeper fully. The speed indicator lights will stop flashing only after the “On/Off” switch is set to the “Off” position. When recharging from being fully discharged, the unit must charge for 1 hour minimum before it’s electronics will allow the unit to operate again.

NOTE: Peak performance may only be realized after the unit has been

charged and discharged two (2) or three (3) times.

IMPORTANT: To maintain peak performance of your cordless sweeper, it is

recommended that the unit be fully discharged, then

completely re-charged once a month.

CAUTION

Use only with the battery pack supplied with the unit. (Item # XB640H)

Do not attempt to remove the battery pack from the unit to charge it.

Never attempt to throw the battery pack or unit into a fire or incinerate it.

Do not attempt to remove or damage the battery casing.

Battery must be recycled or disposed of in accordance with local regulations at the end of it's service life. Please consult your Yellow Pages or local recycling center for more information.

STORING THE CORDLESS SWEEPER

Your cordless sweeper may be stored by using the slot on the back of the upper handle and hanging it from a screw secured to a wall or other vertical surface. Use a #6 flat or pan head screw with the appropriate hardware for the surface that the sweeper will be mounted on, (i.e. gyproc). Allow the screw head to extend a approximately 3/16" from the mounting surface. Always empty your sweeper before hanging up for storage. NOTE: Always empty the sweeper dust cup before storing.

5

6

Page 6
Image 6
Euro-Pro UV640HB owner manual Cleaning the Dust Container, Charging the Cordless Sweeper, Storing the Cordless Sweeper

UV640HB specifications

The Euro-Pro UV640HB is a versatile and innovative household appliance designed to meet the needs of modern consumers. As a vacuum cleaner, it combines advanced features and cutting-edge technologies to enhance efficiency in cleaning tasks.

One of the standout features of the UV640HB is its powerful suction capability. This model is equipped with a high-performance motor that generates strong suction, effectively picking up dirt, debris, and pet hair from various surfaces, including carpets, hardwood floors, and upholstery. Its ability to adjust to different floor types ensures that users can easily transition from room to room without compromising cleaning effectiveness.

A unique characteristic of the Euro-Pro UV640HB is its UV sanitizing technology. This feature uses ultraviolet light to eliminate bacteria and germs while vacuuming. As a result, it not only removes visible dirt but also contributes to a healthier living environment by reducing allergens and pathogens. This is especially beneficial for households with children, pets, or individuals with allergies.

The design of the UV640HB reflects user convenience and ergonomic considerations. It features a lightweight and compact build, making it easy to maneuver around furniture and carry between levels of the home. The vacuum cleaner also comes with a range of attachments, including specialized brushes for different surfaces, crevice tools for tight corners, and upholstery nozzles, allowing for comprehensive cleaning in hard-to-reach areas.

In terms of maintenance, the Euro-Pro UV640HB includes a bagless dust canister that is easy to empty and clean. This not only saves users money on replacement bags but also contributes to a more eco-friendly cleaning solution. The washable filters further enhance the vacuum's efficiency and extend its lifespan.

Additionally, the UV640HB is designed with noise reduction technology, making it quieter than many traditional vacuum cleaners. This feature allows users to clean their homes without disturbing the peace, making it a suitable choice for families or those living in shared spaces.

Overall, the Euro-Pro UV640HB stands out as an advanced cleaning solution that combines power, efficiency, and innovative features ideal for a busy household. Its UV sanitizing capability, versatile attachments, and user-friendly design make it a valuable addition to any home cleaning arsenal.