Installation
Warning: To prevent electrical shock, turn off the electrical power before making electrical connections. OBSERVE POLARITY when connecting 12VDC power to the camera.
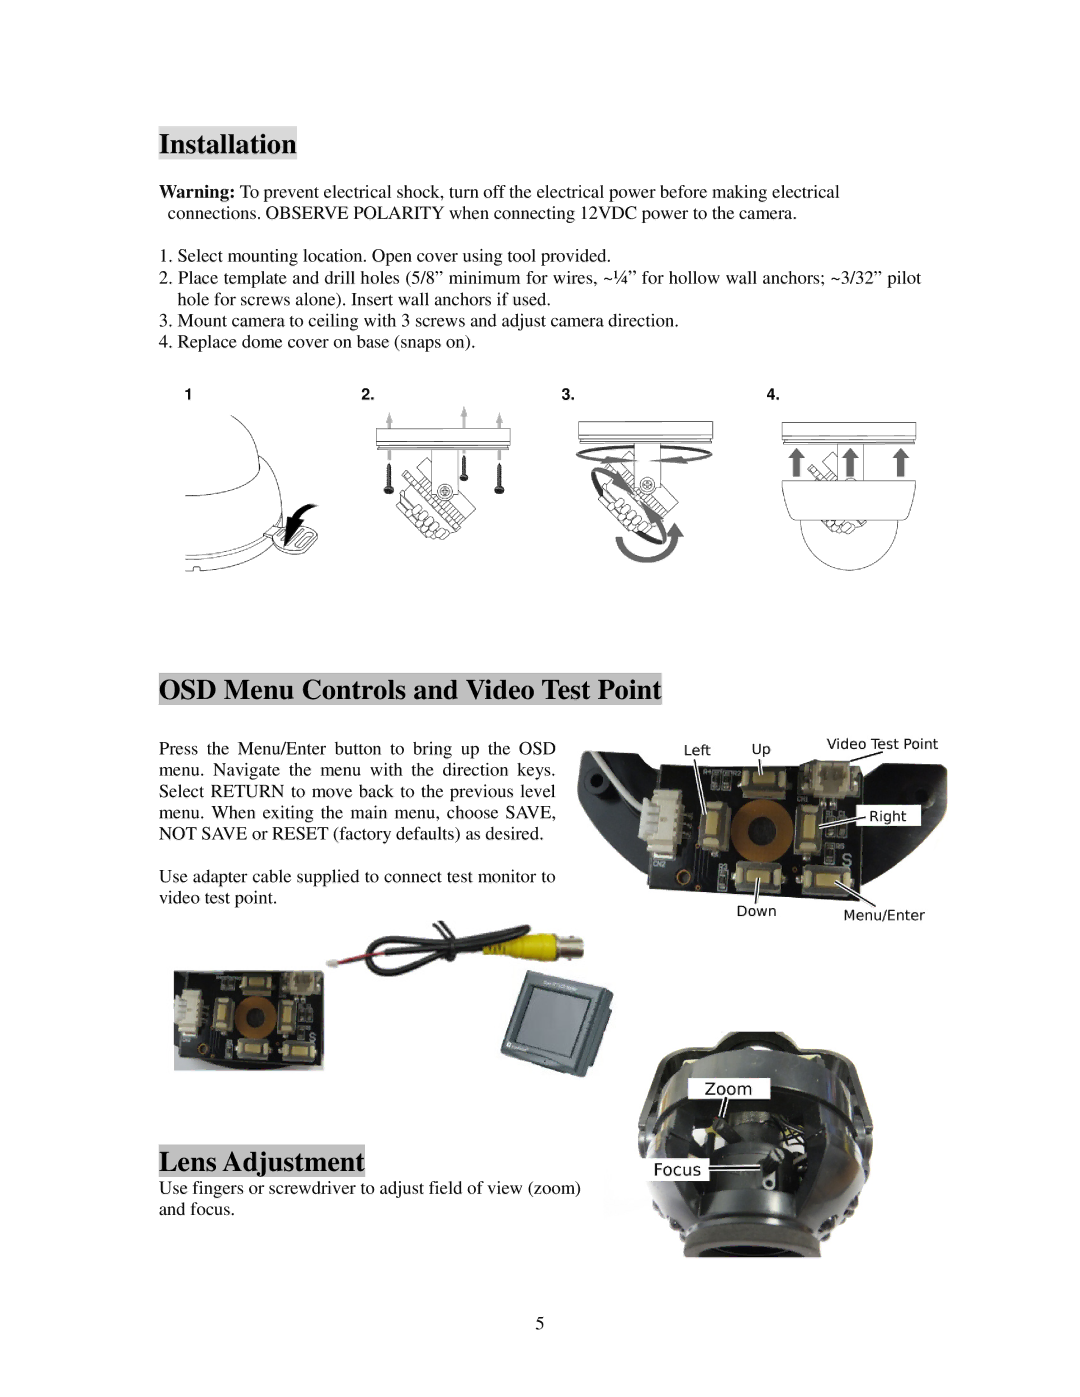
1.Select mounting location. Open cover using tool provided.
2.Place template and drill holes (5/8” minimum for wires, ~¼” for hollow wall anchors; ~3/32” pilot hole for screws alone). Insert wall anchors if used.
3.Mount camera to ceiling with 3 screws and adjust camera direction.
4.Replace dome cover on base (snaps on).
1 | 2. | 3. | 4. |
OSD Menu Controls and Video Test Point
Press the Menu/Enter button to bring up the OSD menu. Navigate the menu with the direction keys. Select RETURN to move back to the previous level menu. When exiting the main menu, choose SAVE, NOT SAVE or RESET (factory defaults) as desired.
Use adapter cable supplied to connect test monitor to video test point.
Lens Adjustment
Use fingers or screwdriver to adjust field of view (zoom) and focus.
5