CENGLISH
ongratulations on your purchase of the 1:10 Nascar® RC from Excalibur Electronics, Inc. The 1:10 Nascar® RC features Dale Earnhardt, Sr. (# 3). You and your friends will enjoy hours of fun driving your 1:10
Nascar® RC.
Your 1:10 Nascar® RC is easy to use but be sure to use it safely. Before starting, please read this manual thoroughly, especially noting safety, care and battery information. Keep this manual for reference.
This package contains the 1:10 Nascar® RC, its transmit- ter, its battery cartridge, its tube for one vehicle antenna, its transmitter antenna, and its user’s guide.
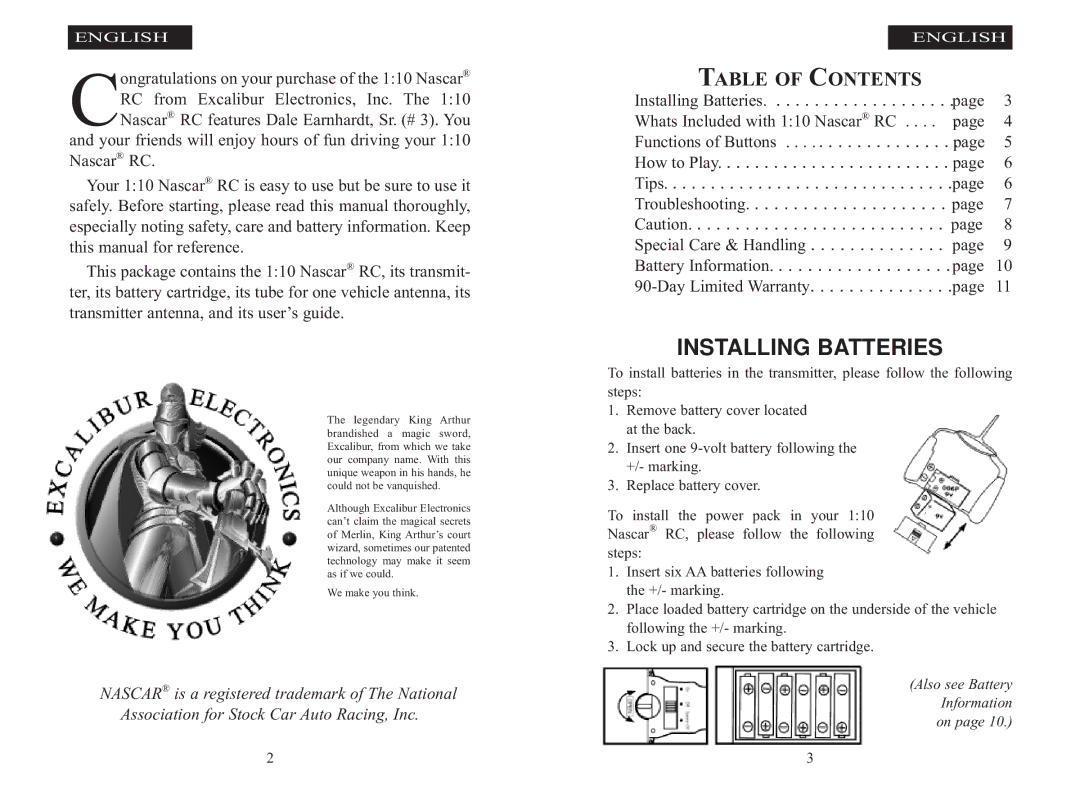
The legendary King Arthur brandished a magic sword, Excalibur, from which we take our company name. With this unique weapon in his hands, he could not be vanquished.
Although Excalibur Electronics can’t claim the magical secrets of Merlin, King Arthur’s court wizard, sometimes our patented technology may make it seem as if we could.
We make you think.
NASCAR® is a registered trademark of The National Association for Stock Car Auto Racing, Inc.
2
| ENGLISH | |
TABLE OF CONTENTS |
| |
Installing Batteries. . . . . . . . . . . . . . . . . . . .page | 3 | |
Whats Included with 1:10 Nascar® RC . | . . . page. | 4 |
Functions of Buttons | . . . . page. | 5 |
How to Play | . . . . page | 6 |
Tips | . . . .page | 6 |
Troubleshooting | . . . page | 7 |
Caution | . . . page | 8 |
Special Care & Handling | . . . page | 9 |
Battery Information | . . . . page | 10 |
. . . .page | 11 | |
INSTALLING BATTERIES
To install batteries in the transmitter, please follow the following steps:
1. Remove battery cover located at the back.
2. Insert one
3. Replace battery cover.
To install the power pack in your 1:10 Nascar® RC, please follow the following steps:
1. Insert six AA batteries following the +/- marking.
2. Place loaded battery cartridge on the underside of the vehicle following the +/- marking.
3. Lock up and secure the battery cartridge.
(Also see Battery Information on page 10.)
3