DTP DVI 301 specifications
Extron Electronics is renowned for producing high-quality signal processing and distribution solutions, and the DTP DVI 301 stands out as a versatile and efficient tool for transporting DVI signals. This device is part of the DTP (Digital Twist Pair) series, designed to simplify AV system installations while maintaining signal integrity over long distances.The DTP DVI 301 is equipped with key features that make it a preferred choice for both commercial and residential applications. One of its primary functionalities is its ability to extend DVI signal up to 300 feet (90 meters) over a single twisted pair cable. This capability ensures that high-resolution video signals can be transmitted without degradation, making it ideal for environments where distance between the source and display device is significant.
A standout characteristic of the DTP DVI 301 is its support for HDCP (High-bandwidth Digital Content Protection), which is crucial for ensuring compatibility with various digital content sources like Blu-ray players and streaming devices. This feature allows users to transmit protected content without interruption, thereby maintaining compliance with industry standards.
The unit supports resolutions up to 1920x1200 at 60Hz, allowing for sharp and clear images suitable for a range of applications from corporate presentations to home theaters. Furthermore, it includes an automatic input cable equalization feature, which compensates for signal loss that can occur over longer run times, ensuring robust signal integrity.
The DTP DVI 301 also incorporates Extron’s patented DTP technology, which intelligently manages the transmission of digital video, audio, and control signals through a single cable. This integrated solution reduces the complexity of installations while providing reliable performance.
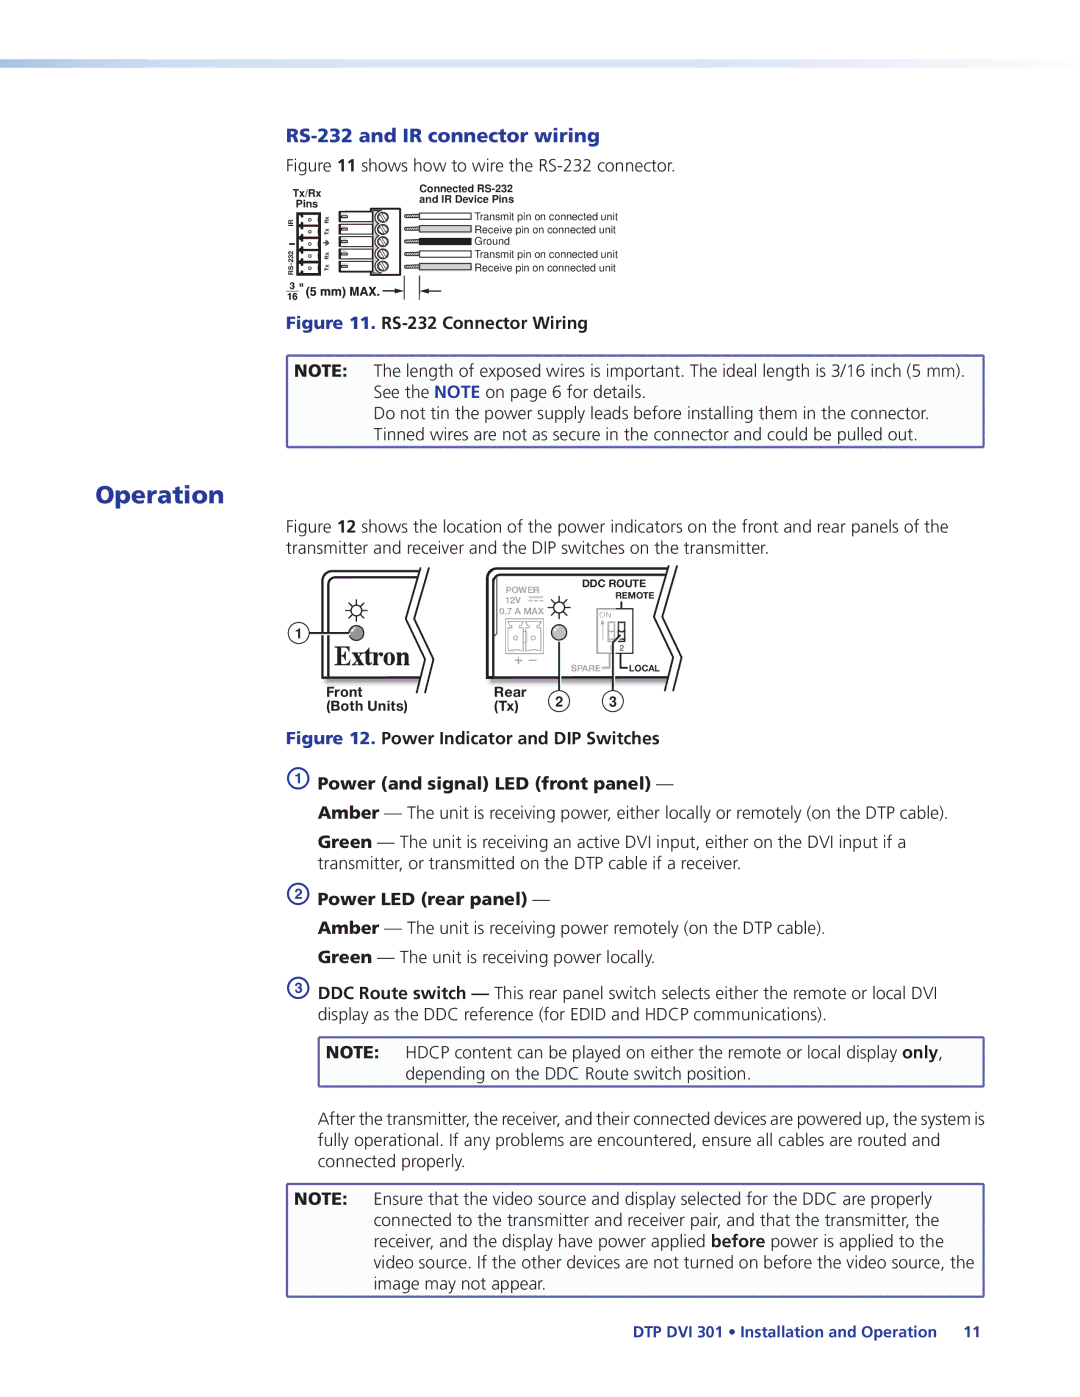
Additionally, the device features a compact design suited for easy mounting in AV racks or discreet installation in conference rooms. It includes an LED status indicator that provides immediate feedback on power and signal availability, enhancing user experience during operation.
Ease of use is further emphasized with its simple plug-and-play setup, requiring minimal configuration, making it accessible even for users with limited technical expertise. The DTP DVI 301 is a durable, feature-rich solution that not only meets the demanding needs of modern AV systems but also simplifies installation processes, ultimately benefiting integrators and users alike.

