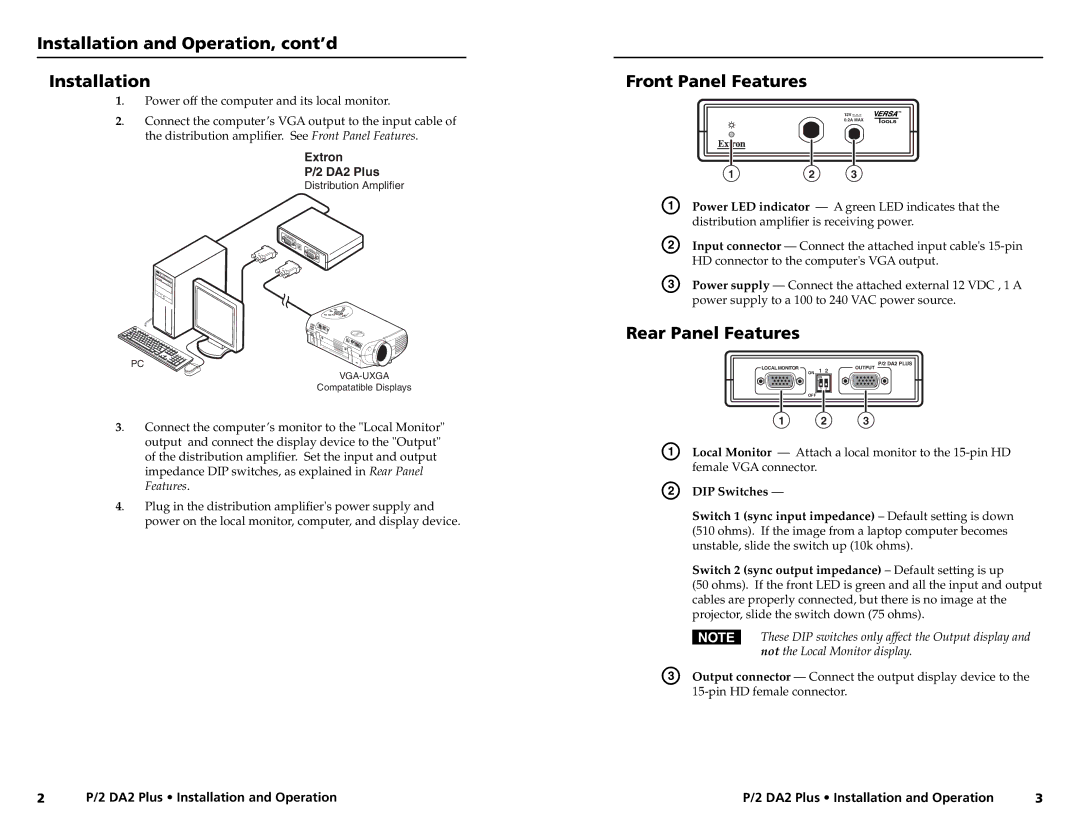
P/2 DA2 PLUS specifications
Extron Electronics is renowned for its innovative AV distribution solutions, and the P/2 DA2 PLUS exemplifies this commitment to excellence. This versatile distribution amplifier is designed to ensure quality signal transmission, making it an ideal choice for a variety of AV installations, from educational to corporate environments.One of the main features of the P/2 DA2 PLUS is its ability to distribute a single input signal to multiple outputs without degrading the quality. This unit can take one source and deliver it to two identical outputs, which is particularly useful in systems requiring multiple display devices or projectors. The DA2 PLUS supports a wide range of video formats, including composite, RGB, and S-Video signals, ensuring compatibility with various sources and displays.
The P/2 DA2 PLUS utilizes advanced signal processing technology to maintain signal integrity over extended transmission distances. With its bandwidth of up to 400 MHz, it ensures that high-resolution signals remain sharp and clear, without the risk of ghosting or loss of detail. Additionally, the device features integrated signal equalization, which automatically adjusts the output signal levels to compensate for cable losses, providing a robust solution for installations with long cable runs.
Ease of use is a key consideration in the design of the P/2 DA2 PLUS. The compact and lightweight chassis makes it easy to mount in racks or under desks, simplifying installation in tight spaces. The unit is also equipped with a power connector that supports power over the same cabling, which reduces clutter and streamlines setup.
Furthermore, the P/2 DA2 PLUS offers independent output level controls, allowing users to adjust the signal strength for each output to optimize performance based on the specific requirements of the connected devices. This feature is particularly beneficial in environments where different displays may have varying sensitivities to incoming signals.
In terms of reliability, Extron has a strong reputation for manufacturing durable and long-lasting equipment. The P/2 DA2 PLUS is designed to operate continuously and withstand the rigors of daily use, making it a dependable choice for professional AV applications.
Overall, the Extron P/2 DA2 PLUS distribution amplifier is an essential component for achieving optimal signal quality in any AV system. With its combination of high performance, versatility, and user-friendly features, it represents a smart investment for those looking to enhance their AV infrastructure. Whether for educational, corporate, or any other professional use, the P/2 DA2 PLUS stands out as a leading choice in AV distribution technology.

