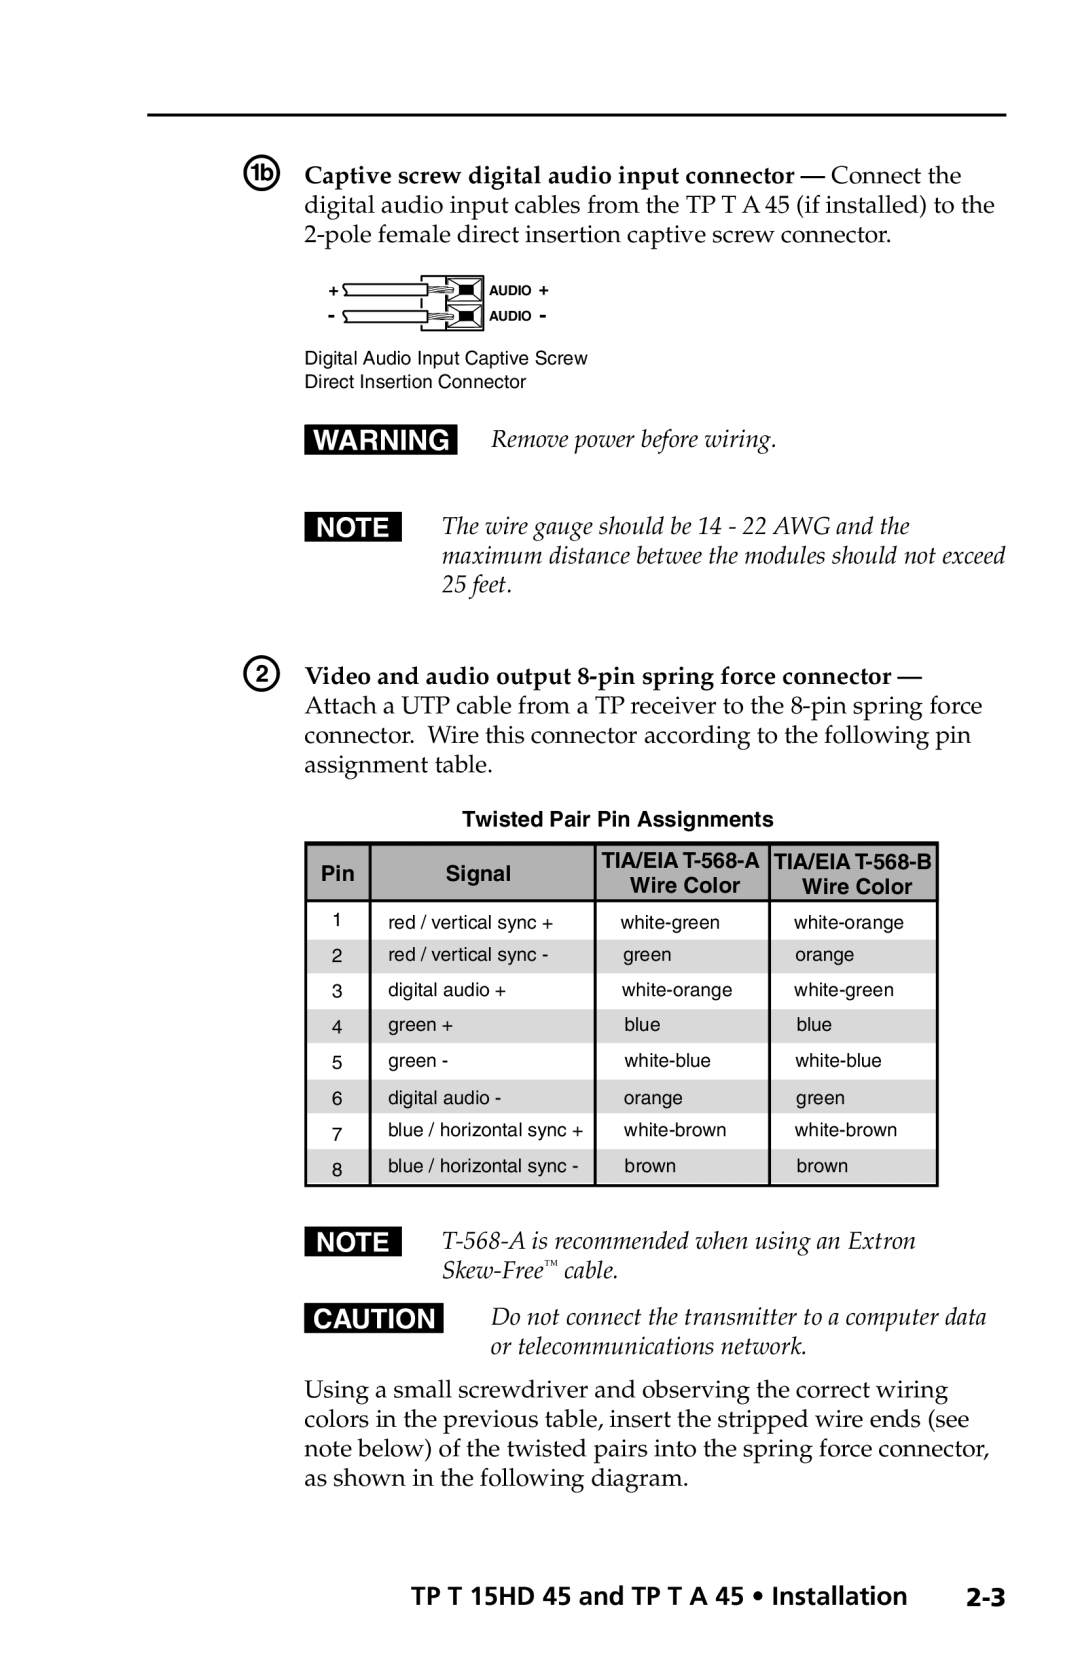
TP T A 45, TP T 15HD 45 specifications
Extron Electronics has long been a leader in high-quality AV solutions, and the TP T 15HD 45 and TP T A 45 are no exceptions. These transmitter and receiver units are part of Extron's line of products designed for long-distance signal transmission while preserving high-definition video and audio quality.The TP T 15HD 45 is a state-of-the-art wall plate transmitter that is particularly crafted for sending HDMI signals over twisted-pair cabling. With support for 4K resolutions at 60 Hz, it ensures that users experience stunning video quality, making it ideal for advanced display setups in commercial and educational environments. It is designed to work seamlessly with Extron's receiver products, facilitating the transmission of both video and audio signals up to 100 meters away when using a compatible twisted-pair cable.
One of the main features of the TP T 15HD 45 is its EDID and HDCP management capabilities. This ensures that the proper video format is always communicated between the source and display, providing a smooth user experience. The unit is equipped with a built-in audio de-embedding function, which allows audio signals to be routed separately if needed. The design includes various input options, including a convenient HDMI input, making it suitable for various equipment setups.
The TP T A 45, on the other hand, serves as a versatile wall plate receiver for HDBaseT signals. Supporting 4K video content and various audio formats, it excels at rejoining and transmitting signals from a centralized AV system to a remote display device. Like its counterpart, it is built to handle signals for distances up to 100 meters without any degradation in quality.
Both units feature signal boosting technology, which helps maintain video integrity across extended distances. The robust construction and sleek design make them perfect for installation in various environments, ranging from classrooms and conference rooms to control centers and command stations.
In summary, the Extron TP T 15HD 45 and TP T A 45 are top-tier products in the realm of AV distribution technology. Their exceptional performance, support for high-definition signals, and versatile connectivity options make them invaluable tools for modern AV installations, delivering both quality and reliability in signal transmission.

