AGP-2 / ABGP
holes from the inside of the guitar. Next, measure the length of the threaded bushing that protrudes out from the side of the instrument. From this mea- surement, subtract the thickness of the outside hardware (hex nut and finish washer).
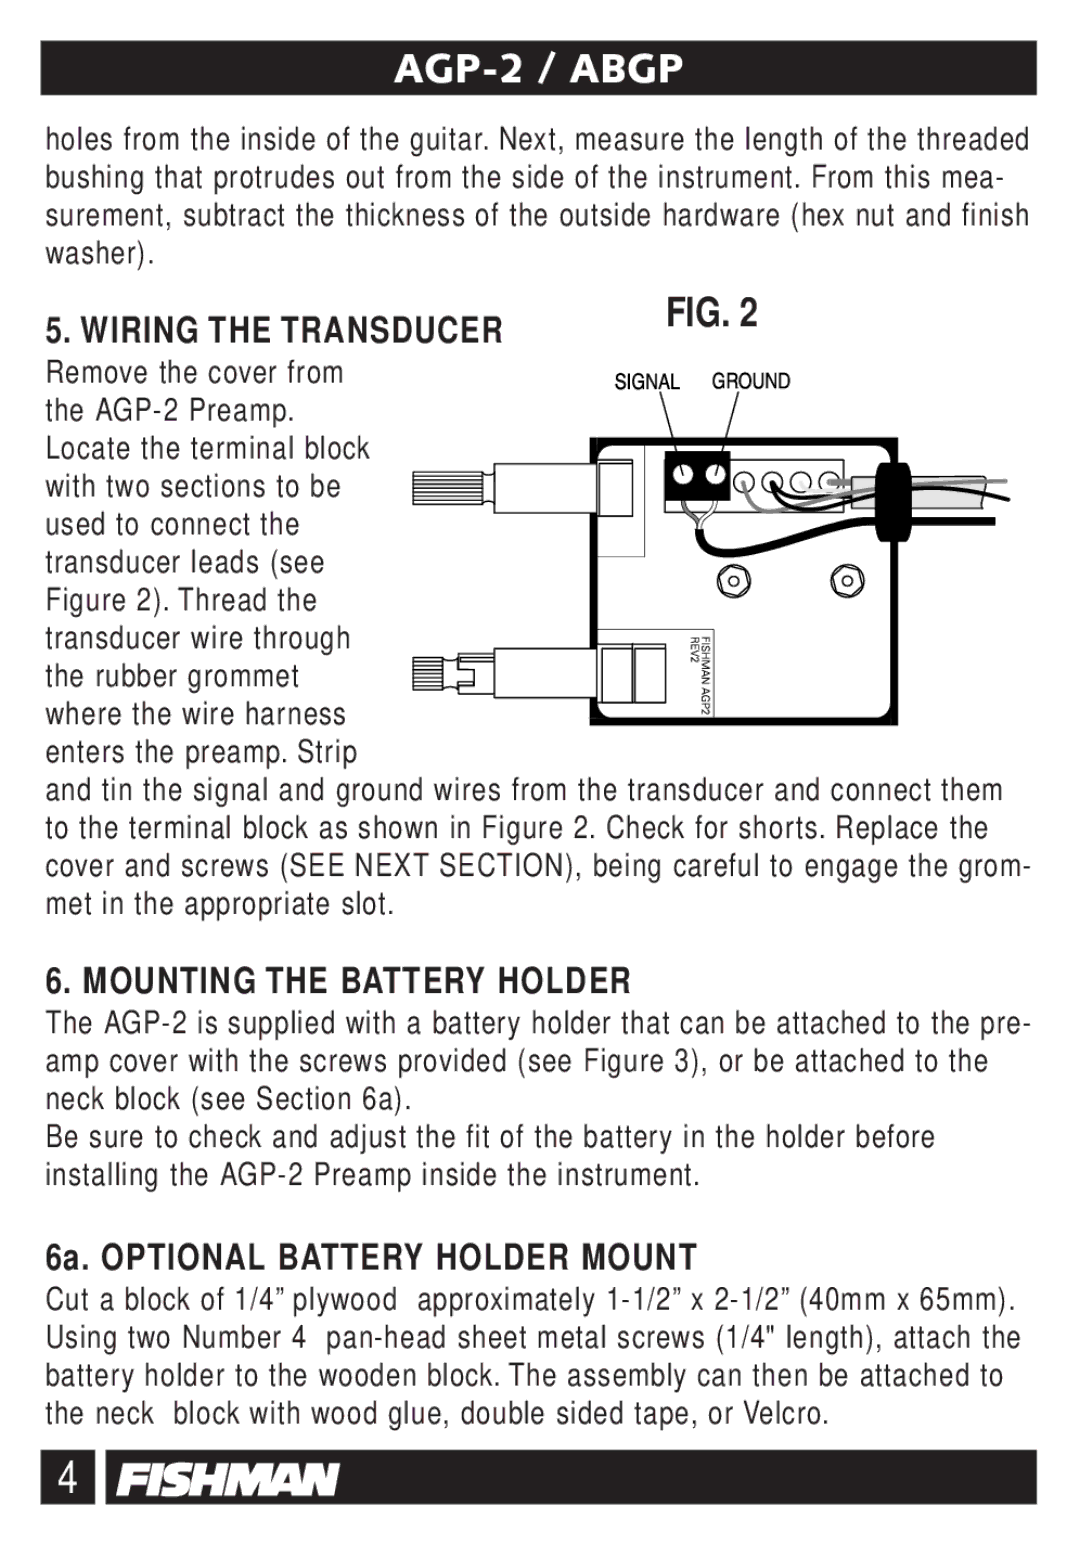
5. WIRING THE TRANSDUCER | FIG. 2 |
|
Remove the cover from the
Locate the terminal block
with two sections to be used to connect the transducer leads (see
Figure 2). Thread the transducer wire through
the rubber grommet
where the wire harness enters the preamp. Strip
and tin the signal and ground wires from the transducer and connect them to the terminal block as shown in Figure 2. Check for shorts. Replace the cover and screws (SEE NEXT SECTION), being careful to engage the grom- met in the appropriate slot.
6. MOUNTING THE BATTERY HOLDER
The
Be sure to check and adjust the fit of the battery in the holder before installing the
6a. OPTIONAL BATTERY HOLDER MOUNT
Cut a block of 1/4” plywood approximately
4
