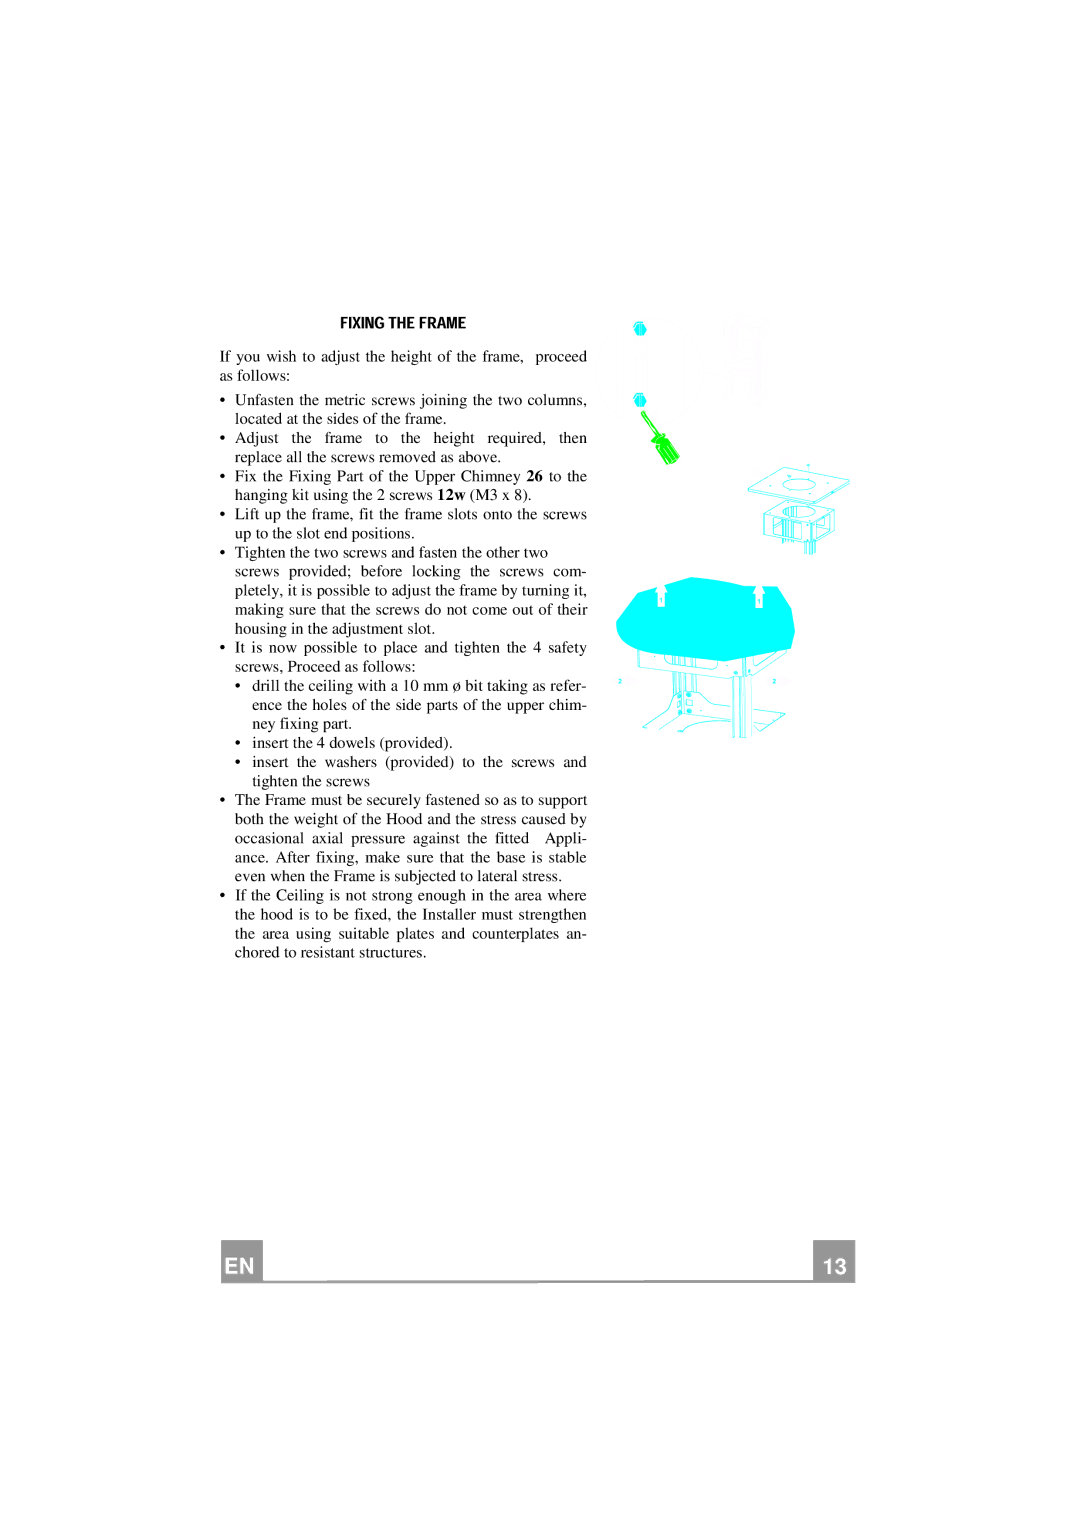
If you wish to adjust the height of the frame, proceed as follows:
• | Unfasten the metric screws joining the two columns, |
| |
| located at the sides of the frame. |
|
|
• Adjust the frame to the height required, | then |
| |
• | replace all the screws removed as above. |
| 12w |
Fix the Fixing Part of the Upper Chimney 26 to the | 26 | ||
| hanging kit using the 2 screws 12w (M3 x 8). |
|
|
• | Lift up the frame, fit the frame slots onto the screws |
| |
| up to the slot end positions. |
|
|
•Tighten the two screws and fasten the other two screws provided; before locking the screws com-
pletely, it is possible to adjust the frame by turning it,
making sure that the screws do not come out of their | 1 | 1 |
|
| |
housing in the adjustment slot. |
|
|
• It is now possible to place and tighten the 4 safety |
|
|
screws, Proceed as follows: |
|
|
• drill the ceiling with a 10 mm ø bit taking as refer- | 2 | 2 |
ence the holes of the side parts of the upper chim- ney fixing part.
•insert the 4 dowels (provided).
•insert the washers (provided) to the screws and tighten the screws
•The Frame must be securely fastened so as to support both the weight of the Hood and the stress caused by occasional axial pressure against the fitted Appli- ance. After fixing, make sure that the base is stable even when the Frame is subjected to lateral stress.
•If the Ceiling is not strong enough in the area where the hood is to be fixed, the Installer must strengthen the area using suitable plates and counterplates an- chored to resistant structures.
EN |
| 1 |
| 13 |