Quick Install Guide freeStor400
freedom to succeed
Quick Install Guide for the freeStor 400 | Default Settings |
|
| |
PACKAGE CONTENTS: | PARAMETER: |
| DEFAULT SETTINGS: | |
• freeStor 400 |
| |||
• password | admin | |||
• Eight (8) drive clips | ||||
• IP address 192.168.1.1 | 192.168.1.100 | |||
• Wireless Antenna | ||||
• subnet mask | 255.255.255.0 | |||
• Power adapter, 19V 7.89 A | ||||
|
|
| ||
• Power cord
• Ethernet cable, Cat 5
•
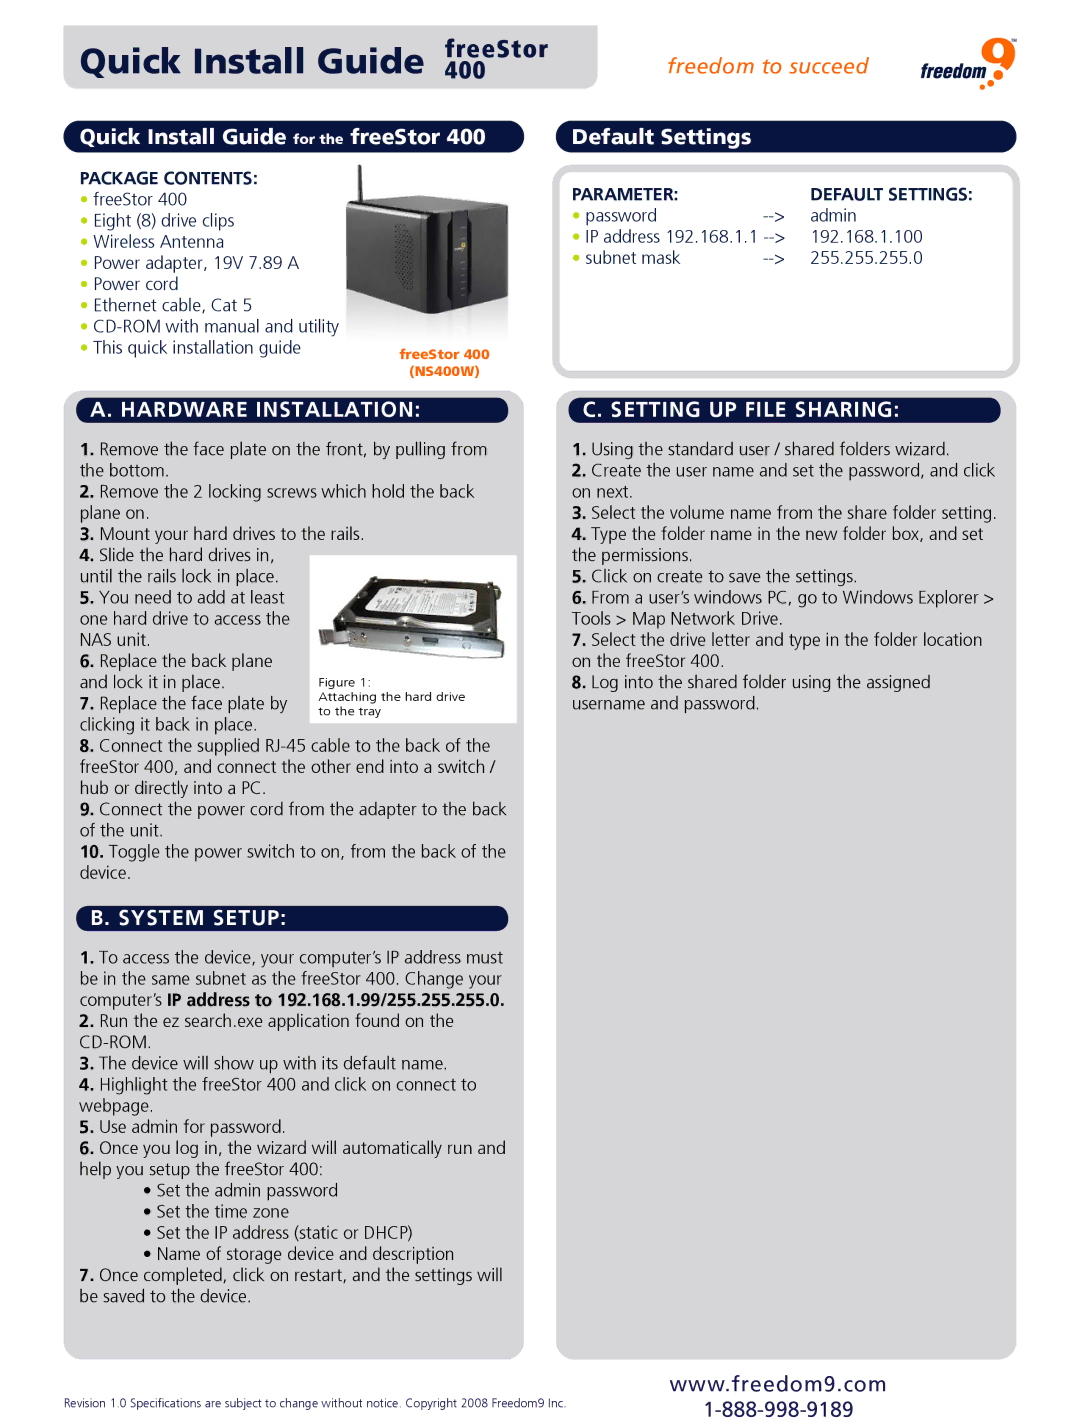
• This quick installation guide | freeStor 400 |
|
|
| |
| (NS400W) |
|
A. HARDWARE INSTALLATION: | C. SETTING UP FILE SHARING: | |
1.Remove the face plate on the front, by pulling from the bottom.
2.Remove the 2 locking screws which hold the back plane on.
3.Mount your hard drives to the rails.
4.Slide the hard drives in,
until the rails lock in place.
5.You need to add at least one hard drive to access the NAS unit.
6.Replace the back plane
and lock it in place.
7. Replace the face plate by clicking it back in place.
8.Connect the supplied
9.Connect the power cord from the adapter to the back of the unit.
10.Toggle the power switch to on, from the back of the device.
B. SYSTEM SETUP:
1.To access the device, your computer’s IP address must be in the same subnet as the freeStor 400. Change your computer’s IP address to 192.168.1.99/255.255.255.0.
2.Run the ez search.exe application found on the
3.The device will show up with its default name.
4.Highlight the freeStor 400 and click on connect to webpage.
5.Use admin for password.
6.Once you log in, the wizard will automatically run and help you setup the freeStor 400:
•Set the admin password
•Set the time zone
•Set the IP address (static or DHCP)
•Name of storage device and description
7.Once completed, click on restart, and the settings will be saved to the device.
1.Using the standard user / shared folders wizard.
2.Create the user name and set the password, and click on next.
3.Select the volume name from the share folder setting.
4.Type the folder name in the new folder box, and set the permissions.
5.Click on create to save the settings.
6.From a user’s windows PC, go to Windows Explorer > Tools > Map Network Drive.
7.Select the drive letter and type in the folder location on the freeStor 400.
8.Log into the shared folder using the assigned username and password.
Revision 1.0 Specifications are subject to change without notice. Copyright 2008 Freedom9 Inc.
www.freedom9.com