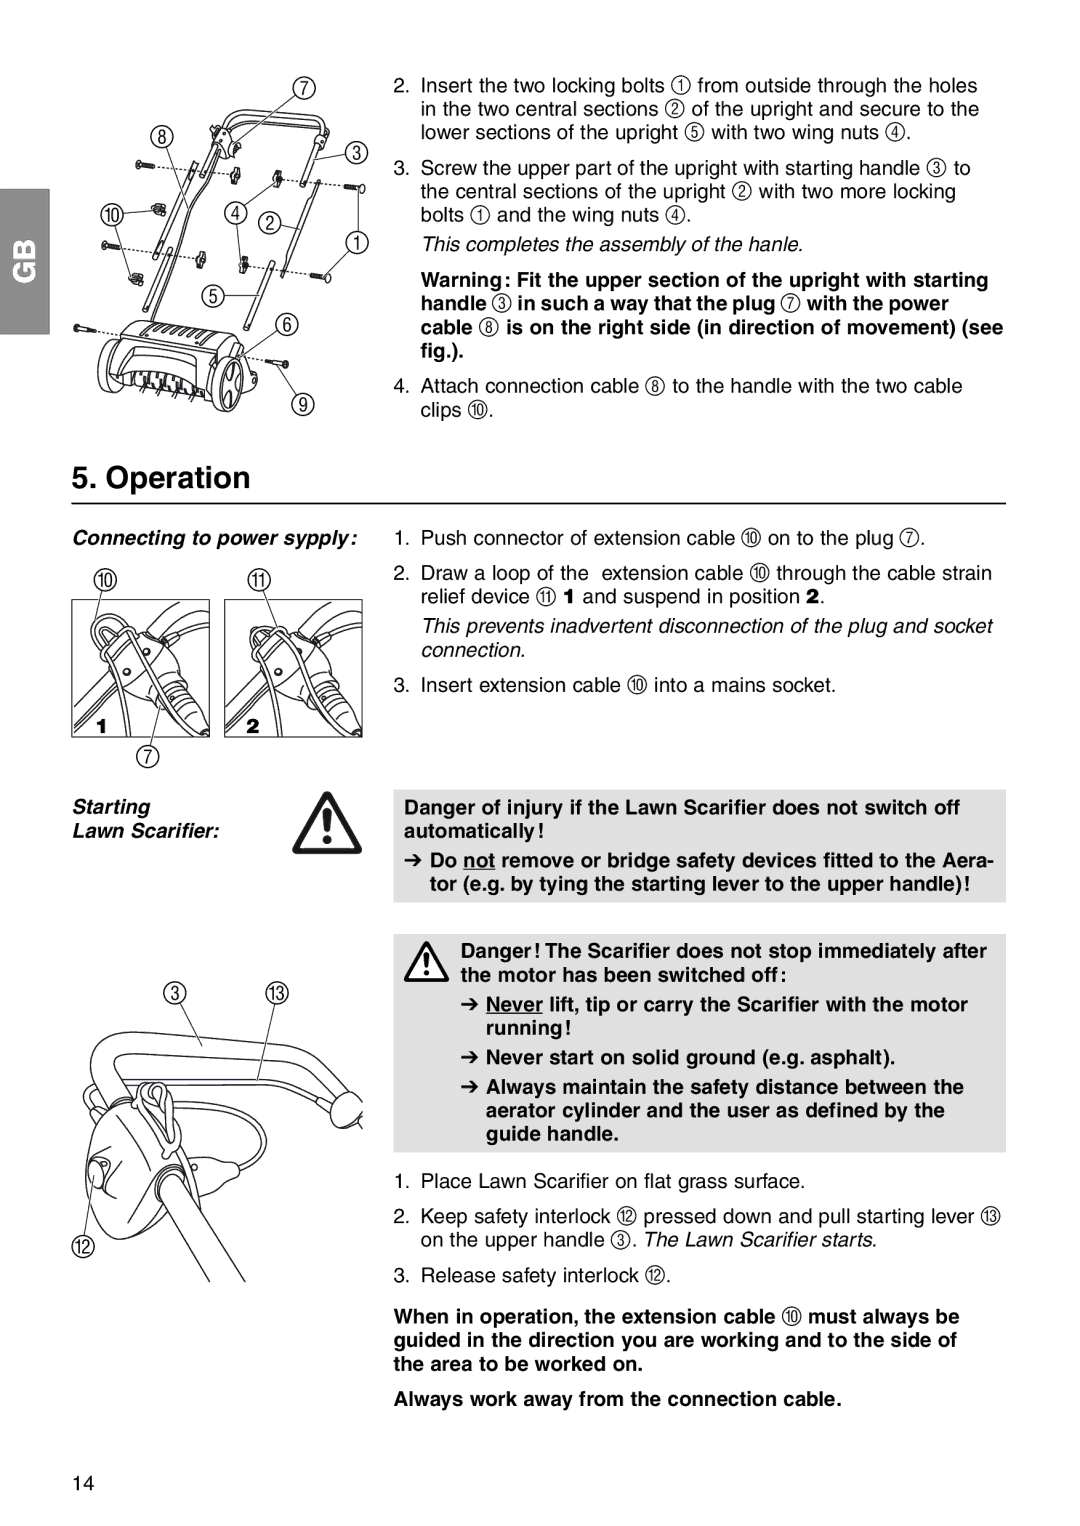
ES 500 specifications
The Gardena ES 500 is a versatile electric lawn mower designed for homeowners seeking convenience, efficiency, and reliability in lawn care. This model stands out in the competitive market of garden equipment, combining cutting-edge technology with user-friendly features.One of the main features of the Gardena ES 500 is its powerful and efficient 500-watt motor, which ensures that even the thickest grass can be cut with ease. This motor delivers consistent performance, allowing users to achieve a clean and even cut across their lawns. The mower’s cutting width of 33 cm makes it ideal for small to medium-sized gardens, providing maneuverability and efficiency in navigating tight spaces. Additionally, the cutting height can be adjusted from 20 to 60 mm, offering users the flexibility to customize their lawn's appearance according to seasonal needs or personal preferences.
The Gardena ES 500 incorporates an ergonomic design, featuring a comfortable handle that reduces strain during use. This thoughtful design enhances user experience, allowing for extended mowing sessions without discomfort. The lightweight construction of the mower makes it easy to transport and store, while the compact design allows it to fit into small spaces.
Another notable characteristic of the ES 500 is its integrated grass collection box, which has a capacity of 30 liters. This feature ensures that clippings are efficiently collected during mowing, eliminating the need for additional raking and cleanup. The transparent fill level indicator on the collection box allows users to easily monitor when it needs emptying.
The mower is equipped with robust safety features, including a safety switch that prevents accidental start-ups. This is especially important for households with children or pets. Furthermore, the Gardena ES 500 operates quietly compared to gas-powered mowers, making it a neighbor-friendly choice.
With its combination of powerful performance, adjustable features, and user-centric design, the Gardena ES 500 electric lawn mower is an excellent choice for individuals looking to maintain their lawns effortlessly. It embodies a commitment to quality and efficiency, making it a worthy addition to any gardening toolkit.

