F E AT U R E S -
How COOL Mist works
Your GE Brand Cool Mist humidifier draws dry air through the rear air intake grill area. This air is then passed through a
NOTE: This humidification system provides a cool, invisible moisture output. It is normal not to see the mist.
NOTE: The recommended humidity level is between
PRE-OPERATING INSTRUCTIONS
1.Select a location for your humidifier, on a flat surface, about 4" away from the wall. Do not place your humid- ifier on furniture; a floor location that will not be dam- aged by moisture is best.
2.Be sure the Power Knob is in the OFF position and the humidifier is disconnected from the electrical outlet.
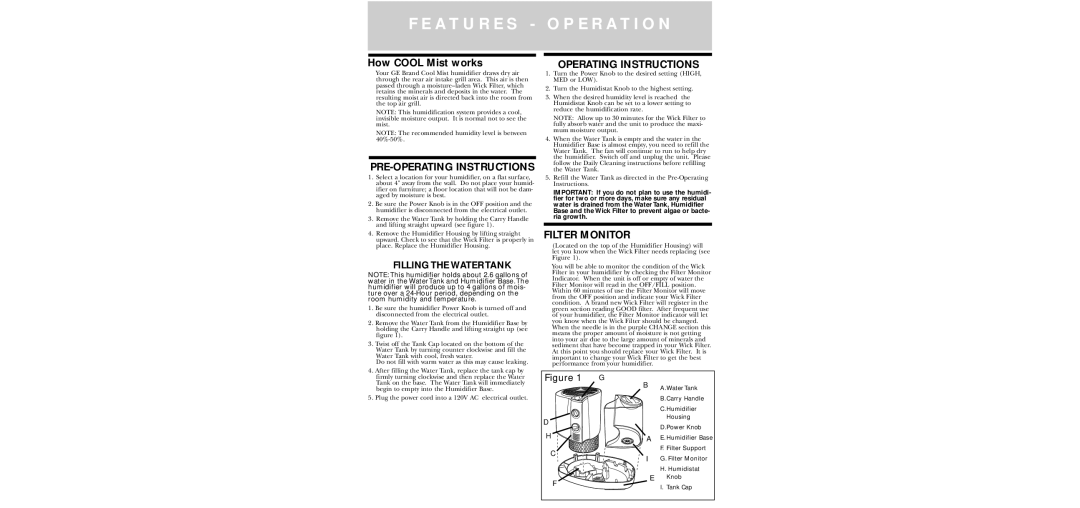
3.Remove the Water Tank by holding the Carry Handle and lifting straight upward (see figure 1).
4.Remove the Humidifier Housing by lifting straight upward. Check to see that the Wick Filter is properly in place. Replace the Humidifier Housing.
FILLING THE WATER TANK
NOTE: This humidifier holds about 2.6 gallons of water in the Water Tank and Humidifier Base. The humidifier will produce up to 4 gallons of mois- ture over a
1.Be sure the humidifier Power Knob is turned off and disconnected from the electrical outlet.
2.Remove the Water Tank from the Humidifier Base by holding the Carry Handle and lifting straight up (see figure 1).
3.Twist off the Tank Cap located on the bottom of the Water Tank by turning counter clockwise and fill the Water Tank with cool, fresh water.
Do not fill with warm water as this may cause leaking.
4.After filling the Water Tank, replace the tank cap by firmly turning clockwise and then replace the Water Tank on the base. The Water Tank will immediately begin to empty into the Humidifier Base.
5.Plug the power cord into a 120V AC electrical outlet.
O P E R AT I O N
OPERATING INSTRUCTIONS
1.Turn the Power Knob to the desired setting (HIGH, MED or LOW).
2.Turn the Humidistat Knob to the highest setting.
3.When the desired humidity level is reached the Humidistat Knob can be set to a lower setting to reduce the humidification rate.
NOTE: Allow up to 30 minutes for the Wick Filter to fully absorb water and the unit to produce the maxi- mum moisture output.
4.When the Water Tank is empty and the water in the Humidifier Base is almost empty, you need to refill the Water Tank. The fan will continue to run to help dry the humidifier. Switch off and unplug the unit. Please follow the Daily Cleaning instructions before refilling the Water Tank.
5.Refill the Water Tank as directed in the
IMPORTANT: If you do not plan to use the humidi- fier for two or more days, make sure any residual water is drained from the Water Tank, Humidifier Base and the Wick Filter to prevent algae or bacte- ria growth.
FILTER MONITOR
(Located on the top of the Humidifier Housing) will let you know when the Wick Filter needs replacing (see Figure 1).
You will be able to monitor the condition of the Wick Filter in your humidifier by checking the Filter Monitor Indicator. When the unit is off or empty of water the Filter Monitor will read in the OFF/FILL position. Within 60 minutes of use the Filter Monitor will move from the OFF position and indicate your Wick Filter condition. A brand new Wick Filter will register in the green section reading GOOD filter. After frequent use of your humidifier, the Filter Monitor indicator will let you know when the Wick Filter should be changed. When the needle is in the purple CHANGE section this means the proper amount of moisture is not getting into your air due to the large amount of minerals and sediment that have become trapped in your Wick Filter. At this point you should replace your Wick Filter. It is important to change your Wick Filter to get the best performance from your humidifier.
Figure 1 | G |
| |
| B | A.Water Tank | |
|
| ||
|
| B.Carry Handle | |
|
| C.Humidifier | |
D |
| Housing | |
| D.Power Knob | ||
|
| ||
H | A | E. Humidifier Base | |
C |
| F. Filter Support | |
I | G. Filter Monitor | ||
| |||
|
| H. Humidistat | |
F | E | Knob | |
| I. Tank Cap | ||
|
|
