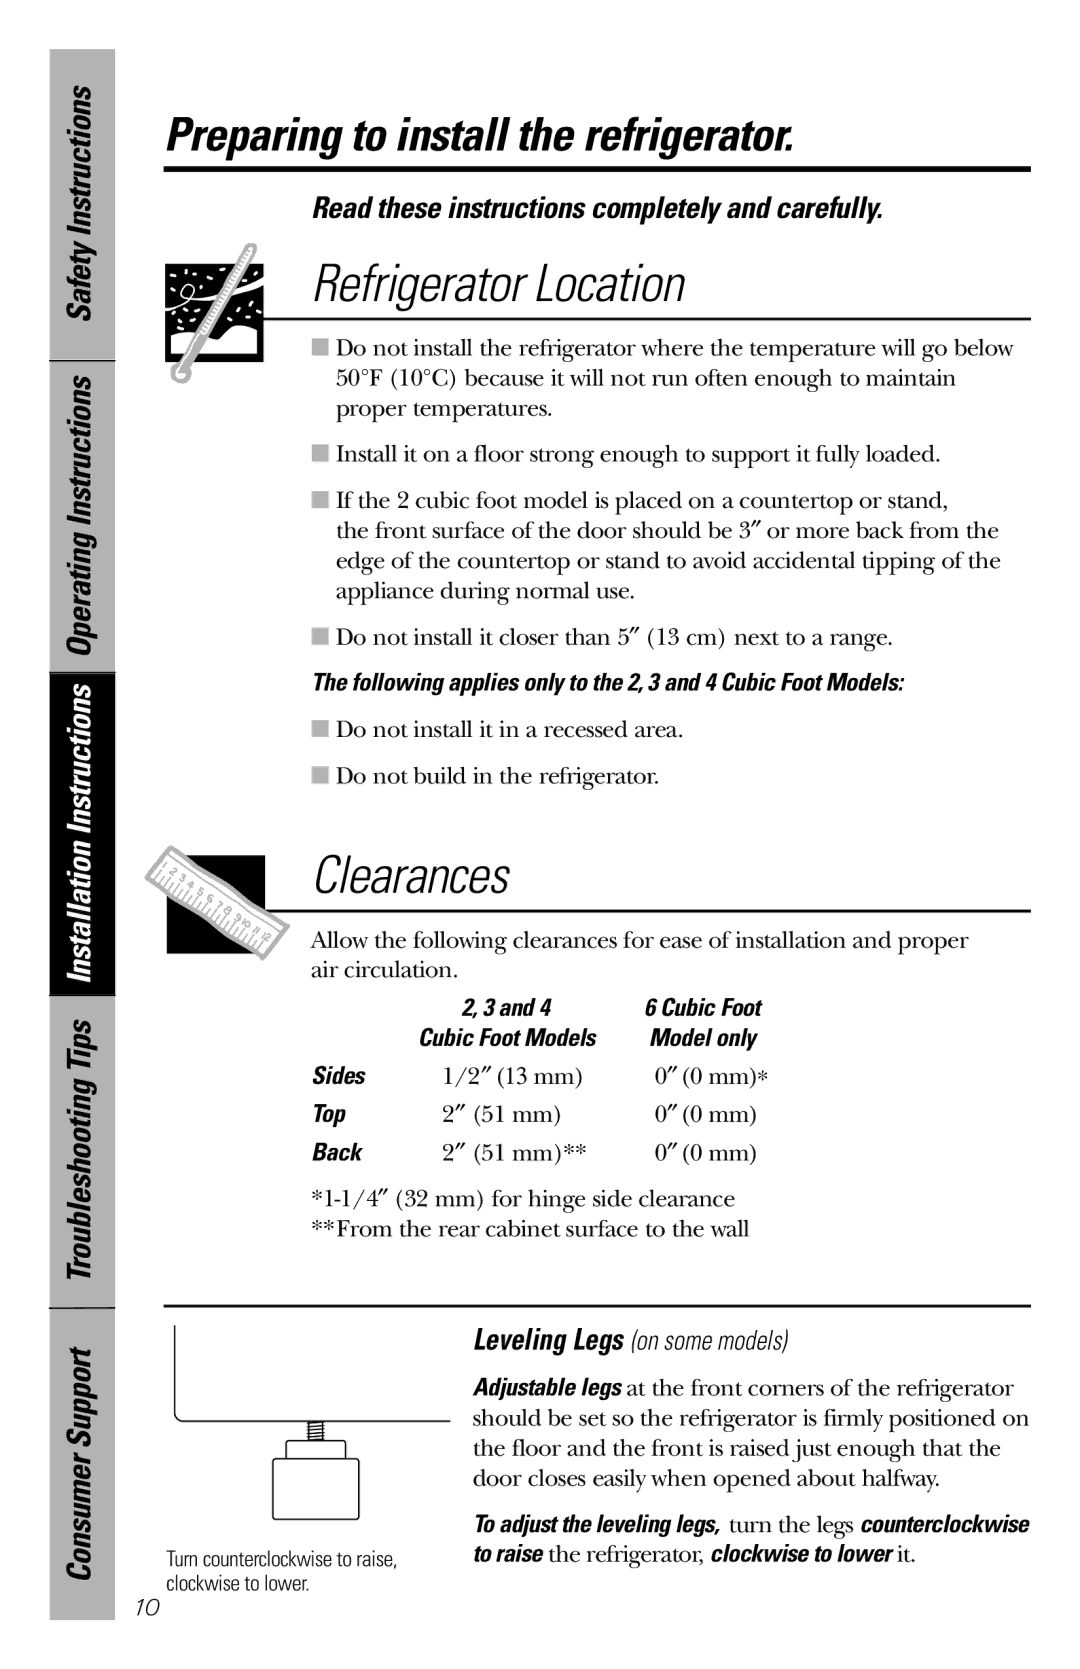
2 Cubic Foot Models, 3 Cubic Foot Models, 4 Cubic Foot Models specifications
General Electric (GE) has long been a leader in the home appliance market, especially when it comes to refrigerators. Their models are known for their reliability, performance, and innovative features. Among the various sizes offered, the 4 cubic foot, 3 cubic foot, and 2 cubic foot models cater to diverse consumer needs, whether it be for a family kitchen or a compact living space.The GE 4 cubic foot models are designed with families in mind. These spacious refrigerators often feature adjustable shelves that allow users to customize their storage options based on their needs, making it easy to store larger items like party platters or large containers. Additionally, many of these models come equipped with Energy Star certification, ensuring efficient energy use, which translates to lower utility bills. Advanced cooling technologies, such as multi-flow air systems, help maintain an even temperature throughout the refrigerator, keeping food fresher for longer.
For smaller households or apartments, the GE 3 cubic foot models offer a perfect balance between capacity and compact design. These models tend to emphasize versatility, with sliding shelves and versatile door bins that can accommodate various food sizes. Many 3 cubic foot refrigerators feature frost-free technology, reducing the hassle of manual defrosting. They often come with LED lighting, which is brighter and longer-lasting than traditional bulbs, ensuring that food is easy to locate even in the back of the fridge.
The GE 2 cubic foot models are ideal for tight spaces such as dorm rooms, offices, or as additional refrigeration in a garage. Despite their smaller footprint, these models often include features such as adjustable thermostat controls, which allow users to regulate cooling levels based on their specific requirements. Many 2 cubic foot units also come with an integrated freezer compartment, ensuring that users can still store frozen items despite limited space. Their sleek designs often mesh well with modern aesthetics, making them not only functional but also visually appealing.
Overall, GE’s range of 4 cubic foot, 3 cubic foot, and 2 cubic foot refrigerator models exemplifies a commitment to quality and innovation. Each size meets specific needs, providing consumers with options that prioritize efficiency, customization, and convenience. Whether one requires expansive storage for a family or a compact solution for limited spaces, GE delivers reliable performance across the board.

