Installation Instructions

10 LEVEL THE RANGE (CONT.)

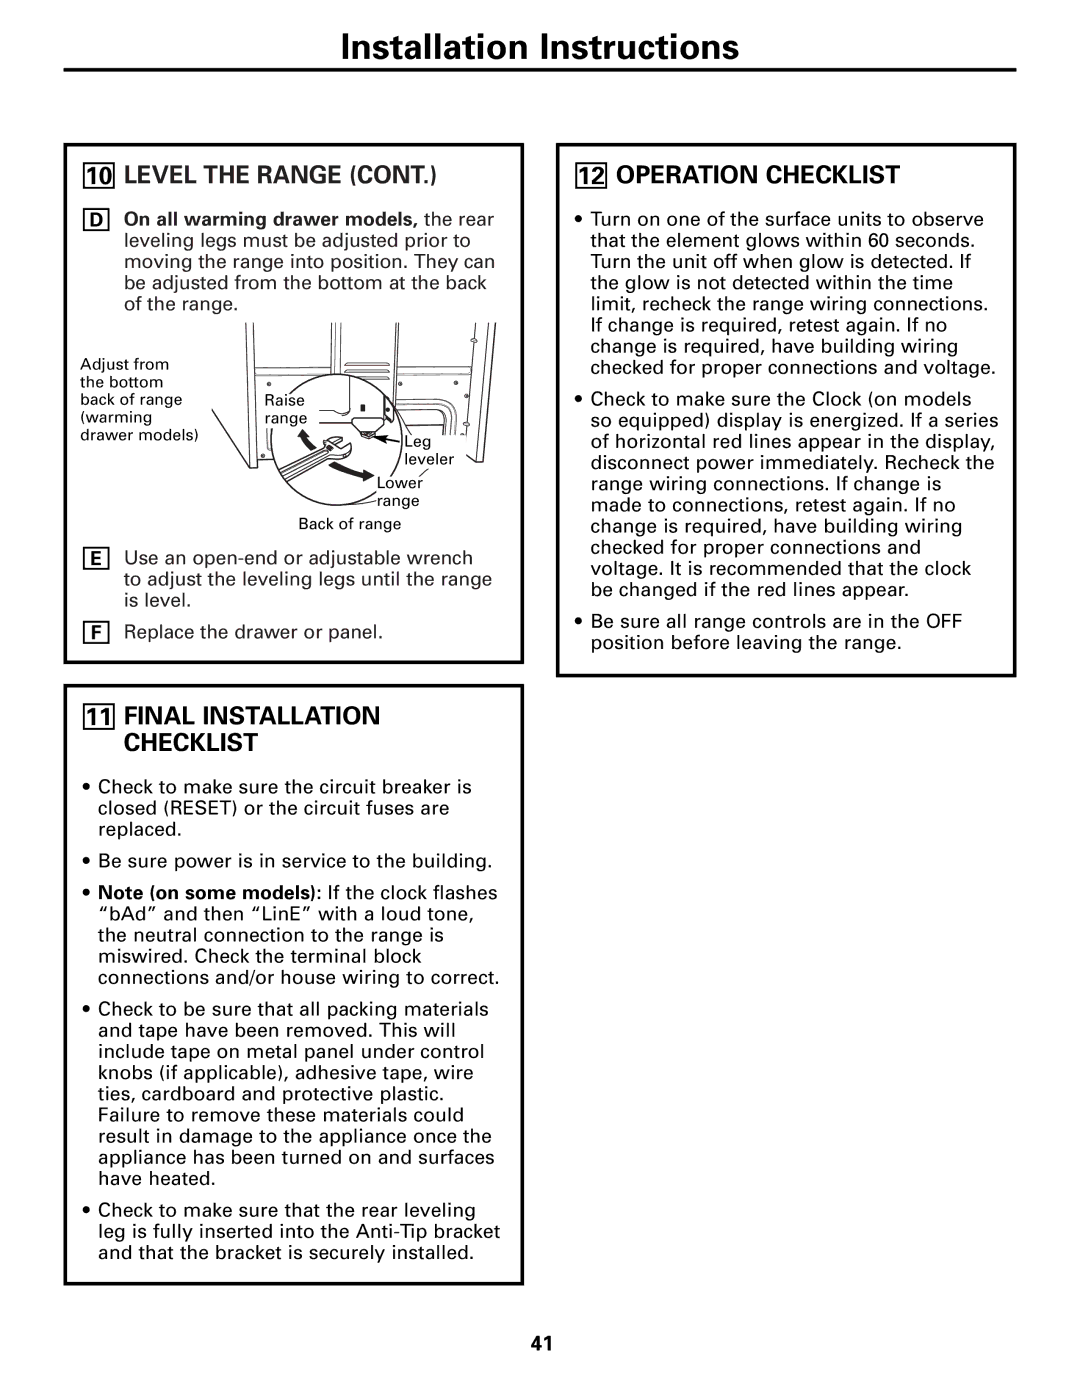
DOn all warming drawer models, the rear leveling legs must be adjusted prior to moving the range into position. They can be adjusted from the bottom at the back of the range.

Adjust from


the bottom


back of range

Raise

(warming

range

drawer models)

Leg


leveler


Lower


range


Back of range

EUse an open-end or adjustable wrench to adjust the leveling legs until the range is level.

FReplace the drawer or panel.

11FINAL INSTALLATION CHECKLIST

Check to make sure the circuit breaker is closed (RESET) or the circuit fuses are replaced.

Be sure power is in service to the building.

Note (on some models): If the clock flashes “bAd” and then “LinE” with a loud tone, the neutral connection to the range is miswired. Check the terminal block connections and/or house wiring to correct.

Check to be sure that all packing materials and tape have been removed. This will include tape on metal panel under control knobs (if applicable), adhesive tape, wire ties, cardboard and protective plastic. Failure to remove these materials could result in damage to the appliance once the appliance has been turned on and surfaces have heated.

Check to make sure that the rear leveling leg is fully inserted into the Anti-Tip bracket and that the bracket is securely installed.

12OPERATION CHECKLIST

Turn on one of the surface units to observe that the element glows within 60 seconds. Turn the unit off when glow is detected. If the glow is not detected within the time limit, recheck the range wiring connections. If change is required, retest again. If no change is required, have building wiring checked for proper connections and voltage.

Check to make sure the Clock (on models so equipped) display is energized. If a series of horizontal red lines appear in the display, disconnect power immediately. Recheck the range wiring connections. If change is made to connections, retest again. If no change is required, have building wiring checked for proper connections and voltage. It is recommended that the clock be changed if the red lines appear.

Be sure all range controls are in the OFF position before leaving the range.

41

Page 41
Image 41
GE RB525, JBS56, JBS27, JBS03, JBS07, JBS15, JBP15, JB600, JBP22, RB536, RB740, RB526, RB540, JBP21, JBP60 manual Operation Checklist

JBP60, RB540, RB525, RB526, RB740 specifications

The GE JBS56 is a standout model in General Electric's line of kitchen appliances, particularly known for its dual-fuel range that harmonizes the precision of gas cooking with the even heating of electric ovens. This model reflects GE's commitment to blending performance with modern design and advanced technology, making it a popular choice for both amateur cooks and professional chefs alike.

One of the main features of the GE JBS56 is its combination of a gas cooktop and an electric oven. This dual-fuel system allows users to enjoy the best of both worlds: the gas burners offer instant heat and precise control, while the electric oven ensures consistent and even baking results through its radiant heat. The cooktop typically comes equipped with multiple burners of varying sizes, providing flexibility to accommodate different cooking techniques, whether it’s simmering a sauce or boiling water for pasta.

The range is designed with user-friendliness in mind. It often includes features like the "Self-Clean" option, which utilizes high temperatures to burn off food residues, leaving behind a clean oven without the hassle of manual scrubbing. Additionally, the oven usually comes with advanced baking technologies such as True European Convection, which circulates heat throughout the oven for flawlessly baked goods, ensuring that both the top and bottom cook uniformly.

Safety is another important aspect of the GE JBS56. Many models come with features like automatic shut-off and a clean and sleek design that prevents the accumulation of food debris, contributing to a safer cooking environment.

Moreover, the aesthetics of the GE JBS56 are appealing, with a sleek finish and modern knobs and controls, designed to integrate seamlessly into contemporary kitchens. It often includes a large oven window and bright interior lighting, allowing chefs to easily monitor the progress of their meals without opening the oven door and losing heat.

In conclusion, the GE JBS56 dual-fuel range stands out for its combination of gas and electric cooking capabilities, advanced features for convenience and safety, and a stylish design that enhances any kitchen space. It is a reliable appliance for those who appreciate the art of cooking, combining innovation with everyday practicality.