To light the rotisserie burner
(on some models)
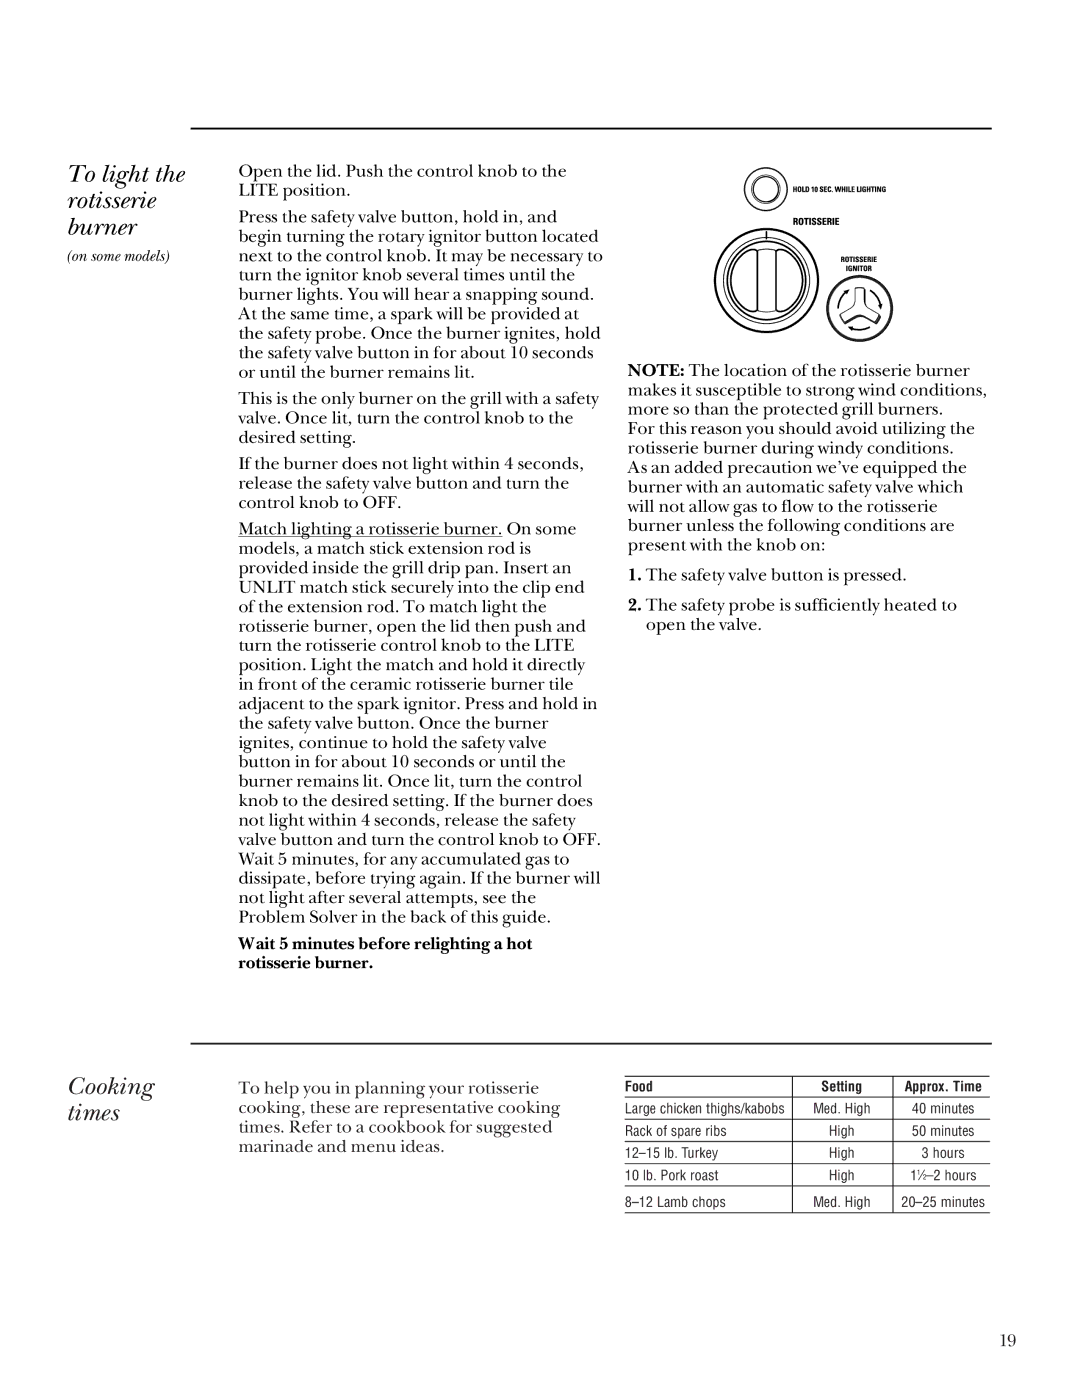
Open the lid. Push the control knob to the LITE position.
Press the safety valve button, hold in, and begin turning the rotary ignitor button located next to the control knob. It may be necessary to turn the ignitor knob several times until the burner lights. You will hear a snapping sound. At the same time, a spark will be provided at the safety probe. Once the burner ignites, hold the safety valve button in for about 10 seconds or until the burner remains lit.
This is the only burner on the grill with a safety valve. Once lit, turn the control knob to the desired setting.
If the burner does not light within 4 seconds, release the safety valve button and turn the control knob to OFF.
Match lighting a rotisserie burner. On some models, a match stick extension rod is provided inside the grill drip pan. Insert an UNLIT match stick securely into the clip end of the extension rod. To match light the rotisserie burner, open the lid then push and turn the rotisserie control knob to the LITE position. Light the match and hold it directly in front of the ceramic rotisserie burner tile adjacent to the spark ignitor. Press and hold in the safety valve button. Once the burner ignites, continue to hold the safety valve button in for about 10 seconds or until the burner remains lit. Once lit, turn the control knob to the desired setting. If the burner does not light within 4 seconds, release the safety valve button and turn the control knob to OFF. Wait 5 minutes, for any accumulated gas to dissipate, before trying again. If the burner will not light after several attempts, see the Problem Solver in the back of this guide.
Wait 5 minutes before relighting a hot rotisserie burner.
NOTE: The location of the rotisserie burner makes it susceptible to strong wind conditions, more so than the protected grill burners.
For this reason you should avoid utilizing the rotisserie burner during windy conditions. As an added precaution we’ve equipped the burner with an automatic safety valve which will not allow gas to flow to the rotisserie burner unless the following conditions are present with the knob on:
1.The safety valve button is pressed.
2.The safety probe is sufficiently heated to open the valve.
Cooking times
To help you in planning your rotisserie cooking, these are representative cooking times. Refer to a cookbook for suggested marinade and menu ideas.
Food | Setting | Approx. Time |
Large chicken thighs/kabobs | Med. High | 40 minutes |
Rack of spare ribs | High | 50 minutes |
High | 3 hours | |
10 lb. Pork roast | High | |
Med. High |
19
