GRP100CAN specifications
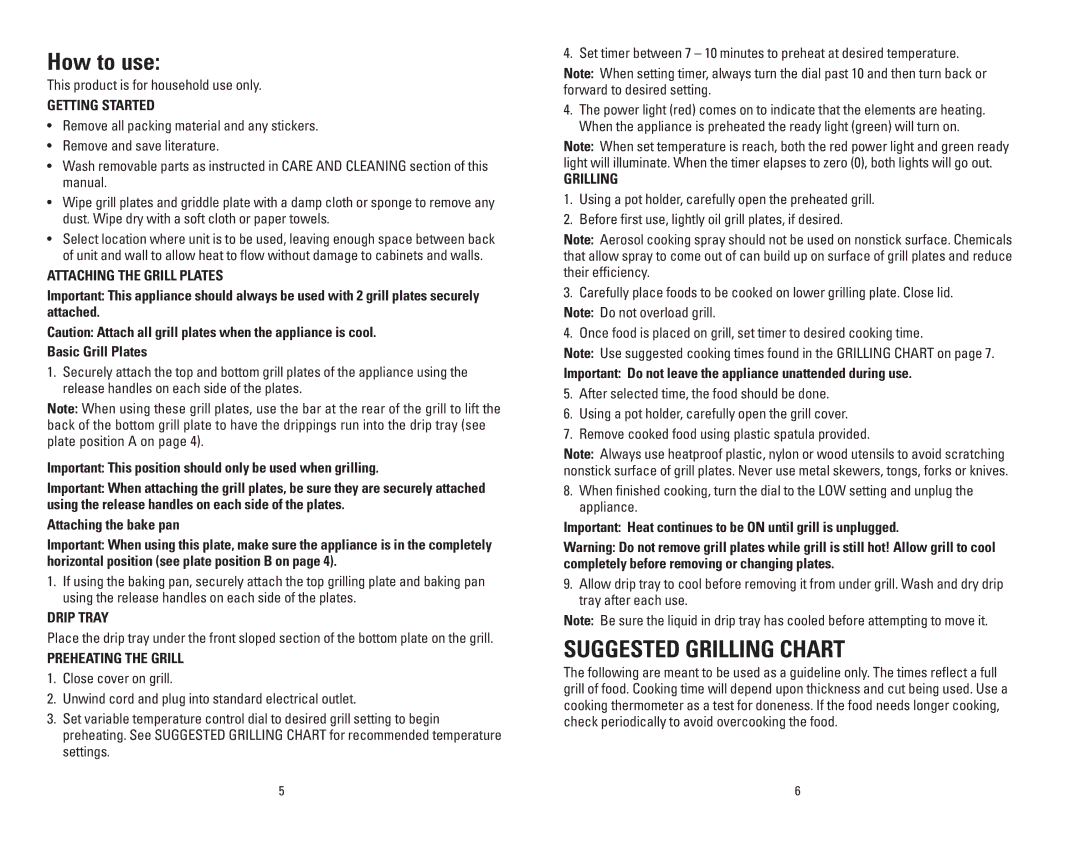
The George Foreman GRP100CAN is a versatile and efficient electric grill that has been designed to meet the needs of health-conscious individuals who enjoy delicious grilled food without the guilt. Known for its unique features and user-friendly design, this grill stands out in the crowded kitchen appliance market.One of the main features of the GRP100CAN is its exclusive sloped grilling surface. This innovative design allows excess fat and grease to drain away from the food, resulting in healthier meals. The grill's angled cooking plates help direct drippings into a removable drip tray, making cooking healthier and clean-up easier. This is especially beneficial for those who are looking to maintain a balanced diet while still enjoying grilled flavors.
Another highlight of the GRP100CAN is its rapid cooking time. Thanks to its powerful heating elements, the grill heats up quickly, allowing users to prepare meals in a fraction of the time it would take using traditional methods. This efficiency is perfect for busy individuals or families who need to whip up a tasty meal in a hurry.
The George Foreman GRP100CAN also boasts a large cooking surface, accommodating multiple servings at once. With enough space to grill up to five portions at a time, it is ideal for family gatherings or meal prepping for the week ahead. The non-stick grilling plates ensure that food is easy to remove and helps prevent sticking, which makes cooking and cleaning much simpler.
In terms of versatility, the GRP100CAN can handle a range of foods—from meats and vegetables to sandwiches and even fish. Its adjustable hinge allows it to easily accommodate thicker cuts of food, ensuring even cooking for various meal options.
Furthermore, the George Foreman grill features a simple indicator light that shows when the grill is heating up and ready to use. Its compact design also makes it easy to store, making it a convenient addition to any kitchen.
Lastly, the GRP100CAN is designed with safety in mind. The grill’s cool-touch handles ensure users can operate it without the fear of burns, providing peace of mind while cooking.
In conclusion, the George Foreman GRP100CAN is equipped with features that cater to health-focused consumers and busy lifestyles. With its sloped grilling surface, rapid cooking capability, ample cooking space, and user-friendly design, it’s an excellent choice for anyone looking to enjoy delicious grilled meals quickly and healthily.