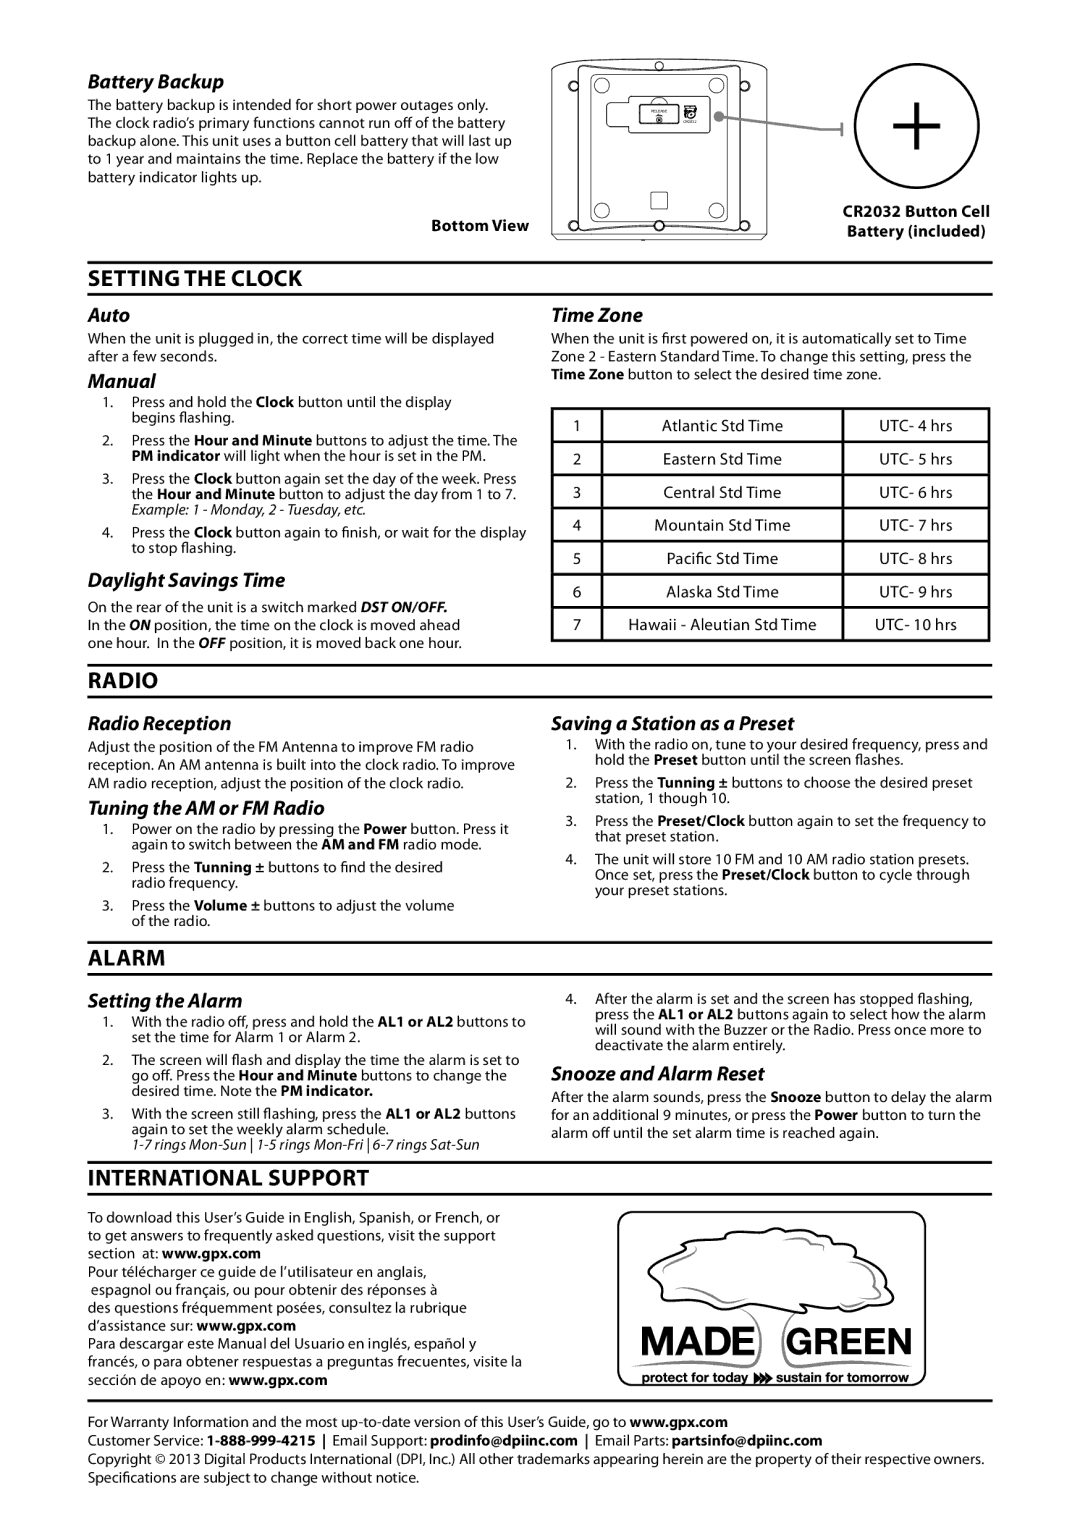
Battery Backup
The battery backup is intended for short power outages only. The clock radio’s primary functions cannot run off of the battery backup alone. This unit uses a button cell battery that will last up to 1 year and maintains the time. Replace the battery if the low battery indicator lights up.
Bottom View
RELEASE |
CR2032 |
CR2032 Button Cell Battery (included)
SETTING THE CLOCK
Auto
When the unit is plugged in, the correct time will be displayed after a few seconds.
Manual
1.Press and hold the Clock button until the display begins flashing.
2.Press the Hour and Minute buttons to adjust the time. The PM indicator will light when the hour is set in the PM.
3.Press the Clock button again set the day of the week. Press the Hour and Minute button to adjust the day from 1 to 7. Example: 1 - Monday, 2 - Tuesday, etc.
4. Press the Clock button again to finish, or wait for the display to stop flashing.
Daylight Savings Time
On the rear of the unit is a switch marked DST ON/OFF. In the ON position, the time on the clock is moved ahead one hour. In the OFF position, it is moved back one hour.
Time Zone
When the unit is first powered on, it is automatically set to Time Zone 2 - Eastern Standard Time. To change this setting, press the Time Zone button to select the desired time zone.
1 | Atlantic Std Time | UTC- 4 hrs |
|
|
|
2 | Eastern Std Time | UTC- 5 hrs |
|
|
|
3 | Central Std Time | UTC- 6 hrs |
|
|
|
4 | Mountain Std Time | UTC- 7 hrs |
|
|
|
5 | Pacific Std Time | UTC- 8 hrs |
|
|
|
6 | Alaska Std Time | UTC- 9 hrs |
|
|
|
7 | Hawaii - Aleutian Std Time | UTC- 10 hrs |
|
|
|
RADIO
Radio Reception
Adjust the position of the FM Antenna to improve FM radio reception. An AM antenna is built into the clock radio. To improve AM radio reception, adjust the position of the clock radio.
Tuning the AM or FM Radio
1.Power on the radio by pressing the Power button. Press it again to switch between the AM and FM radio mode.
2.Press the Tunning ± buttons to find the desired radio frequency.
3.Press the Volume ± buttons to adjust the volume of the radio.
Saving a Station as a Preset
1.With the radio on, tune to your desired frequency, press and hold the Preset button until the screen flashes.
2.Press the Tunning ± buttons to choose the desired preset station, 1 though 10.
3.Press the Preset/Clock button again to set the frequency to that preset station.
4.The unit will store 10 FM and 10 AM radio station presets. Once set, press the Preset/Clock button to cycle through your preset stations.
ALARM
Setting the Alarm
1.With the radio off, press and hold the AL1 or AL2 buttons to set the time for Alarm 1 or Alarm 2.
2.The screen will flash and display the time the alarm is set to go off. Press the Hour and Minute buttons to change the desired time. Note the PM indicator.
3.With the screen still flashing, press the AL1 or AL2 buttons again to set the weekly alarm schedule.
1-7 rings Mon-Sun 1-5 rings Mon-Fri 6-7 rings Sat-Sun
4.After the alarm is set and the screen has stopped flashing, press the AL1 or AL2 buttons again to select how the alarm will sound with the Buzzer or the Radio. Press once more to deactivate the alarm entirely.
Snooze and Alarm Reset
After the alarm sounds, press the Snooze button to delay the alarm for an additional 9 minutes, or press the Power button to turn the alarm off until the set alarm time is reached again.
INTERNATIONAL SUPPORT
To download this User’s Guide in English, Spanish, or French, or to get answers to frequently asked questions, visit the support
section at: www.gpx.com
Pour télécharger ce guide de l’utilisateur en anglais, espagnol ou français, ou pour obtenir des réponses à des questions fréquemment posées, consultez la rubrique d’assistance sur: www.gpx.com
Para descargar este Manual del Usuario en inglés, español y francés, o para obtener respuestas a preguntas frecuentes, visite la sección de apoyo en: www.gpx.com
For Warranty Information and the most
Customer Service:
Copyright © 2013 Digital Products International (DPI, Inc.) All other trademarks appearing herein are the property of their respective owners. Specifications are subject to change without notice.