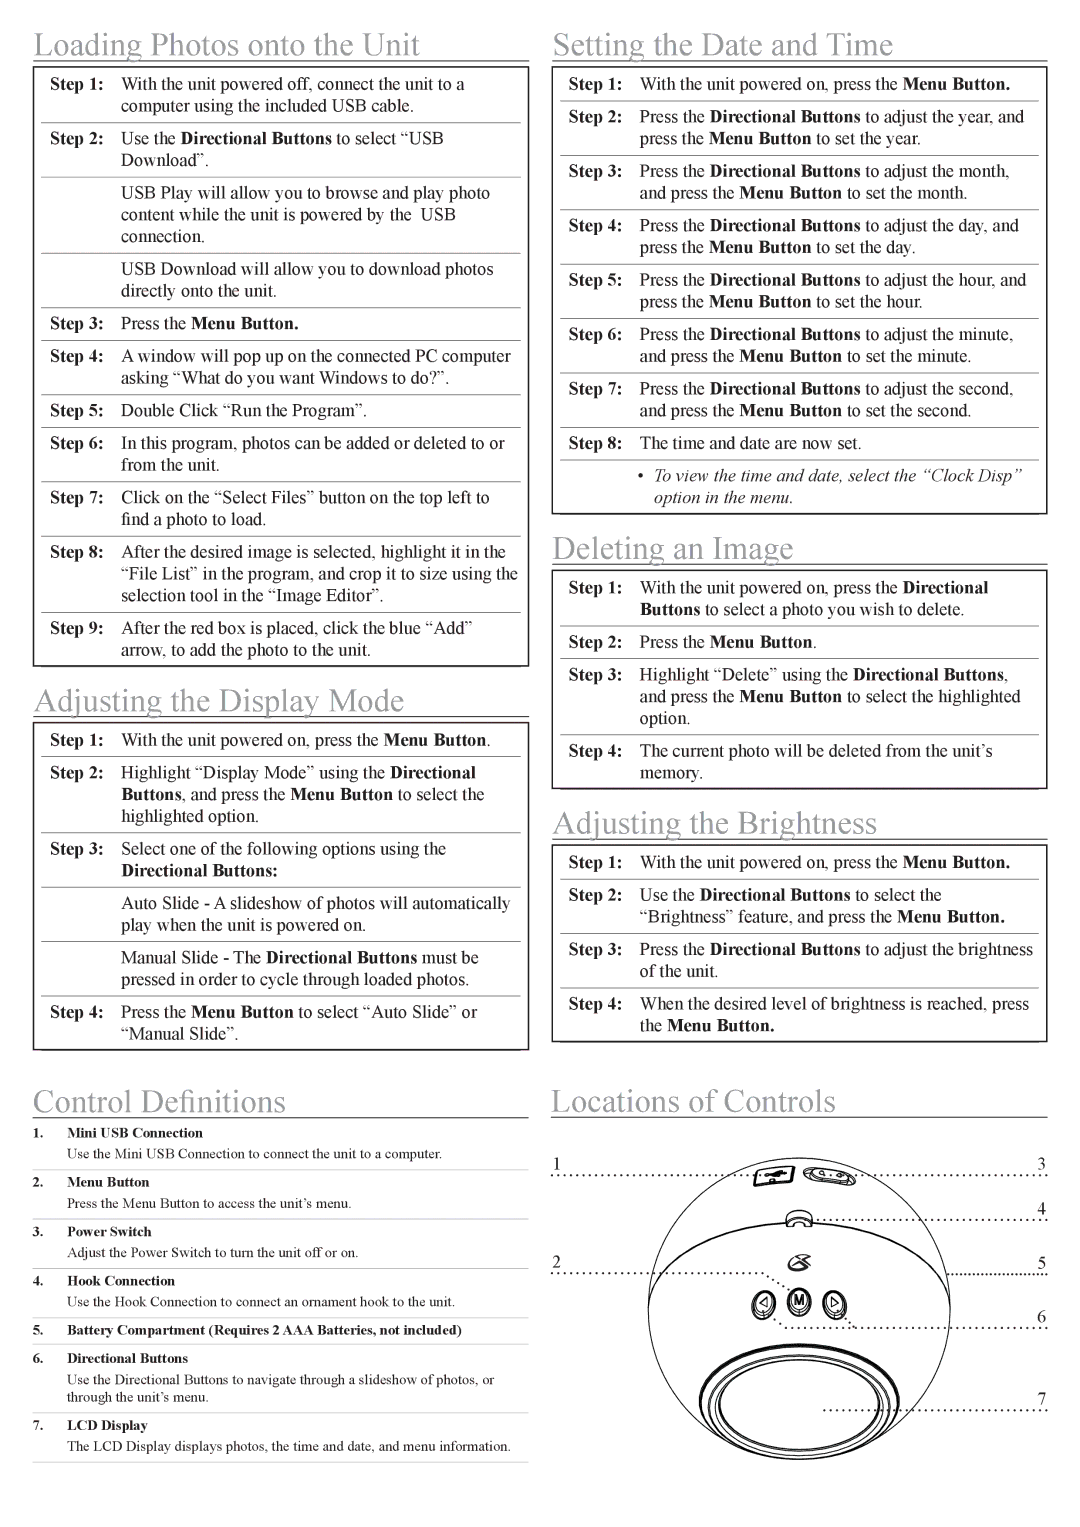
PF118S, PF118R specifications
The GPX PF118S and PF118R are innovative portable Bluetooth speakers designed for music lovers seeking high-quality sound in a compact form. With an eye-catching design and impressive performance, these speakers are suitable for both indoor and outdoor use, making them perfect companions for any occasion.One of the main features of the GPX PF118S and PF118R is their exceptional sound quality. Both speakers are equipped with dual 5-watt drivers that produce crystal-clear audio with deep bass, allowing users to enjoy their favorite tracks as the artist intended. The speakers are designed to fill any room with rich, dynamic sound, making them ideal for parties, gatherings, or simply unwinding after a long day.
In terms of connectivity, the GPX PF118S and PF118R feature advanced Bluetooth technology that allows for seamless pairing with smartphones, tablets, and other Bluetooth-enabled devices. With a wireless range of up to 33 feet, users can move freely while enjoying their music. Additionally, the speakers support AUX input, providing versatility for connecting non-Bluetooth devices, ensuring that everyone can join in on the fun.
Battery life is another standout characteristic of the GPX PF118S and PF118R. Both models are engineered with a long-lasting rechargeable battery that delivers up to 10 hours of playtime on a single charge. This extended battery life means that users can enjoy their music without the constant worry of recharging.
Durability is also a key consideration for those who love to take their music on the go. The GPX PF118S and PF118R are constructed with a rugged exterior, making them resistant to minor bumps and drops. This feature makes them ideal for outdoor enthusiasts or anyone looking to enjoy their favorite tunes at the beach, park, or during camping trips.
Furthermore, both models come with built-in microphone functionality, allowing users to take hands-free calls through the speakers. This added convenience is perfect for multitasking while on the go.
In summary, the GPX PF118S and PF118R stand out in the portable speaker market with their powerful audio performance, versatile connectivity, long battery life, and rugged design. Whether for hosting a gathering or enjoying a quiet evening in, these speakers deliver an exceptional listening experience, ensuring that users can take their music anywhere.

