Graco 03761B dimensions Displacement Pump Service, Before You Start, Intake Valve, Piston Valve

Models: 03761B

1 40
Download 40 pages 933 b
Page 17
Image 17

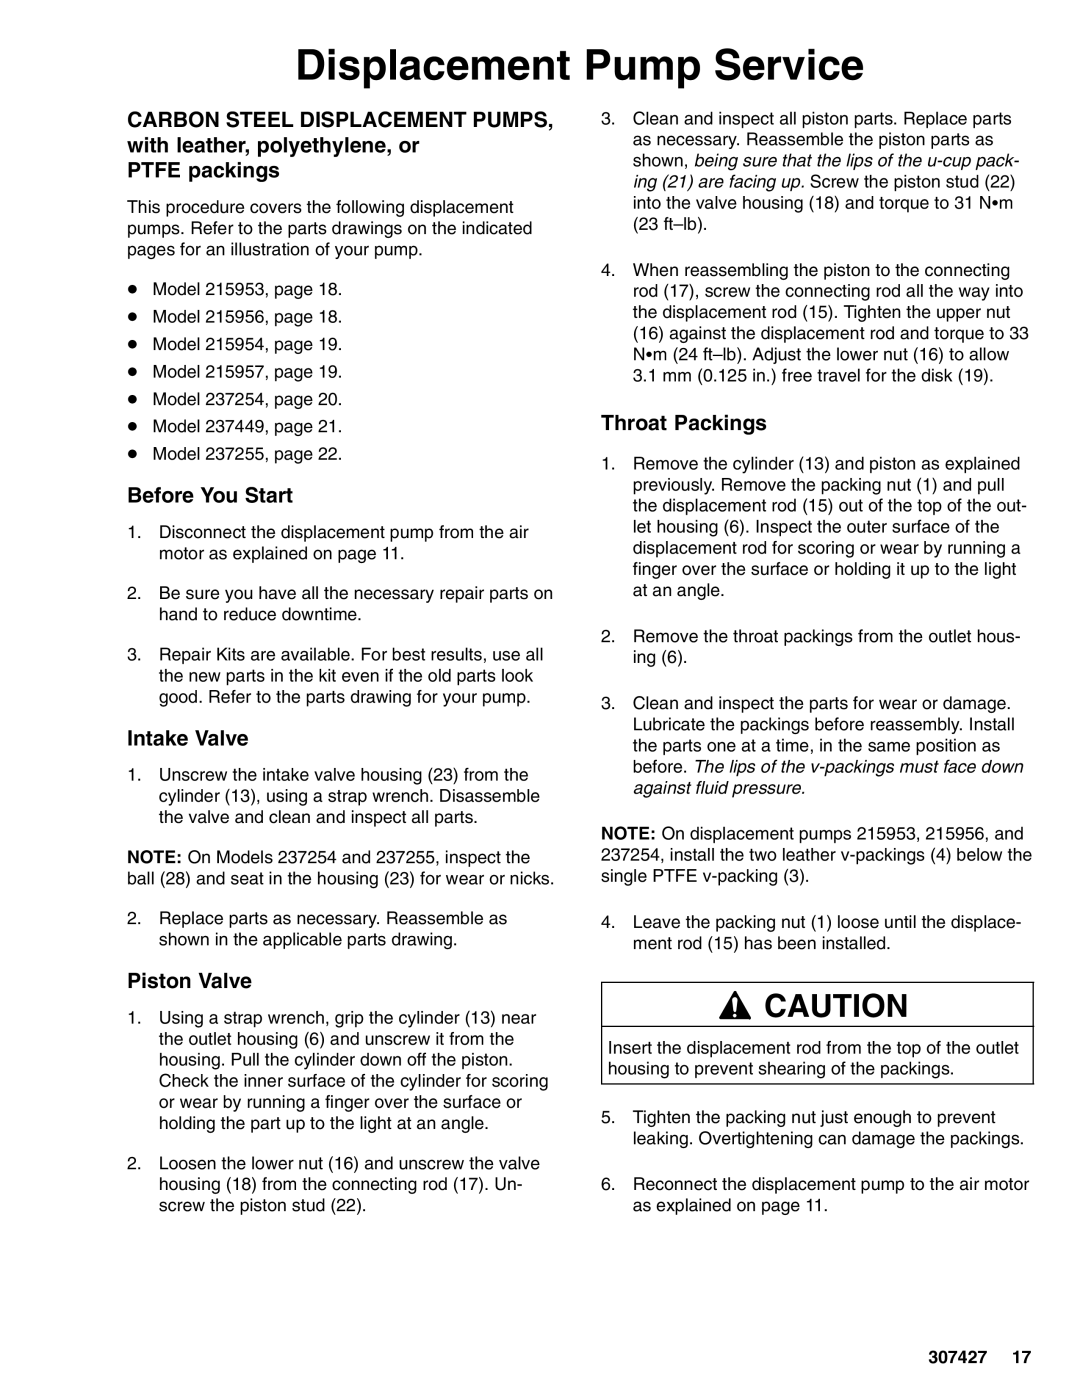
Displacement Pump Service

CARBON STEEL DISPLACEMENT PUMPS, with leather, polyethylene, or

PTFE packings

This procedure covers the following displacement pumps. Refer to the parts drawings on the indicated pages for an illustration of your pump.

DModel 215953, page 18.

DModel 215956, page 18.

DModel 215954, page 19.

DModel 215957, page 19.

DModel 237254, page 20.

DModel 237449, page 21.

DModel 237255, page 22.

Before You Start

1.Disconnect the displacement pump from the air motor as explained on page 11.

2.Be sure you have all the necessary repair parts on hand to reduce downtime.

3.Repair Kits are available. For best results, use all the new parts in the kit even if the old parts look good. Refer to the parts drawing for your pump.

Intake Valve

1.Unscrew the intake valve housing (23) from the cylinder (13), using a strap wrench. Disassemble the valve and clean and inspect all parts.

NOTE: On Models 237254 and 237255, inspect the ball (28) and seat in the housing (23) for wear or nicks.

2.Replace parts as necessary. Reassemble as shown in the applicable parts drawing.

Piston Valve

1.Using a strap wrench, grip the cylinder (13) near the outlet housing (6) and unscrew it from the housing. Pull the cylinder down off the piston. Check the inner surface of the cylinder for scoring or wear by running a finger over the surface or holding the part up to the light at an angle.

2.Loosen the lower nut (16) and unscrew the valve housing (18) from the connecting rod (17). Un- screw the piston stud (22).

3.Clean and inspect all piston parts. Replace parts as necessary. Reassemble the piston parts as shown, being sure that the lips of the u-cup pack- ing (21) are facing up. Screw the piston stud (22) into the valve housing (18) and torque to 31 NSm (23 ft–lb).

4.When reassembling the piston to the connecting rod (17), screw the connecting rod all the way into the displacement rod (15). Tighten the upper nut (16) against the displacement rod and torque to 33 NSm (24 ft–lb). Adjust the lower nut (16) to allow 3.1 mm (0.125 in.) free travel for the disk (19).

Throat Packings

1.Remove the cylinder (13) and piston as explained previously. Remove the packing nut (1) and pull the displacement rod (15) out of the top of the out- let housing (6). Inspect the outer surface of the displacement rod for scoring or wear by running a finger over the surface or holding it up to the light at an angle.

2.Remove the throat packings from the outlet hous- ing (6).

3.Clean and inspect the parts for wear or damage. Lubricate the packings before reassembly. Install the parts one at a time, in the same position as before. The lips of the v-packings must face down against fluid pressure.

NOTE: On displacement pumps 215953, 215956, and 237254, install the two leather v-packings (4) below the single PTFE v-packing (3).

4.Leave the packing nut (1) loose until the displace- ment rod (15) has been installed.

CAUTION

Insert the displacement rod from the top of the outlet housing to prevent shearing of the packings.

5.Tighten the packing nut just enough to prevent leaking. Overtightening can damage the packings.

6.Reconnect the displacement pump to the air motor as explained on page 11.

307427 17

Page 17
Image 17
Graco 03761B dimensions Displacement Pump Service, Before You Start, Intake Valve, Piston Valve, Throat Packings

03761B specifications

The Graco 03761B is a high-performance airless paint sprayer designed to simplify the painting process for both homeowners and professionals. Renowned for its efficiency and ease of use, this sprayer is a go-to tool for delivering a smooth and even finish on a variety of surfaces.

One of the standout features of the Graco 03761B is its powerful motor. It is equipped with a robust electric motor that delivers consistent pressure, enabling the user to apply paint with precision. This feature allows for effective coverage, ensuring that every nook and cranny gets painted without any blotches or inconsistencies. The motor provides a flow rate of up to 0.34 gallons per minute, which translates to faster job completion, ultimately saving both time and effort.

The Graco 03761B utilizes advanced technologies such as the ProXChange Pump, which allows for fast and easy pump replacement on the job site. This innovation minimizes downtime, ensuring the project stays on schedule. Additionally, the airless jet technology allows users to apply coatings without the need for air compressors, reducing the equipment's weight and improving portability.

Another key characteristic of the 03761B is its adjustable pressure settings. Users can easily control the pressure to suit the type of paint and surface being sprayed. This flexibility provides the ability to tackle a wide range of applications, from fine detail work on furniture to large wall or fence projects.

The gun designed for this model is user-friendly, featuring a comfortable grip that reduces fatigue during prolonged use. The model also includes a reversible tip, which allows the user to quickly clear clogs without losing valuable work time.

The Graco 03761B is also designed with durability in mind. Its robust construction ensures that it can withstand the rigors of regular use, making it a reliable companion on job sites or during home improvement projects.

In summary, the Graco 03761B is a powerful, efficient, and versatile airless paint sprayer. With features like a strong motor, ProXChange pump system, adjustable pressure settings, and user-friendly design, it offers exceptional value for anyone looking to achieve a professional-quality finish with ease. Whether for a DIY enthusiast or a painting contractor, the Graco 03761B stands out as a top choice in the airless spray market.