Spray Techniques
Spray Techniques
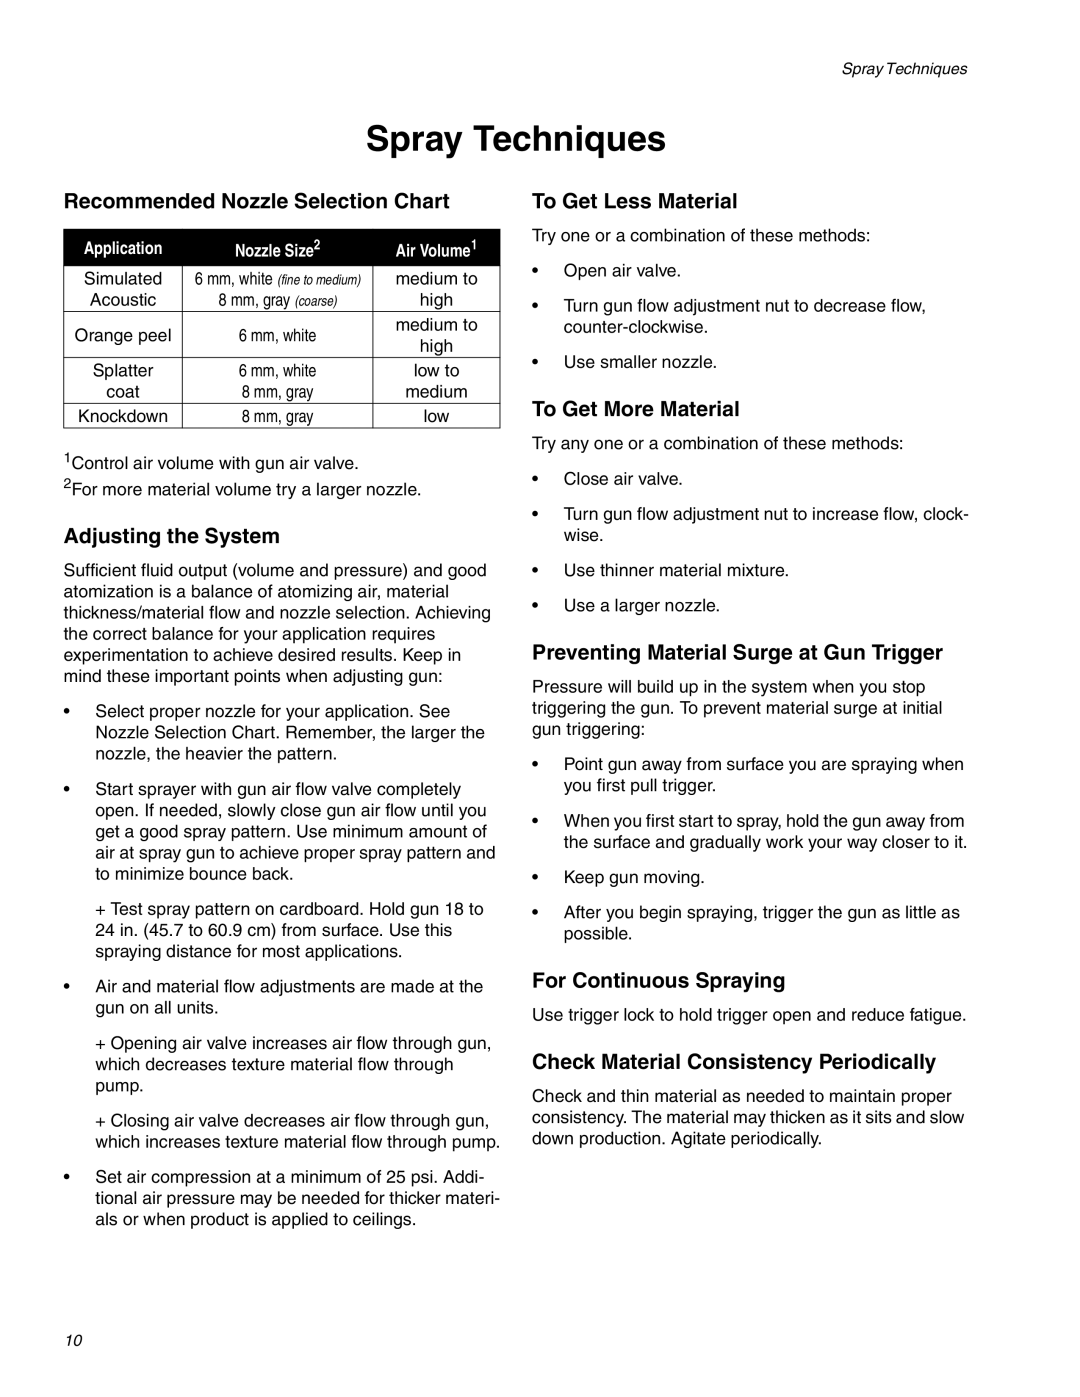
Recommended Nozzle Selection Chart
Application | Nozzle Size2 | Air Volume1 | |
Simulated | 6 mm, white (fine to medium) | medium to | |
Acoustic | 8 mm, gray (coarse) | high | |
Orange peel | 6 mm, white | medium to | |
high | |||
|
| ||
Splatter | 6 mm, white | low to | |
coat | 8 mm, gray | medium | |
Knockdown | 8 mm, gray | low |
1Control air volume with gun air valve.
2For more material volume try a larger nozzle.
Adjusting the System
Sufficient fluid output (volume and pressure) and good atomization is a balance of atomizing air, material thickness/material flow and nozzle selection. Achieving the correct balance for your application requires experimentation to achieve desired results. Keep in mind these important points when adjusting gun:
•Select proper nozzle for your application. See Nozzle Selection Chart. Remember, the larger the nozzle, the heavier the pattern.
•Start sprayer with gun air flow valve completely open. If needed, slowly close gun air flow until you get a good spray pattern. Use minimum amount of air at spray gun to achieve proper spray pattern and to minimize bounce back.
+Test spray pattern on cardboard. Hold gun 18 to 24 in. (45.7 to 60.9 cm) from surface. Use this spraying distance for most applications.
•Air and material flow adjustments are made at the gun on all units.
+Opening air valve increases air flow through gun, which decreases texture material flow through pump.
+Closing air valve decreases air flow through gun, which increases texture material flow through pump.
•Set air compression at a minimum of 25 psi. Addi- tional air pressure may be needed for thicker materi- als or when product is applied to ceilings.
To Get Less Material
Try one or a combination of these methods:
•Open air valve.
•Turn gun flow adjustment nut to decrease flow,
•Use smaller nozzle.
To Get More Material
Try any one or a combination of these methods:
•Close air valve.
•Turn gun flow adjustment nut to increase flow, clock- wise.
•Use thinner material mixture.
•Use a larger nozzle.
Preventing Material Surge at Gun Trigger
Pressure will build up in the system when you stop triggering the gun. To prevent material surge at initial gun triggering:
•Point gun away from surface you are spraying when you first pull trigger.
•When you first start to spray, hold the gun away from the surface and gradually work your way closer to it.
•Keep gun moving.
•After you begin spraying, trigger the gun as little as possible.
For Continuous Spraying
Use trigger lock to hold trigger open and reduce fatigue.
Check Material Consistency Periodically
Check and thin material as needed to maintain proper consistency. The material may thicken as it sits and slow down production. Agitate periodically.
10
