Base Attachment
The metal base plate needs to be attached to the spindle sander before use.
Components and Hardware Needed: | Qty |
Tap Screw | 4 |
Sander Base Plate | 1 |
To attach the sander base plate: |
|
1.Examine the inside of the sander body and remove any loose packing material found.
Note: Loose packing material inside the sander body during operation is an imminent fire hazard.
2.Attach the base plate to the underside of the sander with the included
Mounting
We strongly recommend mounting the spindle sander to a mounting board or workbench before being used.
Components and Hardware Needed: | Qty |
Hex Bolts | 4 |
Hex Nuts | 4 |
Flat Washers 1⁄4" | 8 |
Lock Washers 1⁄4" | 4 |
To secure the spindle sander to a benchtop or mounting board:
1.Place the spindle sander on a workbench or mounting board no smaller than 24"W x 18"D.
2.Using the 1⁄4" holes in the sander body as a template, drill holes through the mounting board or benchtop as appropriate.
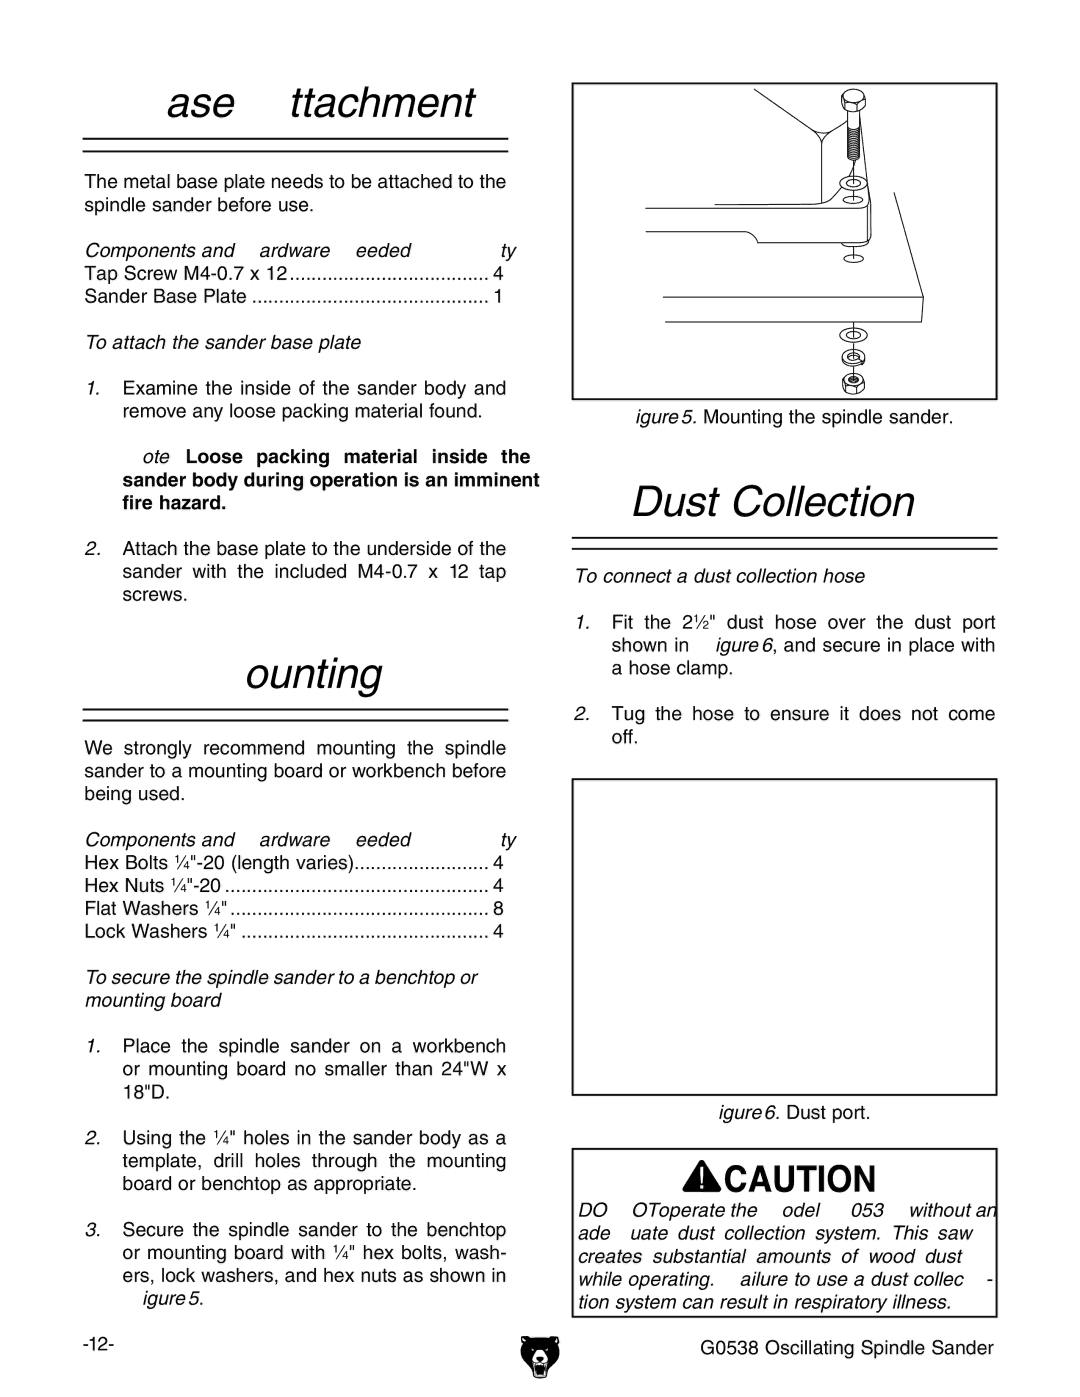
3.Secure the spindle sander to the benchtop or mounting board with 1⁄4" hex bolts, wash- ers, lock washers, and hex nuts as shown in Figure 5.
Figure 5. Mounting the spindle sander.
Dust Collection
To connect a dust collection hose:
1.Fit the 21⁄2" dust hose over the dust port shown in Figure 6, and secure in place with a hose clamp.
2.Tug the hose to ensure it does not come off.
Figure 6. Dust port.
DO NOT operate the Model G0538 without an adequate dust collection system. This saw creates substantial amounts of wood dust while operating. Failure to use a dust collec- tion system can result in respiratory illness.
G0538 Oscillating Spindle Sander
