2.The cup is removed/installed by loos- ening/tighting the cup lock and engag- ing/disengaging the hooks to the cup pins (see Figure 3).
Figure 3. Installing cup.
3.Attach the air hose to the directly to the air fitting on the spray gun or with a 1⁄4" NPS quick connect fitting (not included).
4.Attach the spray gun to a filtered, regu- lated air source. See the Tool Data Sheet on Page 6 for your spray gun air requirements.
Note: For the best results, use a hose that will be dedicated for spray use only. Do not use a hose that has been used with an
If you need additional help with this assem- bly, call our Technical Support at: (570)
Controls | |
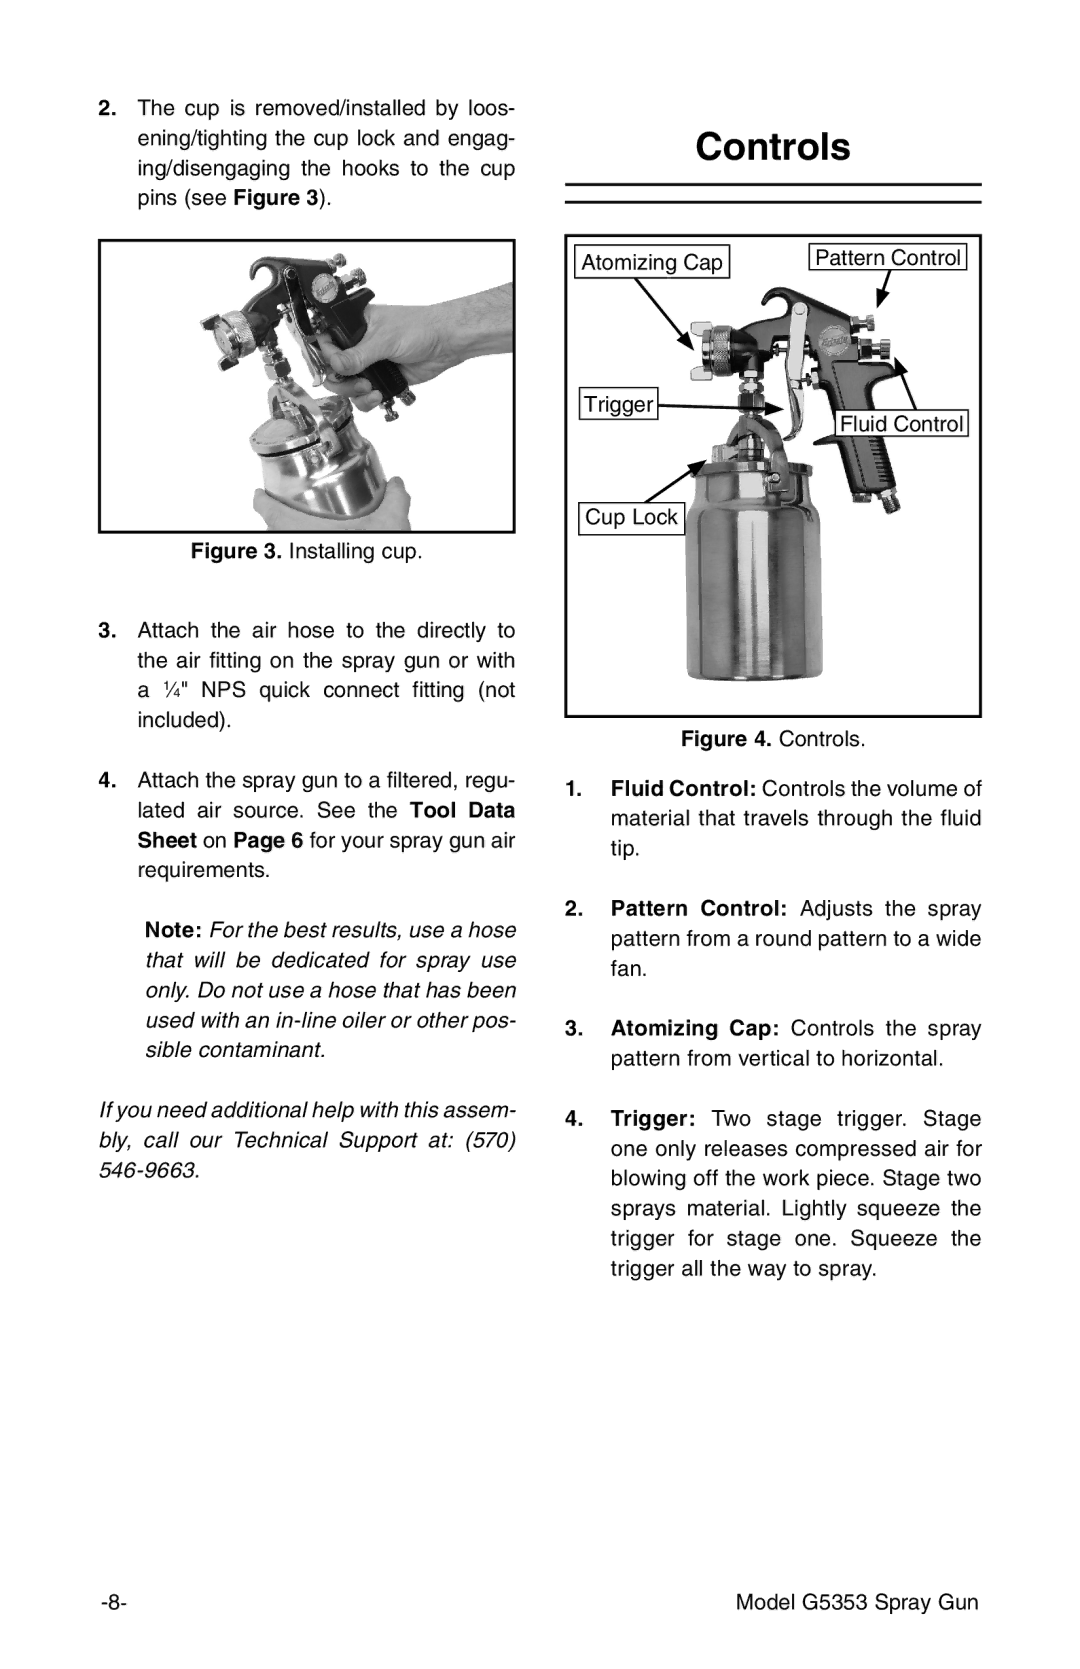
Atomizing Cap | Pattern Control |
Trigger | Fluid Control |
| |
Cup Lock |
|
Figure 4. Controls.
1.Fluid Control: Controls the volume of material that travels through the fluid tip.
2.Pattern Control: Adjusts the spray pattern from a round pattern to a wide fan.
3.Atomizing Cap: Controls the spray pattern from vertical to horizontal.
4.Trigger: Two stage trigger. Stage one only releases compressed air for blowing off the work piece. Stage two sprays material. Lightly squeeze the trigger for stage one. Squeeze the trigger all the way to spray.
Model G5353 Spray Gun |