STEP 5: CLOSE THE LID
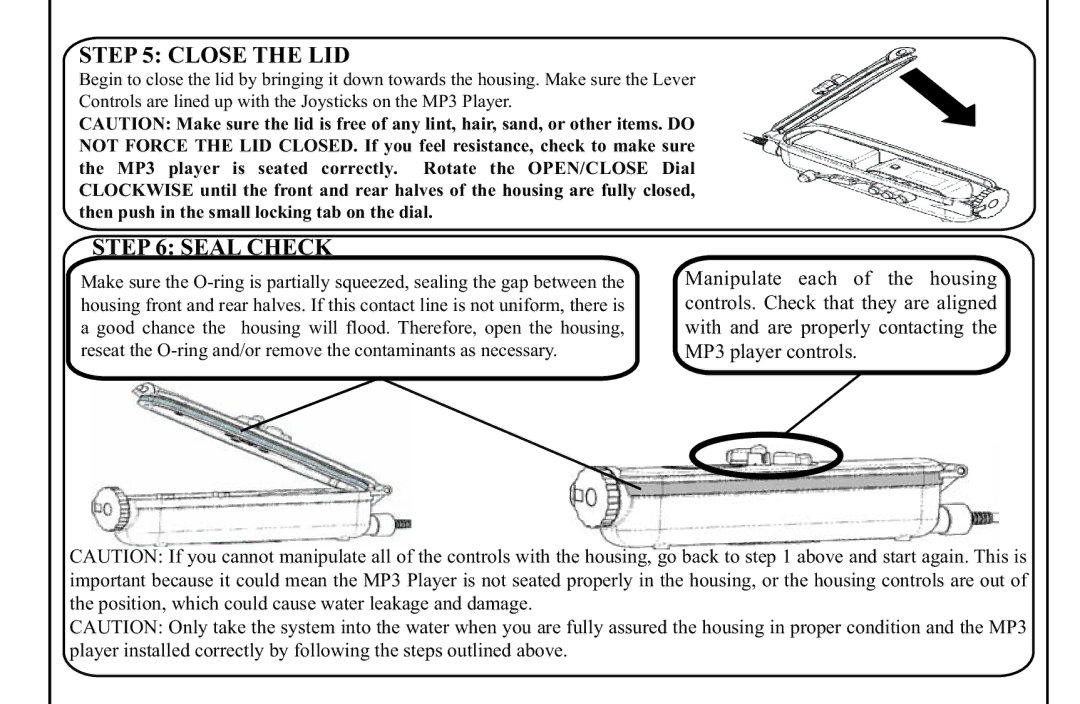
Begin to close the lid by bringing it down towards the housing. Make sure the Lever Controls are lined up with the Joysticks on the MP3 Player.
CAUTION: Make sure the lid is free of any lint, hair, sand, or other items. DO NOT FORCE THE LID CLOSED. If you feel resistance, check to make sure the MP3 player is seated correctly. Rotate the OPEN/CLOSE Dial CLOCKWISE until the front and rear halves of the housing are fully closed, then push in the small locking tab on the dial.
STEP 6: SEAL CHECK
Make sure the
Manipulate each of the housing controls. Check that they are aligned with and are properly contacting the MP3 player controls.
CAUTION: If you cannot manipulate all of the controls with the housing, go back to step 1 above and start again. This is important because it could mean the MP3 Player is not seated properly in the housing, or the housing controls are out of the position, which could cause water leakage and damage.
CAUTION: Only take the system into the water when you are fully assured the housing in proper condition and the MP3 player installed correctly by following the steps outlined above.
