Menu Operations
NOTE: Using your remote control to navigate in the
The
Picture Menu Options
Picture quality can be adjusted for any input separately .
The picture quality on the screen can be adjusted as follows:
1.Press MENU button and ![]() /
/ ![]() until the picture menu appears on the screen.
until the picture menu appears on the screen.
2.Press ![]() /
/![]() button to enter the picture menu and go up and down to select the desired option .
button to enter the picture menu and go up and down to select the desired option .
3.Press ![]() /
/ ![]() button to increase and decrease the level to match your preference . 4. Repeat step 2 and step 3 until desired picture quality has been achieved .
button to increase and decrease the level to match your preference . 4. Repeat step 2 and step 3 until desired picture quality has been achieved .
Functions:
Video Mode: Press ![]() /
/ ![]() to set the picture mode .
to set the picture mode .
Contrast : Used to set the contrast balance of the picture.
Brightness : Used to set the brightness level of the picture.
Colour : Press ![]() /
/ ![]() to adjust the colour saturation of the picture.
to adjust the colour saturation of the picture.
Sharpness : By increasing the level, it will show cleaner and clearer images and by decreasing the level, it will make picture smoother.
Tint(Only available in NTSC): Set the colour tone of the picture.
Colour Temperature : Press to select the colour temperature from Normal/Cool/ Warm .
Noise Reduction: Adjust the quality of the picture by selecting Off,Low, Middle,High.
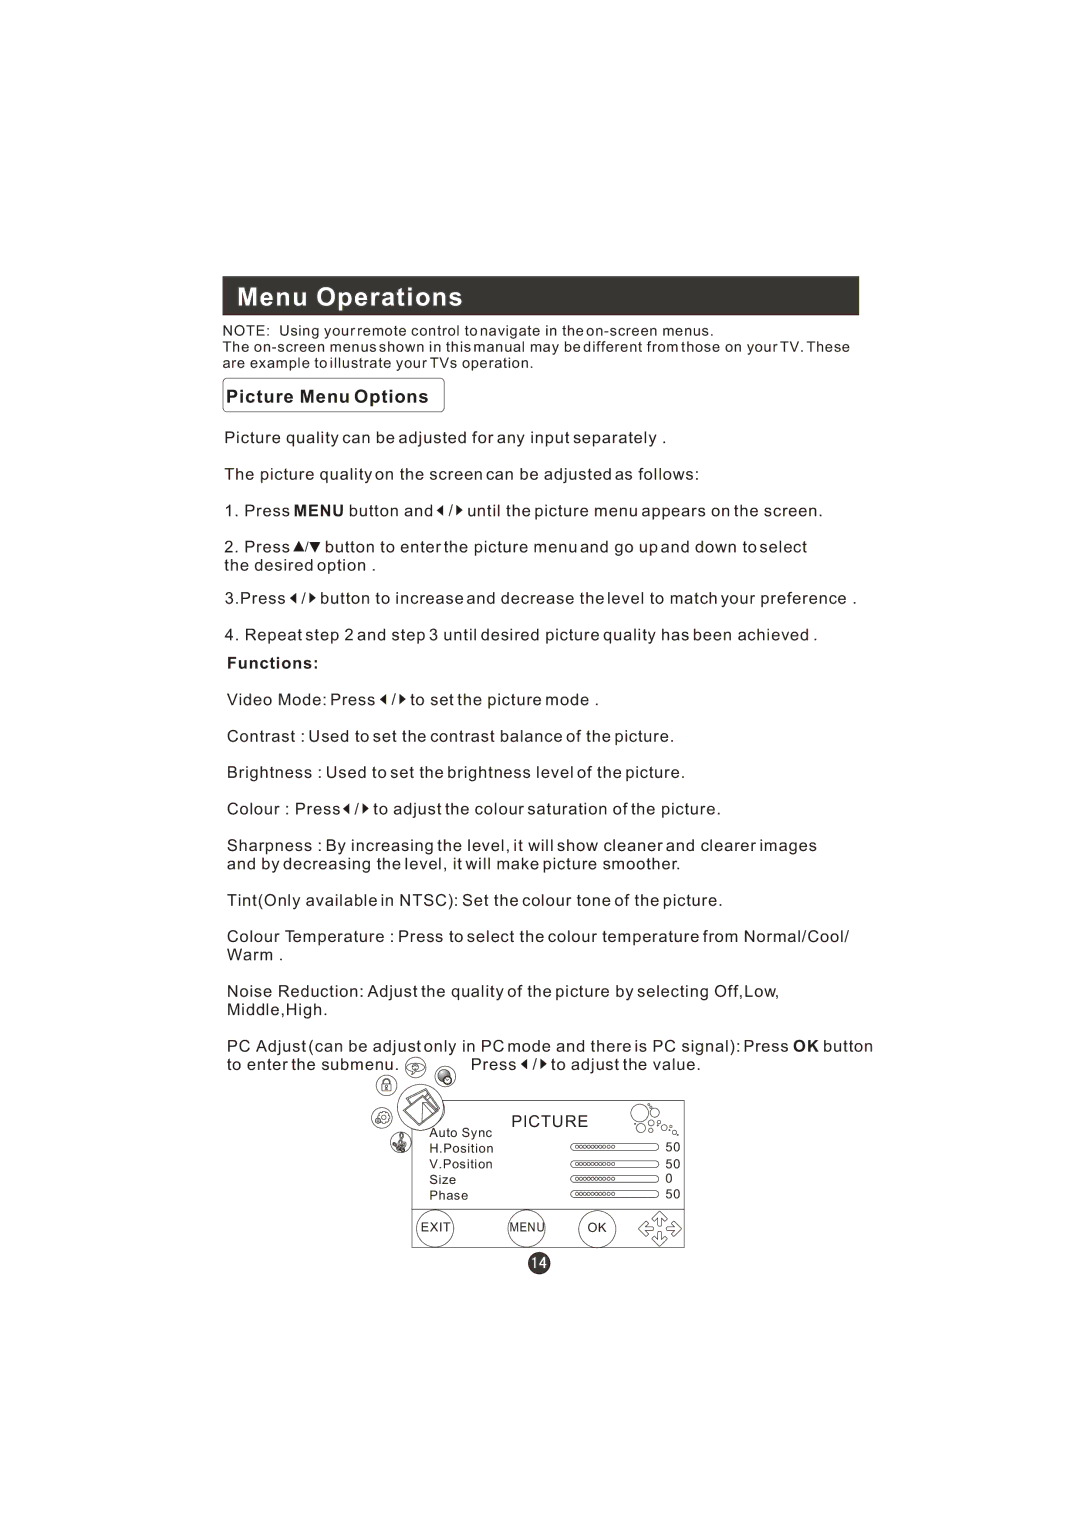
PC Adjust (can be adjust only in PC mode and there is PC signal): Press OK button
to enter the submenu. | Press / | to adjust the value. |
| PICTURE | |
Auto Sync |
| |
H.Position | 50 | |
V.Position | 50 | |
Size |
| 0 |
Phase |
| 50 |
EXIT | MENU | OK |
