UNPACKINGAND INSTALLATION
1.Remove protective crating and skids carefully. In the event of damage in transit, contact Harbor Freight Tools immediately.
2.Read the owner’s manual and become familiar with the parts and controls on the drawings before using this machine, as familiarity with the controls will enhance your ability and safety in using it.
INSTALLATION
1.It is important that the machine be located on a hard, solid, level floor. Find a location that supplies easy access to 110 Volt electrical service. Make sure this machine is located in a well lighted and well ventilated area. The floor should be resistant to vibration.
2.Before moving the machine, be sure the head is fixed on the column. Before moving the machine, lower the head as much as possible to lower the center of gravity. When moving the machine be careful to keep it balanced, and not allow it to topple over.
3.To set the machine on a solid concrete foundation, it’s advisable to apply a little grout to touch up any uneveness in the concrete in order to get a solid foundation at all points.
4.When setting machine on a floor that has any surface irregularities, shims should be used to correct this condition to the greatest extent possible.
5.There are 4 holes in the base for mounting the machine permanently to a smooth, solid, and level floor.
CLEANINGAND LUBRICATION
1.Thoroughly clean the machine with a commercial degreaser. Do not use gasoline, kerosene or other flammable liquids. Avoid getting solvent on rubber parts, or into the electrical controls or motor.
2.After cleaning, coat all bright metal with a light lubricant to prevent corrosion.
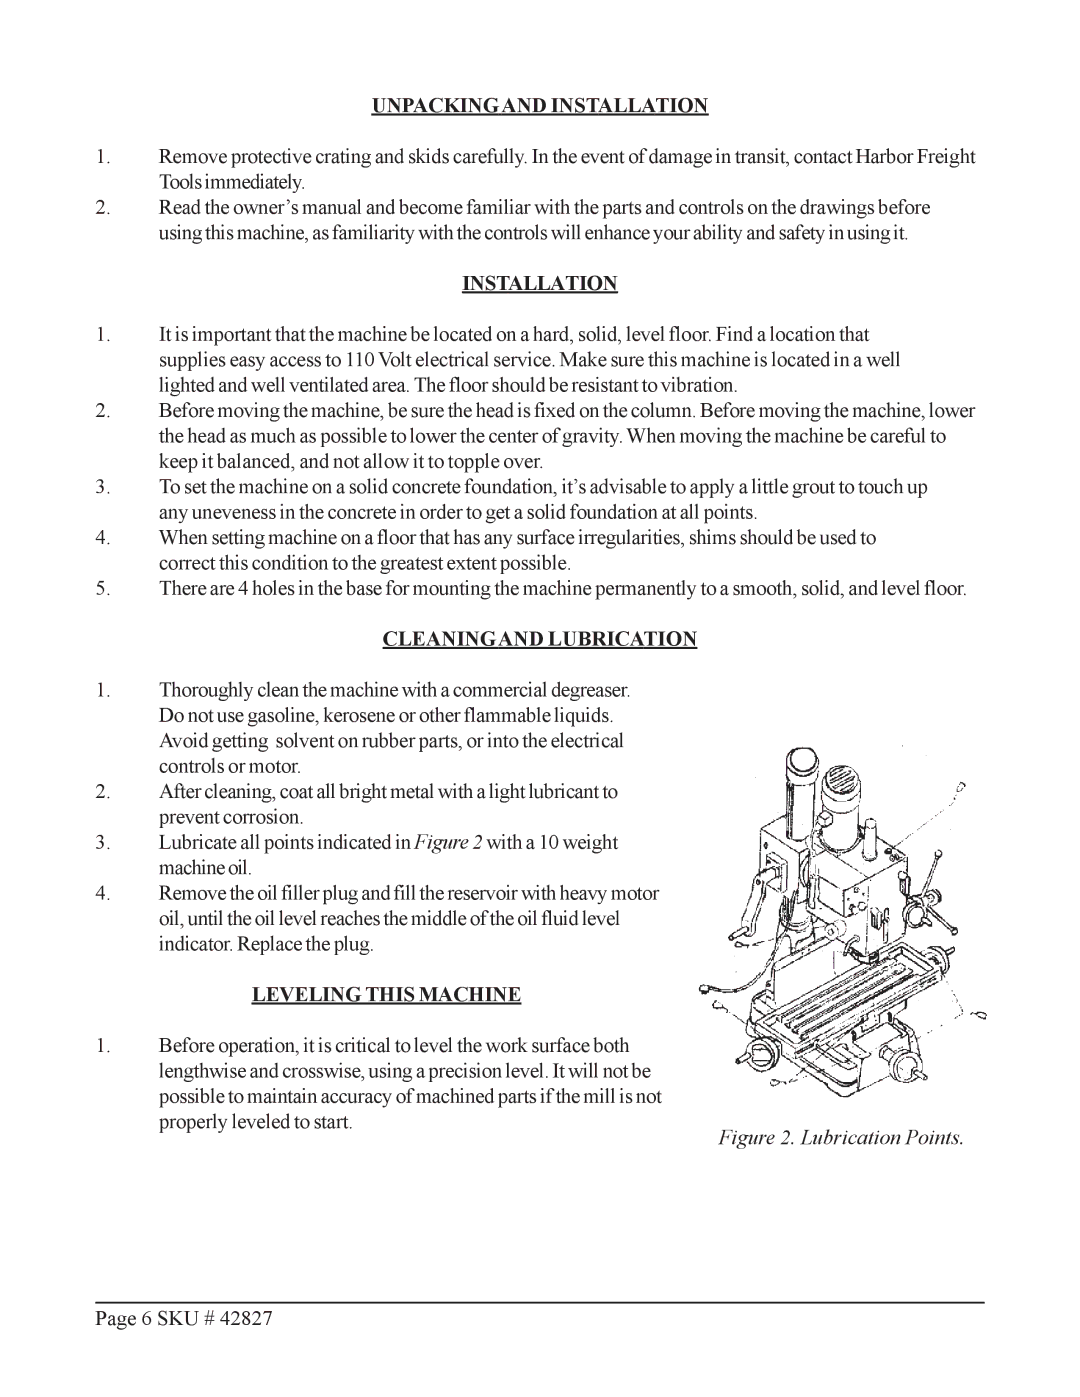
3.Lubricate all points indicated in Figure 2 with a 10 weight machine oil.
4.Remove the oil filler plug and fill the reservoir with heavy motor oil, until the oil level reaches the middle of the oil fluid level indicator. Replace the plug.
LEVELING THIS MACHINE
1. Before operation, it is critical to level the work surface both lengthwise and crosswise, using a precision level. It will not be possible to maintain accuracy of machined parts if the mill is not properly leveled to start.
Figure 2. Lubrication Points.
Page 6 SKU # 42827
