43242 specifications
Harbor Freight Tools has long been known for delivering high-quality tools at affordable prices. One of its standout offerings is the Harbor Freight Tools 43242, a versatile and powerful tool that has captured the attention of DIY enthusiasts and professionals alike. This tool is designed to meet the demands of various tasks ranging from automotive repairs to home improvement projects.The Harbor Freight Tools 43242 is primarily a compact and portable 20-gallon air compressor. Its robust design ensures maximum performance while remaining user-friendly for all skill levels. The compressor is powered by a 1.5 HP motor, which provides ample horsepower to efficiently operate air tools such as nail guns, impact wrenches, and spray guns. This makes it a valuable addition to any workshop.
One of the most significant features of the 43242 is its oil-free pump, which eliminates the need for regular maintenance associated with oil-lubricated compressors. This not only saves time but also enhances the longevity of the tool. The oil-free pump allows for quicker startup and efficient operation, providing up to 125 PSI for tasks that require higher pressure.
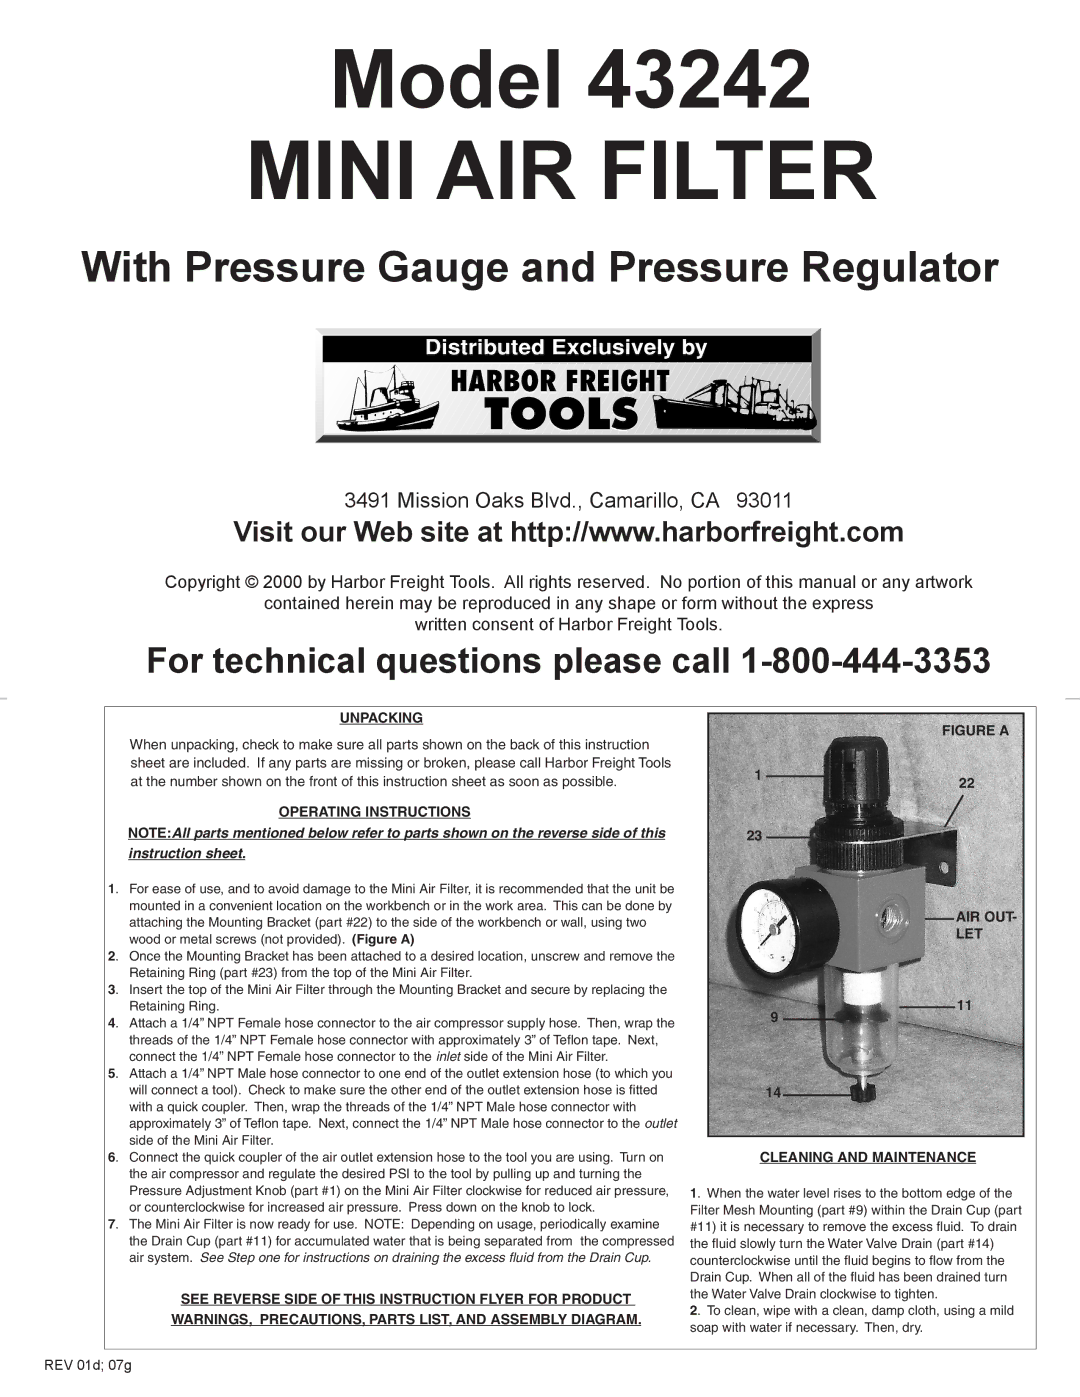
Another key characteristic of the 43242 is its easy-to-read regulator and pressure gauge that ensure precise control of airflow, allowing users to adjust settings based on specific tasks. The durable wheel design enables easy mobility around the shop or job site, making it convenient to transport.
In terms of safety, the Harbor Freight Tools 43242 comes equipped with an automatic shut-off feature that prevents overheating, ensuring that the motor remains safe during prolonged use. This feature contributes to both user and tool safety.
Additionally, the compressor is built with a sturdy frame, designed to withstand the rigors of daily use while maintaining a compact footprint. This makes it suitable for both home use and professional environments.
In conclusion, the Harbor Freight Tools 43242 is an exceptional air compressor that combines power, portability, and user-friendly features. Its oil-free pump, adjustable pressure control, and safety features make it an ideal choice for anyone looking to take their projects to the next level, whether at home or on the job. With its affordability and performance, it remains a top contender in the air compressor market.

