90262 specifications
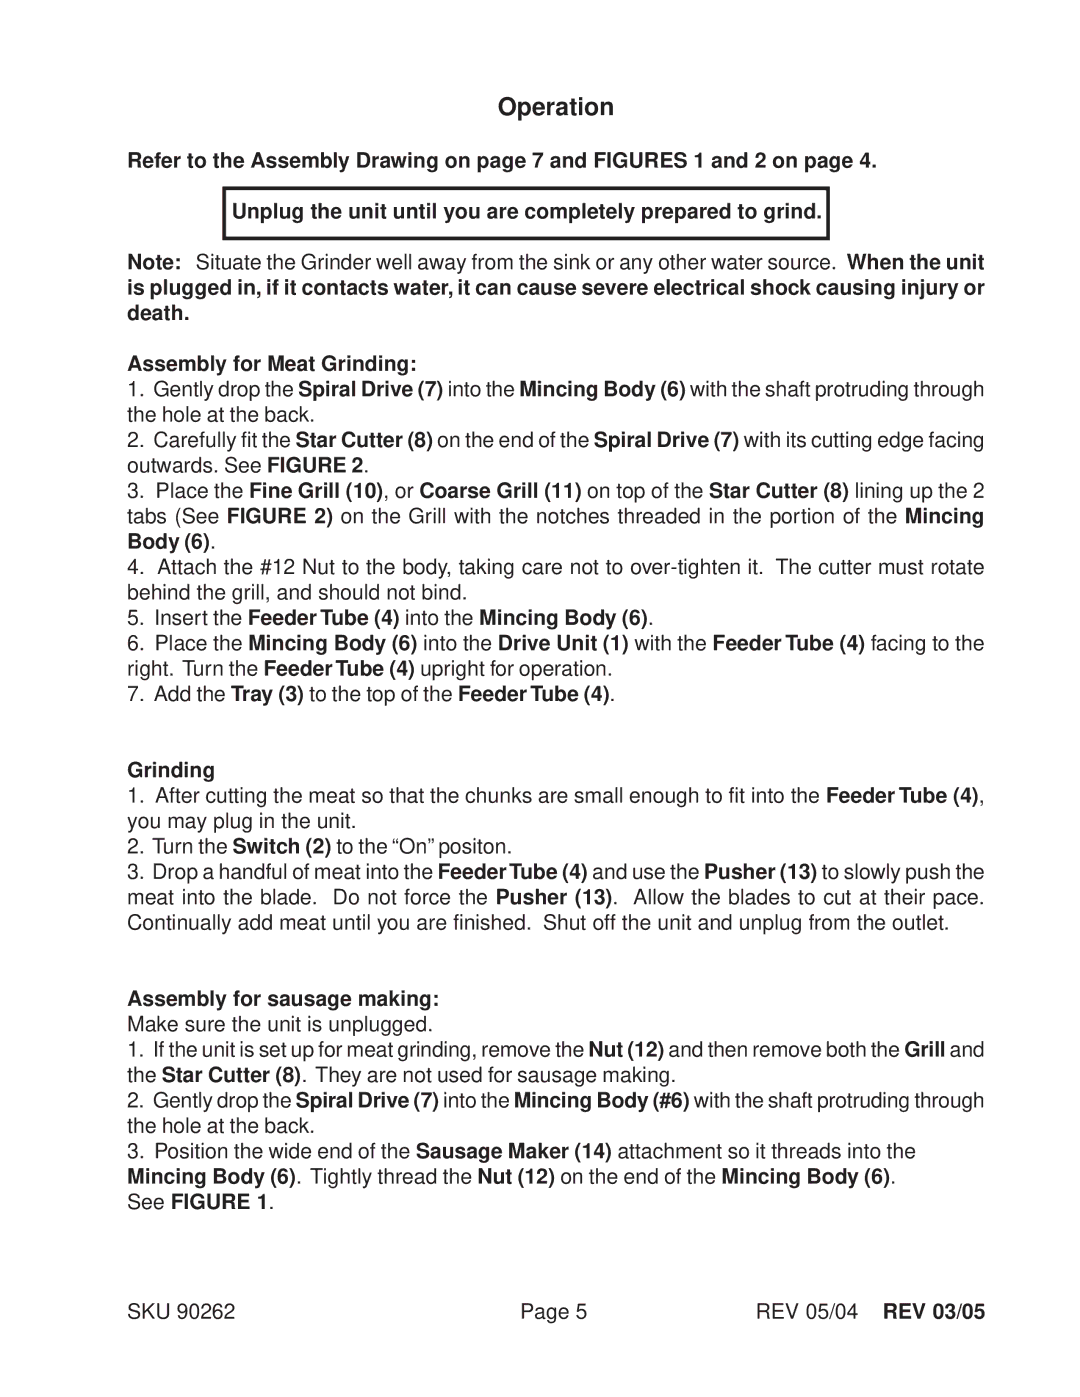
The Harbor Freight Tools 90262 is a versatile and popular tool that has gained a dedicated following among both DIY enthusiasts and professionals. This tool is well-known for its powerful features, user-friendly design, and affordable price point, making it a valuable addition to any toolbox.One of the standout features of the Harbor Freight Tools 90262 is its robust construction. Designed to handle a variety of tasks, this tool is built from high-quality materials that ensure durability and longevity. Its rugged build makes it suitable for both light and heavy-duty applications, whether you are working on home improvement projects or professional jobs.
The 90262 model is equipped with a powerful motor that provides ample torque for a wide range of tasks. This means users can expect efficient performance, whether they are drilling, fastening, or cutting. The tool's ergonomic design offers a comfortable grip, reducing fatigue during prolonged use, making it an excellent choice for those long workdays.
Another key characteristic of the Harbor Freight Tools 90262 is its versatility. It is compatible with a wide array of attachments and accessories, which allows users to tackle multiple projects without needing separate tools. This versatility not only saves time but also reduces the overall cost of maintaining a comprehensive tool set.
In addition to its robust features, the Harbor Freight Tools 90262 also incorporates advanced technology to enhance user experience. Some models include adjustable settings, which allow users to switch between various speeds and torque levels, making it easier to customize the tool's performance for specific tasks.
Safety is also a top priority, and the 90262 comes equipped with features that promote safe usage. This includes protective guards and a secure locking mechanism that prevents accidental activation.
Overall, the Harbor Freight Tools 90262 is a powerhouse tool that combines durability, versatility, and user-friendly features. Its affordable pricing makes it accessible to a wide range of users, from the casual hobbyist to the seasoned professional. Whether you’re looking to accomplish simple repairs or tackle complex projects, the Harbor Freight Tools 90262 is designed to meet your needs efficiently and effectively, making it a reliable choice for any tool collection.
