Assembly
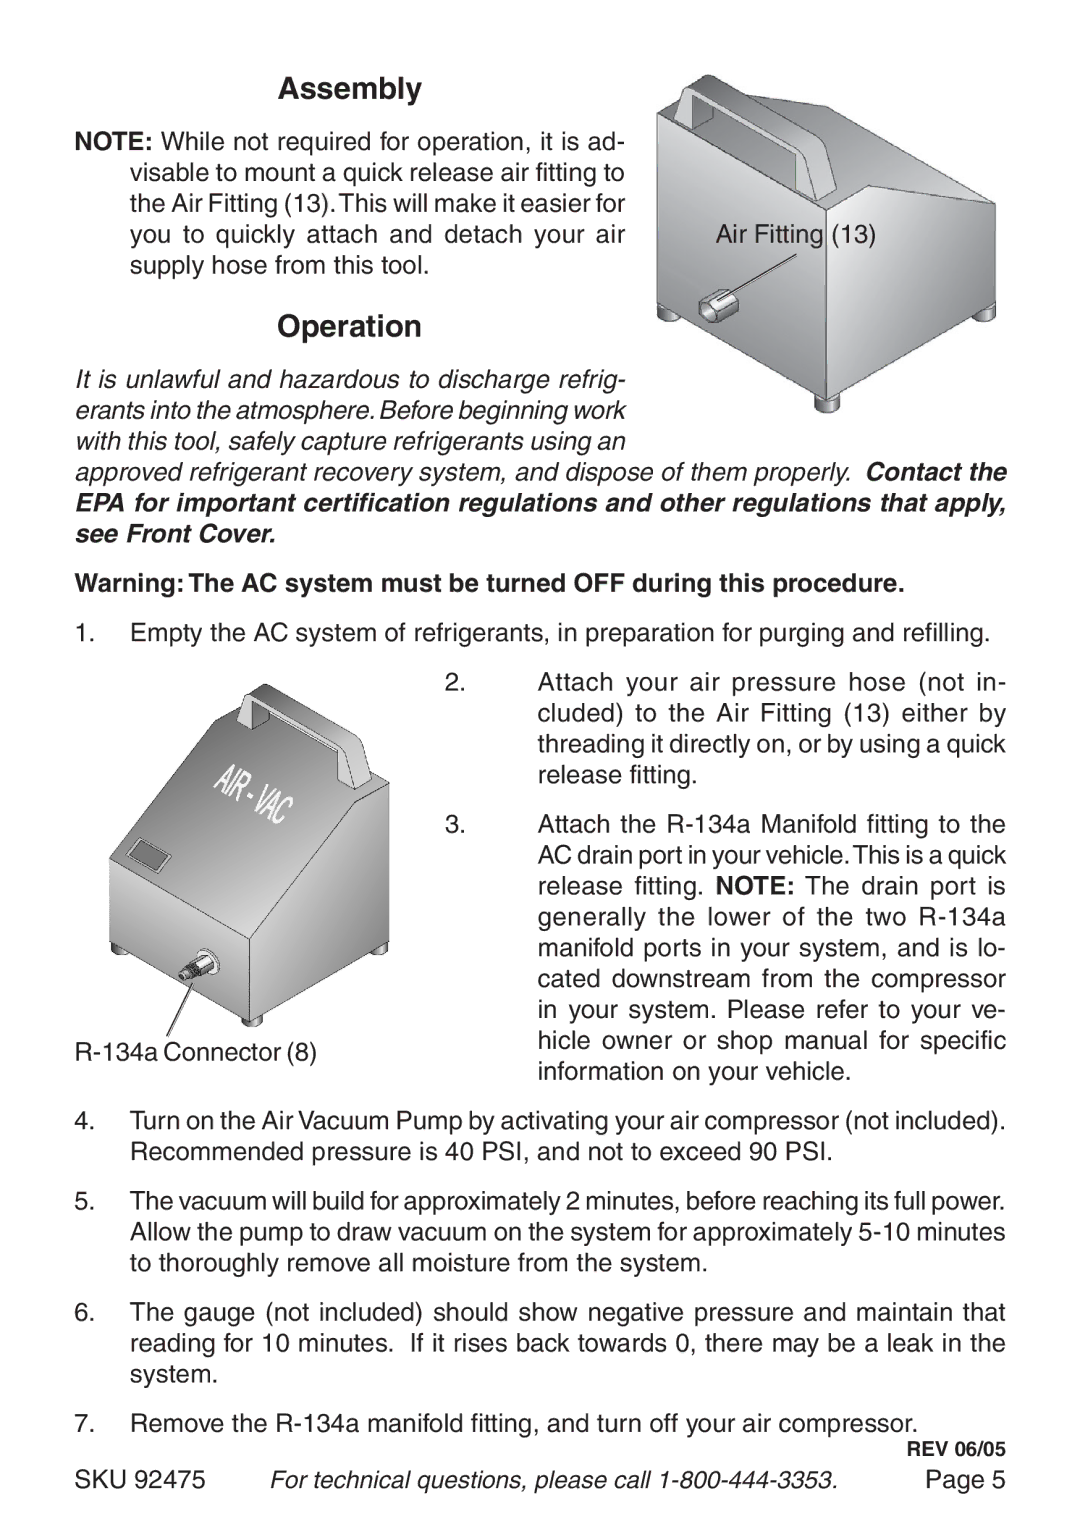
NOTE: While not required for operation, it is ad- visable to mount a quick release air fitting to the Air Fitting (13). This will make it easier for
you to quickly attach and detach your air Air Fitting (13) supply hose from this tool.
Operation
It is unlawful and hazardous to discharge refrig- erants into the atmosphere. Before beginning work with this tool, safely capture refrigerants using an
approved refrigerant recovery system, and dispose of them properly. Contact the
EPA for important certification regulations and other regulations that apply, see Front Cover.
Warning: The AC system must be turned OFF during this procedure.
1.Empty the AC system of refrigerants, in preparation for purging and refilling.
2.Attach your air pressure hose (not in- cluded) to the Air Fitting (13) either by threading it directly on, or by using a quick release fitting.
3.Attach the
hicle owner or shop manual for specific | ||
information on your vehicle. | ||
|
4.Turn on the Air Vacuum Pump by activating your air compressor (not included). Recommended pressure is 40 PSI, and not to exceed 90 PSI.
5.The vacuum will build for approximately 2 minutes, before reaching its full power. Allow the pump to draw vacuum on the system for approximately
6.The gauge (not included) should show negative pressure and maintain that reading for 10 minutes. If it rises back towards 0, there may be a leak in the system.
7.Remove the
REV 06/05
SKU 92475 | For technical questions, please call | Page 5 |
