With the Trigger held, carefully lift the nailer and press it against the workpiece again. The tool must not cycle (fire). If it fails to act in the manner explained in bold, have it repaired by a qualified service technician.
Loading Staples
Always wear ANSI approved impact safety goggles when reloading or doing any other maintenance on this tool. Other people in the work area must also wear ANSI approved impact safety goggles.
Warning! MakesuretheStaplerisnotattached to the air hose whenever loading the tool.
1.Release the Latch (69) and pull back on Magazine B (61).
2.Insert a row of clean, undamaged staples with the crowns up.
3.Push Magazine B (61) forward until the Latch (69) snaps into place.
Operating the Stapler
1.Attach the Stapler to the air supply at the Air Plug (82). Start your compressor and check the pressure, making sure it is set at the recommended
2.To fire, place the nose of the Stapler on the workpiece. The Stapler should not fire if the nose is not depressed. Once depressed, gently and briefly squeeze the Trigger (39) once. Do not fire repeatedly. Staples could bounce off of one another, damaging the work piece or causing personal injury.
3.After disconnecting the Stapler, the Nut (39), near the trigger, can be turned to adjust the depth. After adjusting, be sure to practice on scrap wood before working on a project.
Clearing Jams
To prevent serious injury
from accidental operation,
BEFORE ANY MAINTENANCE OR REPAIRS ARE DONE (including clearing jams):
•Wear
•Release the trigger.
•Detach the air supply.
•Attempt to fire the Tool into a piece of scrap wood to ensure that it is disconnected and is incapable of firing any fasteners.
•Empty the magazine and leave it open during service.
1.Disconnect tool from air hose, empty Magazine A (66) of staples, release any
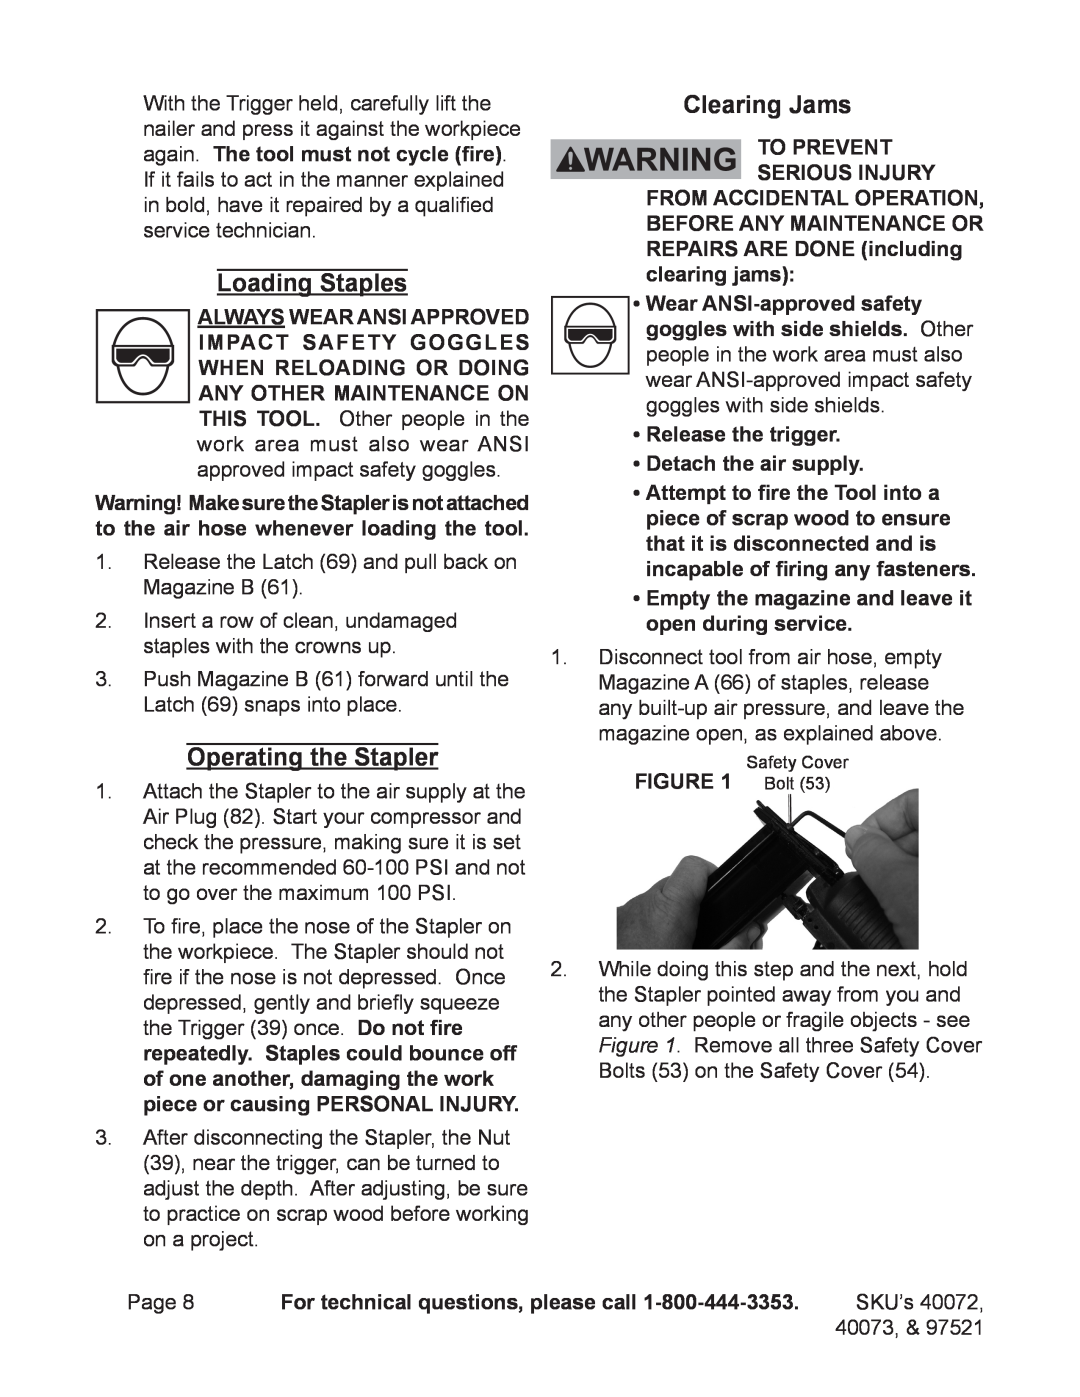
FIGURE 1 | Safety Cover |
Bolt (53) |
2.While doing this step and the next, hold the Stapler pointed away from you and any other people or fragile objects - see Figure 1. Remove all three Safety Cover Bolts (53) on the Safety Cover (54).
Page 8 | For technical questions, please call | SKU’s 40072, |
|
| 40073, & 97521 |