
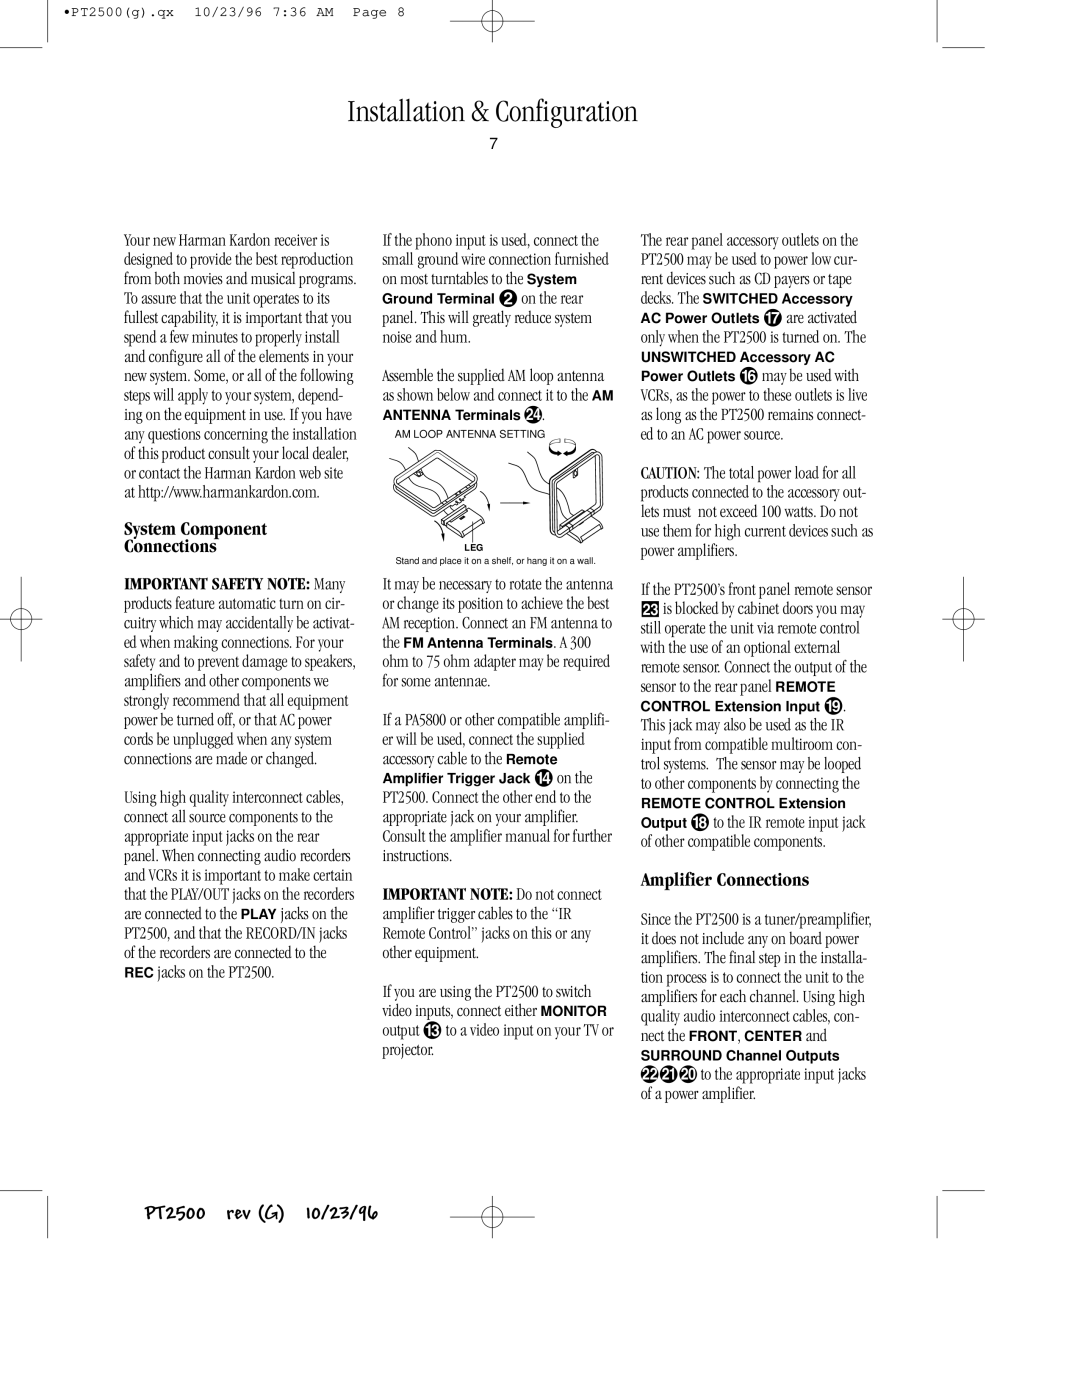
PT2500 specifications
The Harman-Kardon PT2500 is a noteworthy addition to the realm of audio equipment, known for its blend of performance, design, and innovative technologies. Aimed at audiophiles and casual listeners alike, this audio system exemplifies the brand's commitment to delivering high-quality sound experiences.One of the standout features of the PT2500 is its advanced amplification technology. With a powerful output, it ensures that audio is delivered with clarity and precision, whether you’re listening to soft melodies or booming bass lines. The integrated amplifier is designed to optimize audio performance and can handle a wide range of speakers, allowing users to create a bespoke sound system tailored to their needs.
The PT2500 employs Harman-Kardon's proprietary technologies, including their signature surround sound processing. This feature allows users to enjoy an immersive audio experience, making movies, music, and games come alive with rich soundscapes. The system is equipped with multiple audio decoding capabilities, such as Dolby Digital and DTS, ensuring compatibility with various formats and content types.
In terms of connectivity, the PT2500 offers versatile options, catering to modern digital demands. With multiple inputs including HDMI, optical, and analog connections, users can connect various devices such as televisions, gaming consoles, and streaming players. Additionally, Bluetooth capability enables wireless streaming from smartphones and tablets, enhancing convenience and flexibility.
The design of the Harman-Kardon PT2500 is both aesthetic and functional. Its sleek, modern look is complemented by intuitive controls, allowing users to navigate settings effortlessly. The build quality reflects Harman-Kardon's commitment to craftsmanship and longevity, ensuring that the product not only looks good but also stands the test of time.
Another key characteristic is the customizable audio settings, which allow users to tailor their listening experience to their preferences. Whether it's adjusting bass levels or fine-tuning treble, the PT2500 accommodates individual tastes and room acoustics, ensuring optimal sound delivery.
In conclusion, the Harman-Kardon PT2500 stands out as a remarkable audio system that combines performance, versatility, and style. With its array of features and technologies, it caters to the diverse needs of today’s audio enthusiasts, making it an excellent choice for those seeking to elevate their listening experience. Whether at home or in a dedicated media room, the PT2500 promises to deliver high-quality sound that resonates with every listener.