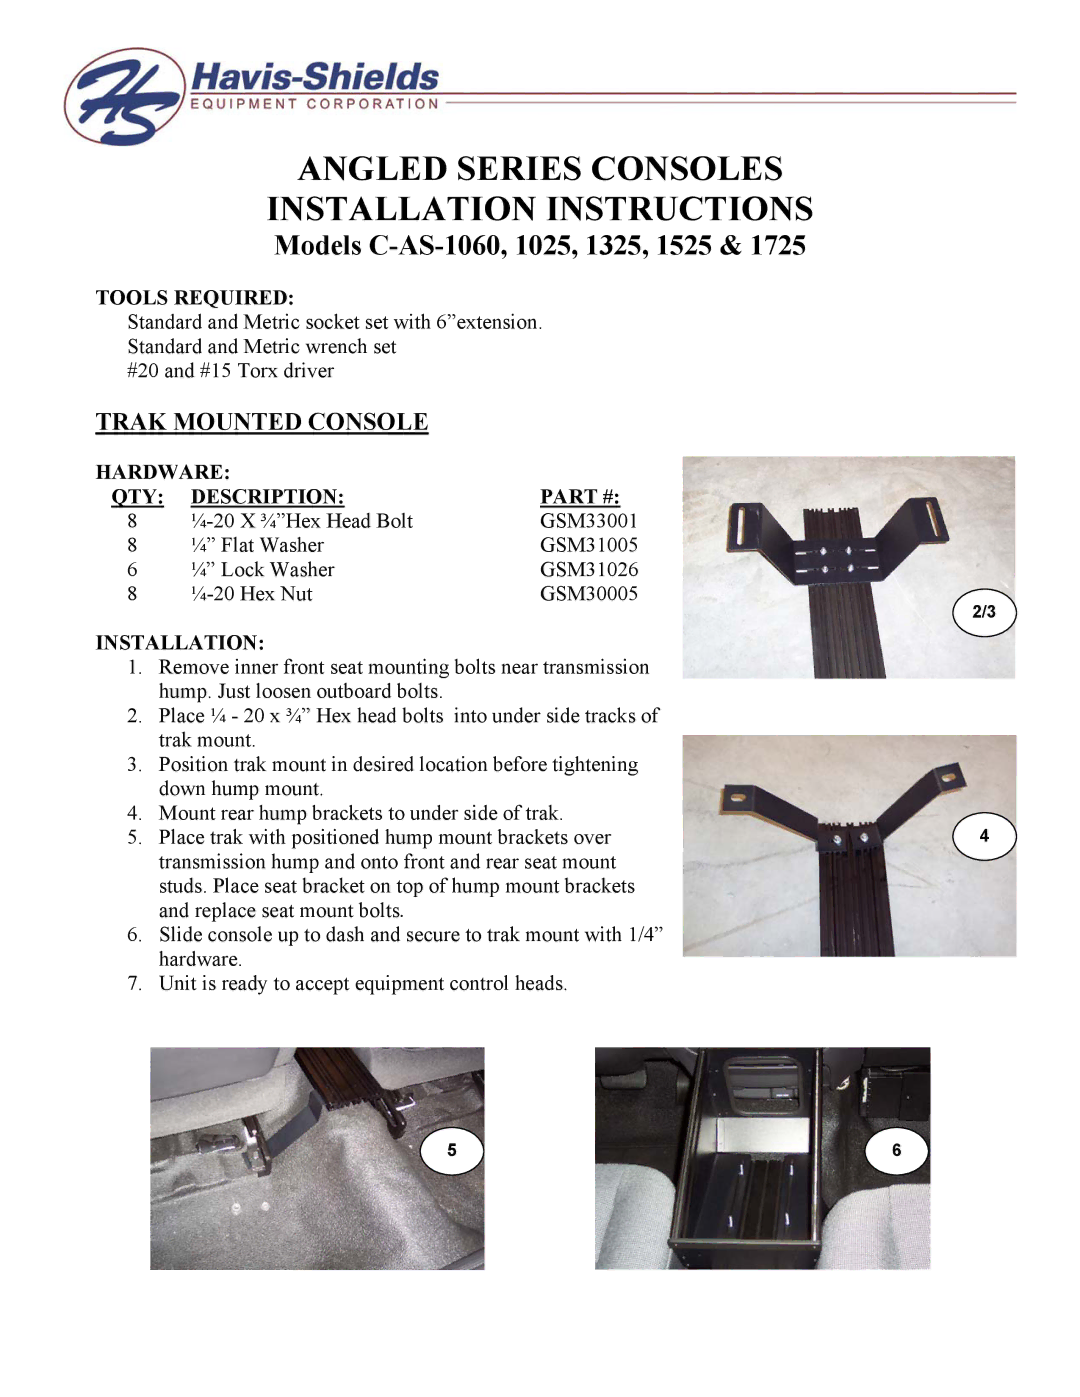
C-AS-1025, C-AS-1060, C-AS-1525, C-AS-1325, C-AS-1725 specifications
Havis-Shields is a prominent name in the manufacturing of rugged vehicular equipment, designed specifically for the unique challenges faced by law enforcement, military, and public safety professionals. Among their extensive range of products, the C-AS series of console systems—C-AS-1025, C-AS-1060, C-AS-1325, C-AS-1525, and C-AS-1725—stand out for their innovative designs, durability, and functionality.The C-AS series is characterized by its high-quality construction, providing a robust solution that withstands the rigors of daily use in demanding environments. Each model varies in size and configuration, catering to different needs while maintaining the same essential technologies and features.
The C-AS-1025 is the compact version of this series, designed for vehicles with limited space. Despite its small footprint, it offers ample room for essential equipment and accessories, making it ideal for smaller law enforcement vehicles. The C-AS-1060 introduces additional space, allowing for more equipment setup without compromising vehicle comfort.
As one moves up the series, the C-AS-1325 strikes a balance between size and functionality, featuring adjustable mounting options to accommodate a variety of work tools. The versatility in design also allows for integration with other technology, which is crucial for modern mobile operations.
The C-AS-1525 and C-AS-1725 models exemplify Havis-Shields’ commitment to innovation, offering larger configurations that enable the installation of advanced communication devices, computers, and mobile command centers. They are equipped with integrated cable management systems that ensure a tidy workspace while minimizing interference and wear on electronic components.
All C-AS models share common features such as rugged aluminum construction, which provides both lightweight and strong support. The consoles are designed to accommodate an array of user ergonomics, ensuring comfort during extended hours of operation. The surfaces are coated with a durable finish, resistant to scratches and wear.
In terms of technology, the series supports various mounting configurations for equipment like laptops, printers, and other essential tools, thereby enhancing overall operational efficiency. Additionally, the consoles are compliant with industry standards for vehicle safety and functionality, ensuring that the operational integrity of the vehicle is never compromised.
In summary, the Havis-Shields C-AS series is a testament to the brand's dedication to quality and functionality. The variety within the C-AS-1025, C-AS-1060, C-AS-1325, C-AS-1525, and C-AS-1725 models allows users to select a console that meets their specific needs while benefiting from cutting-edge design and technology, making them indispensable tools for professionals in the field.

