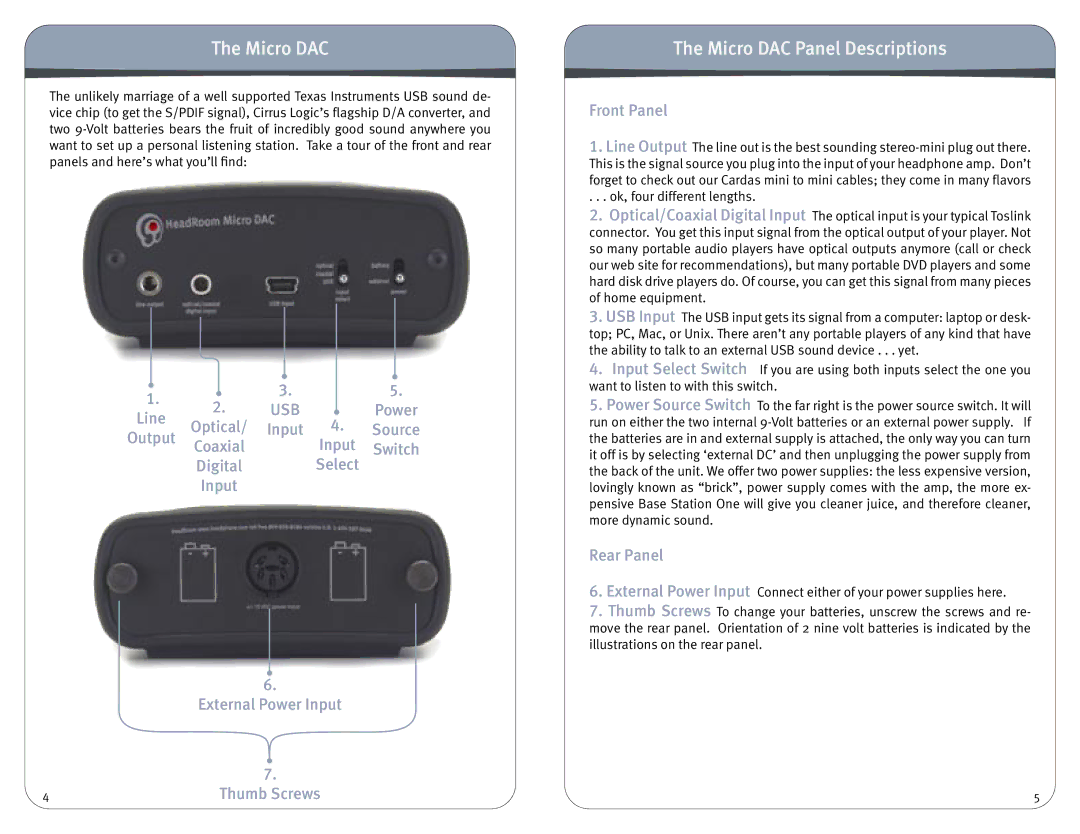
Headphone Amplifier & Digital-Analog Converter specifications
The HeadRoom Headphone Amplifier & Digital-Analog Converter (DAC) represents a pinnacle in audio technology, delivering exceptional sound quality and an immersive listening experience. This innovative device caters to audiophiles and casual listeners alike by providing an array of features that enhance sound reproduction, ensuring that every note is rendered with precision and clarity.At the heart of the HeadRoom unit is its advanced digital-analog conversion technology. The high-resolution DAC converts digital audio signals into analog sound waves more accurately than traditional converters. This leads to reduced distortion, improved dynamic range, and a more faithful representation of the original recording. Users benefit from the ability to playback high-definition audio files, making the most of their music collection, whether it be lossless formats or high sample rates.
One of the standout features of the HeadRoom headphone amplifier is its robust amplification capabilities. Designed to drive a wide range of headphones, from standard models to high-impedance audiophile options, the amplifier provides ample power without introducing noise or distortion. This ensures that users experience rich bass, clear mids, and sparkling highs, making every genre of music come alive.
The device boasts multiple connectivity options, allowing it to seamlessly integrate with various audio sources. USB, optical, and coaxial inputs mean that it can easily connect to computers, digital music players, and even televisions. This versatility makes the HeadRoom an ideal choice for home studios, living rooms, or on-the-go listening.
Another remarkable characteristic of the HeadRoom headphone amplifier and DAC is its user-friendly interface. With intuitive controls, users can adjust volume levels and switch between inputs with ease. The compact and stylish design also ensures that it fits seamlessly into any audio setup, making it as aesthetically pleasing as it is functional.
In conclusion, the HeadRoom Headphone Amplifier & Digital-Analog Converter is a must-have for anyone seeking to elevate their listening experience. Featuring high-resolution DAC technology, robust amplification, versatile connectivity, and an elegant design, this device stands out as a premier choice for music lovers who demand the best in sound quality. By harnessing cutting-edge technology, the HeadRoom ensures that every listening session is not just heard, but profoundly felt.

