HOW TO TURN ON THE POWER
1 Plug in the power cord (see page 8).
2 Locate the on/off switch near the power
cord. Move the on/off On Position
switch to the on posi- tion.
3 Stand on the foot pads of the treadmill. Find the clip attached to the key (see the drawing on page
9)and slide the clip onto the waistband of your clothes. Next, insert the key into the console. After a moment, the displays and various indicators will light. Test the clip by carefully taking a few steps backward until the key is pulled from the console. If the key is not pulled from the con- sole, adjust the position of the clip as needed.
HOW TO USE THE MANUAL MODE
1 Insert the key fully into the console.
See HOW TO TURN ON THE POWER above.
2 Select the manual mode.
When the key is in- |
|
|
|
|
|
| |
serted, the manual |
|
|
|
mode will be selected |
|
|
|
and the Manual Control |
|
|
|
indicator will light. If a |
|
|
|
| Indicator |
| |
program has been |
|
| |
|
|
| |
|
|
| |
selected, press the |
|
|
|
Program Select button repeatedly to reselect the | |||
manual mode. |
|
|
|
3 Press the Start button or the Speed ▲ button to start the walking belt.
A moment after the button is pressed, the walking belt will begin to move at 1 mph. Hold the handrails and begin walking. As
you exercise, change the speed of the walk- ing belt as desired by pressing the Speed ▼ and ▲ buttons.
Each time a button is pressed, the speed setting will change by 0.1 mph; if a button is held down, the speed setting will change in increments of 0.5 mph. To change the speed setting quickly, press the OneTouch Speed buttons. Note: The console can display speed and distance in either miles or kilometers. For simplicity, all instructions in this section refer to miles.
To stop the walking belt, press the Stop button. The Time/Incline/Segment Time display will begin to flash. To restart the walking belt, press the Start button or the Speed ▲ button.
During the first few minutes that you use the tread- mill, inspect the alignment of the walking belt, and align the walking belt if necessary (see page 24).
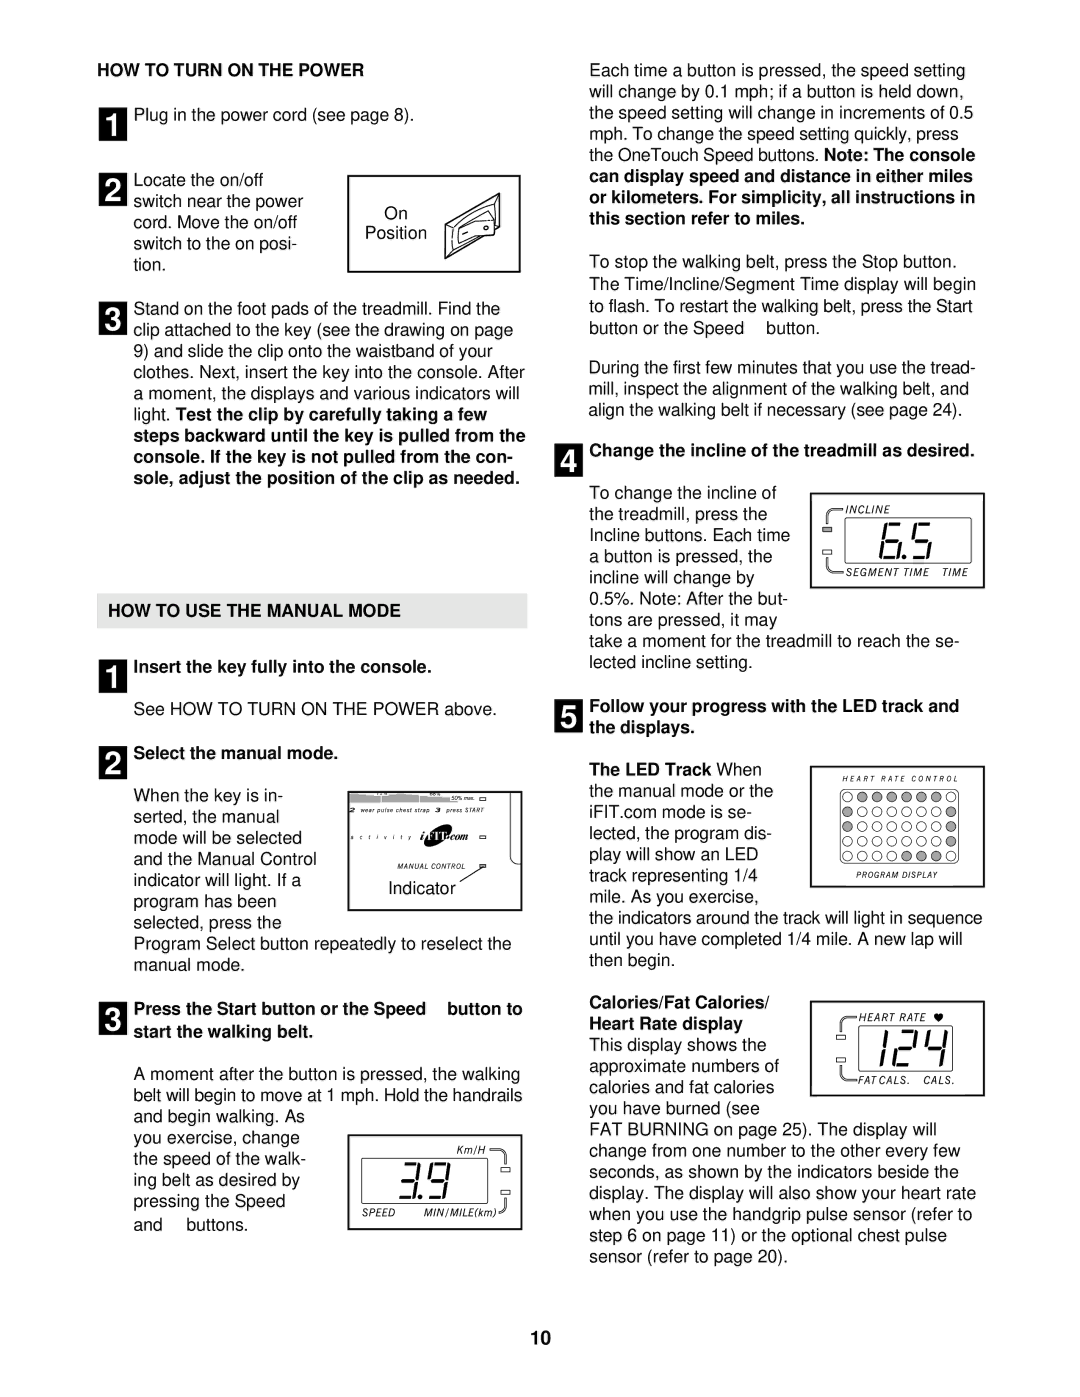
4 Change the incline of the treadmill as desired.
To change the incline of the treadmill, press the
Incline buttons. Each time a button is pressed, the incline will change by 0.5%. Note: After the but-
tons are pressed, it may
take a moment for the treadmill to reach the se- lected incline setting.
5 Follow your progress with the LED track and the displays.
The LED
iFIT.com mode is se- lected, the program dis- play will show an LED track representing 1/4 mile. As you exercise,
the indicators around the track will light in sequence until you have completed 1/4 mile. A new lap will then begin.
Calories/Fat Calories/
Heart Rate display— This display shows the approximate numbers of calories and fat calories you have burned (see
FAT BURNING on page 25). The display will change from one number to the other every few seconds, as shown by the indicators beside the display. The display will also show your heart rate when you use the handgrip pulse sensor (refer to step 6 on page 11) or the optional chest pulse sensor (refer to page 20).
10