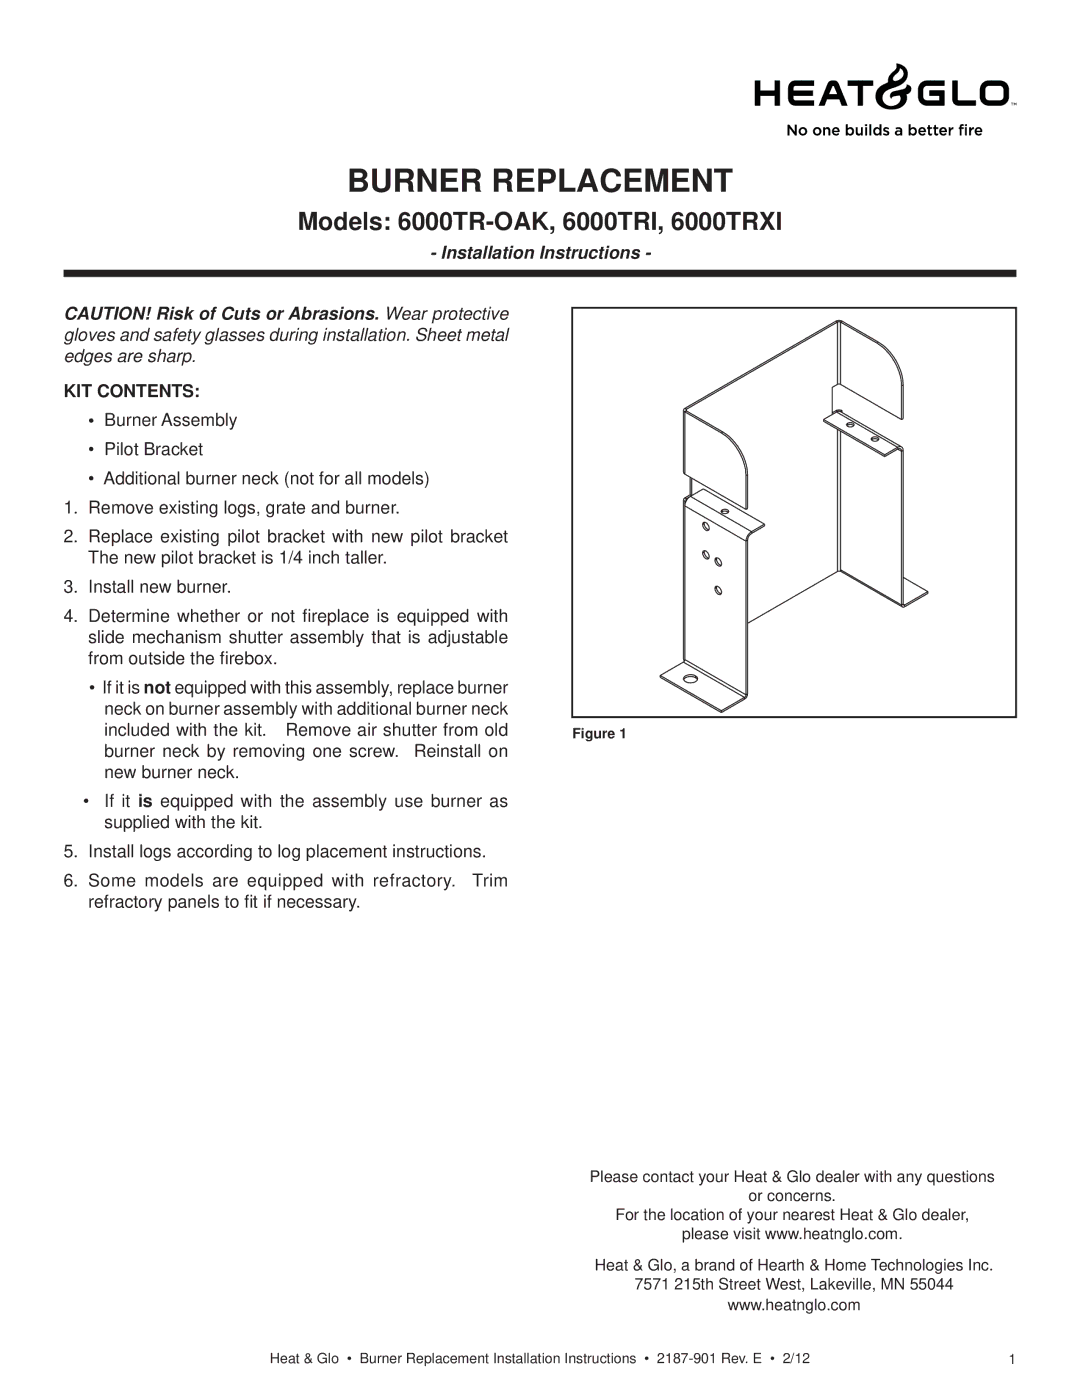
6000TRXI, 6000TR-OAK, 6000TRI specifications
Heat & Glo has established itself as a leader in the fireplace industry, delivering high-quality products that combine design, efficiency, and innovation. Among their impressive collection, the LifeStyle series, particularly the LifeStyle 6000TR-OAK, 6000TRXI, and 6000TRI models, stands out for their aesthetic appeal and advanced technology.The LifeStyle 6000TR-OAK is a stunning addition to any home, showcasing a classic design that complements both modern and traditional interiors. One of its key features is the realistic log set crafted from hand-painted ceramic fiber, which provides an authentic look that mimics the beauty of a natural fire. This model also boasts an impressive heat output, thanks to its powerful burner system, which can effectively warm larger spaces without sacrificing elegance.
In the realm of technology, the Heat & Glo LifeStyle series incorporates innovative features such as the Intellifire Ignition System. This advanced ignition method ensures safe and reliable start-up, reducing energy consumption and enhancing overall performance. Users can enjoy a user-friendly interface, allowing for easy control over flame height and heat output, ensuring a customized experience with every use.
The LifeStyle 6000TRXI model takes things a step further with its contemporary design elements and additional technology. This model features a sleek, clean face design that provides an unobstructed view of the fire, making it a captivating focal point in any room. It is equipped with the advanced Wi-Fi connectivity option, allowing homeowners to control their fireplace remotely through a smartphone app. This level of convenience and accessibility is increasingly important as homeowners seek integrated technology in their living spaces.
The LifeStyle 6000TRI model is the epitome of versatility, featuring three-sided glass for a panoramic view of the flames from various angles. This unique design element creates a stunning visual display, perfect for open-concept living spaces. The 6000TRI also offers advanced heating capabilities, delivering warmth and ambiance without the need for a traditional chimney.
All three models are designed with efficiency in mind, each meeting or exceeding industry standards for emissions and energy consumption. Safety features, including automatic shut-off systems and high-temperature sensors, add to the peace of mind for users.
In summary, the Heat & Glo LifeStyle 6000TR-OAK, 6000TRXI, and 6000TRI models are exemplary choices for anyone looking to enhance their home’s warmth and appeal. With their blend of aesthetics, cutting-edge technology, and impressive performance, they truly set a standard in the fireplace market.