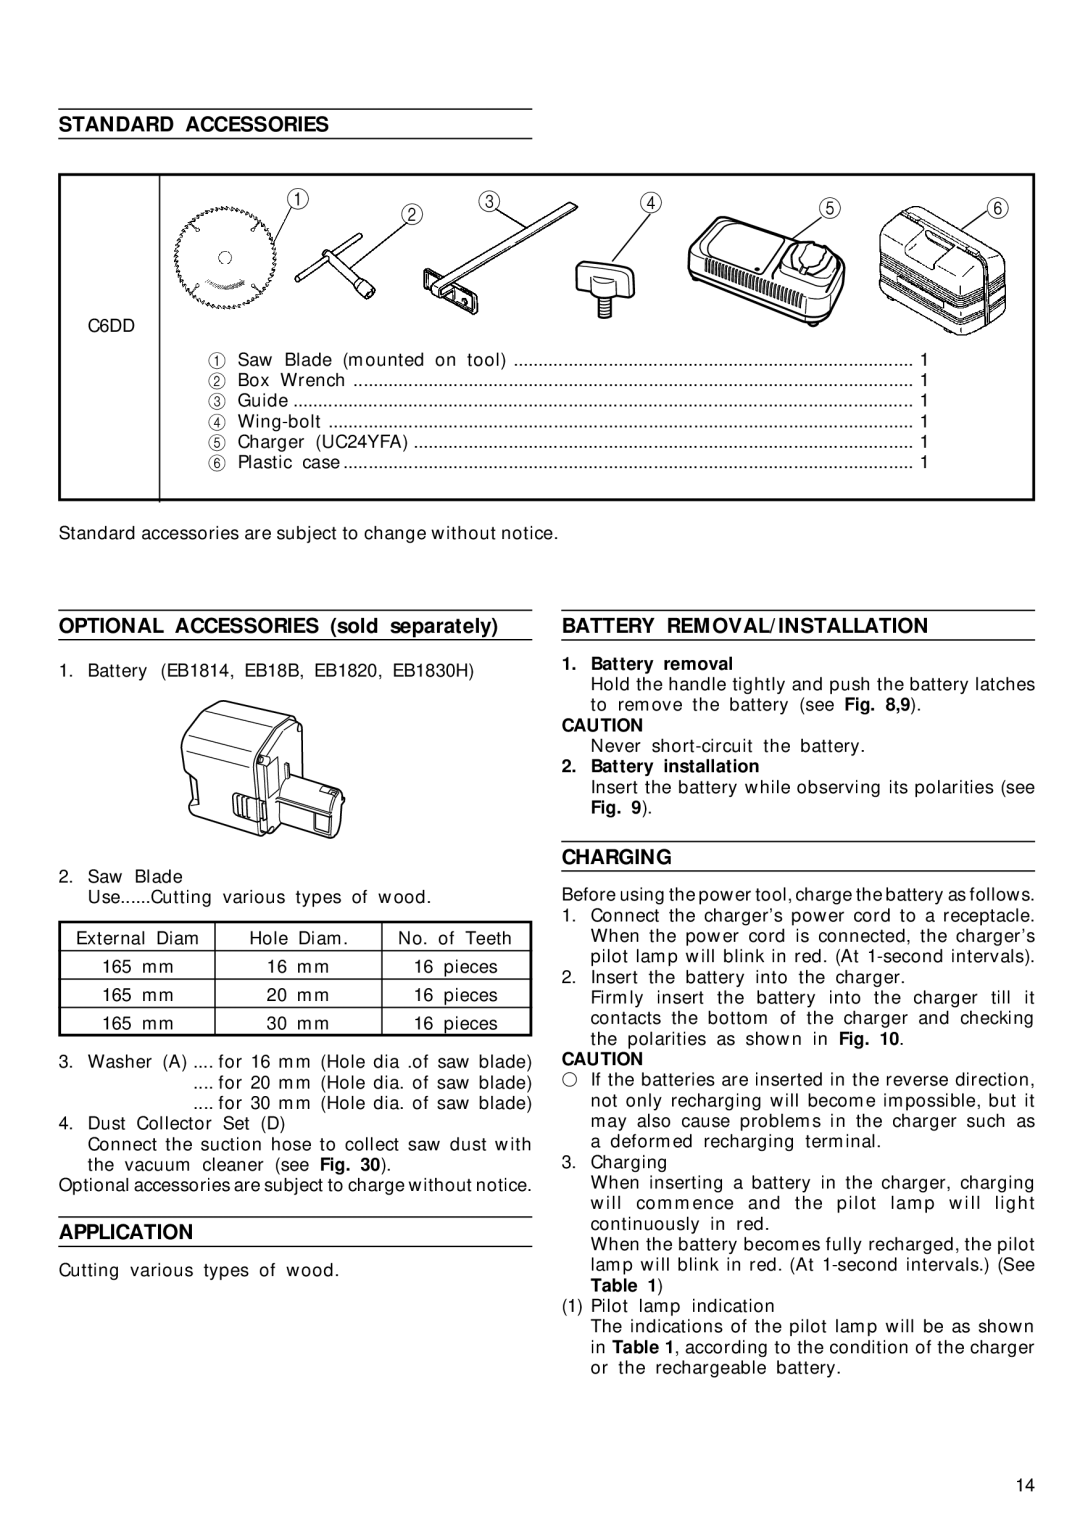
STANDARD ACCESSORIES
C6DD
1 | 2 | 3 | 4 | 5 | 6 |
|
|
| |||
|
|
|
|
|
1 | Saw Blade (mounted on tool) | 1 |
2 | Box Wrench | 1 |
3 | Guide | 1 |
4 | 1 | |
5 | Charger (UC24YFA) | 1 |
6 | Plastic case | 1 |
Standard accessories are subject to change without notice.
OPTIONAL ACCESSORIES (sold separately)
1. Battery (EB1814, EB18B, EB1820, EB1830H)
BATTERY REMOVAL/INSTALLATION
1.Battery removal
Hold the handle tightly and push the battery latches to remove the battery (see Fig. 8,9).
CAUTION
Never
2.Battery installation
Insert the battery while observing its polarities (see Fig. 9).
2.Saw Blade
Use......Cutting various types of wood.
External Diam | Hole Diam. | No. of Teeth | |||
165 | mm | 16 | mm | 16 | pieces |
165 | mm | 20 | mm | 16 | pieces |
165 | mm | 30 | mm | 16 | pieces |
3.Washer (A) .... for 16 mm (Hole dia .of saw blade)
.... for 20 mm (Hole dia. of saw blade)
.... for 30 mm (Hole dia. of saw blade)
4.Dust Collector Set (D)
Connect the suction hose to collect saw dust with
the vacuum cleaner (see Fig. 30).
Optional accessories are subject to charge without notice.
APPLICATION
Cutting various types of wood.
CHARGING
Before using the power tool, charge the battery as follows.
1.Connect the charger’s power cord to a receptacle. When the power cord is connected, the charger’s pilot lamp will blink in red. (At
2.Insert the battery into the charger.
Firmly insert the battery into the charger till it
contacts the bottom of the charger and checking the polarities as shown in Fig. 10.
CAUTION
◯If the batteries are inserted in the reverse direction, not only recharging will become impossible, but it may also cause problems in the charger such as
a deformed recharging terminal.
3.Charging
When inserting a battery in the charger, charging will commence and the pilot lamp will light continuously in red.
When the battery becomes fully recharged, the pilot lamp will blink in red. (At
Table 1)
(1)Pilot lamp indication
The indications of the pilot lamp will be as shown in Table 1, according to the condition of the charger or the rechargeable battery.
14