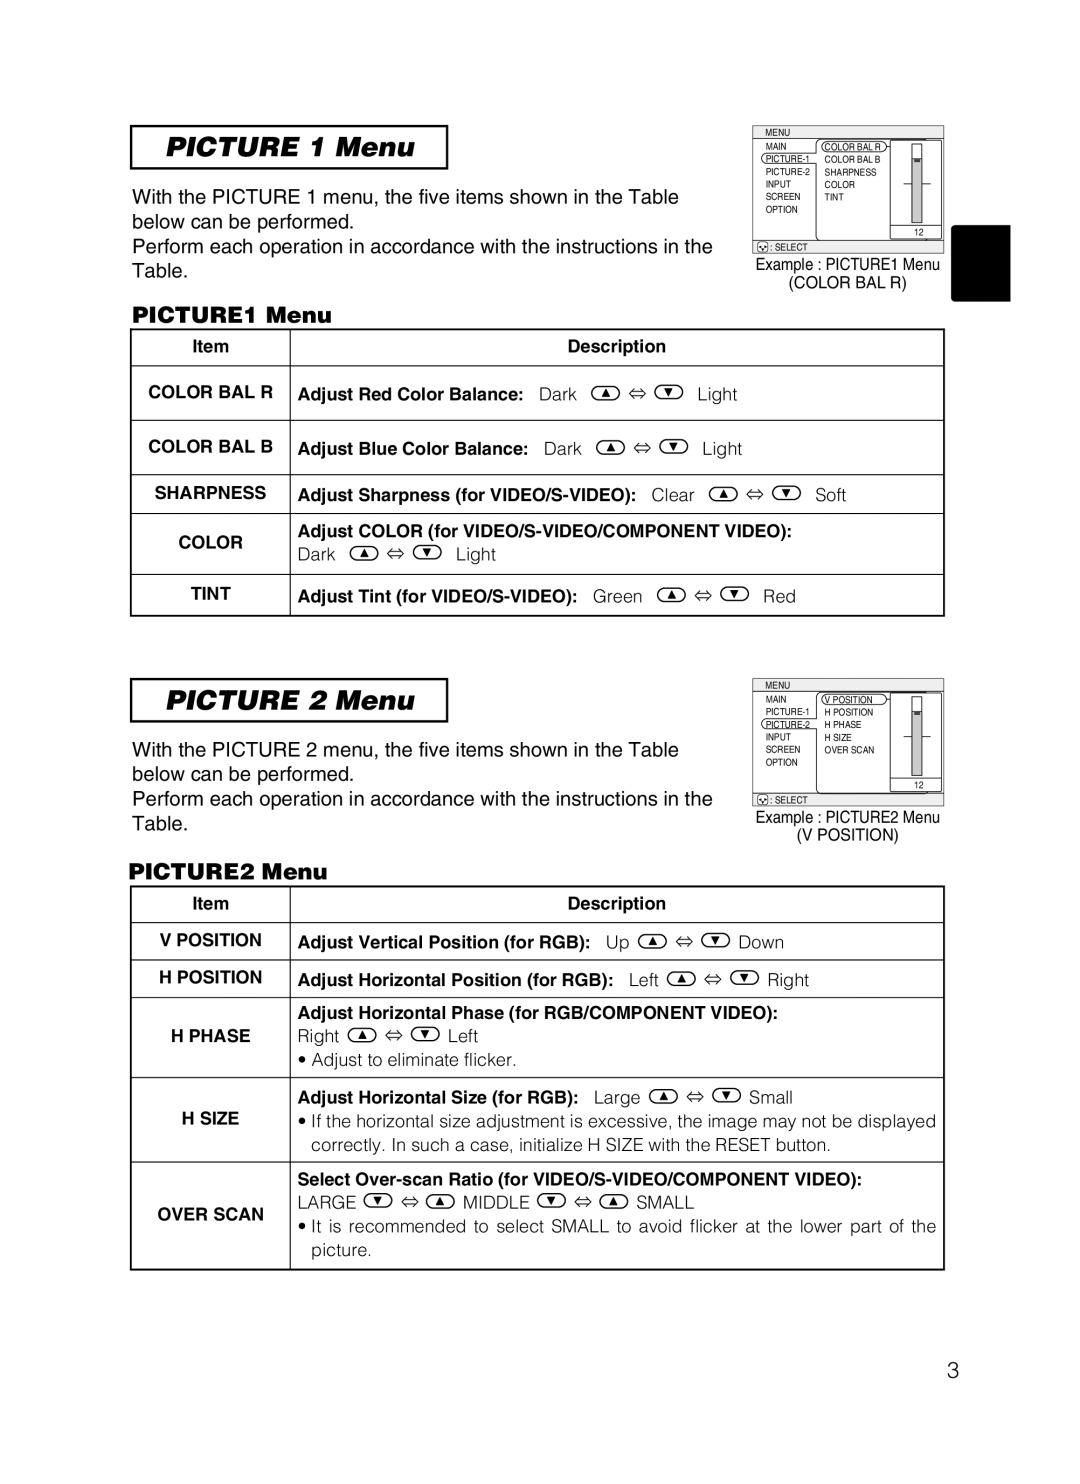
PICTURE 1 Menu
With the PICTURE 1 menu, the five items shown in the Table below can be performed.
Perform each operation in accordance with the instructions in the Table.
MENU
MAIN | COLOR BAL R |
COLOR BAL B | |
SHARPNESS | |
INPUT | COLOR |
SCREEN | TINT |
OPTION |
|
12
![]() : SELECT
: SELECT
Example : PICTURE1 Menu
(COLOR BAL R)
PICTURE1 Menu
Item |
|
| Description |
|
|
| |
COLOR BAL R | Adjust Red Color Balance: Dark | ⇔ | Light |
|
| ||
COLOR BAL B | Adjust Blue Color Balance: Dark | ⇔ | Light |
|
| ||
SHARPNESS | Adjust Sharpness (for | ⇔ | Soft | ||||
COLOR | Adjust COLOR (for |
| |||||
Dark | ⇔ | Light |
|
|
|
| |
|
|
|
|
| |||
TINT | Adjust Tint (for | Green | ⇔ | Red |
| ||
PICTURE 2 Menu
With the PICTURE 2 menu, the five items shown in the Table below can be performed.
Perform each operation in accordance with the instructions in the Table.
MENU
MAIN | V POSITION |
H POSITION | |
H PHASE | |
INPUT | H SIZE |
SCREEN | OVER SCAN |
OPTION |
|
12
![]() : SELECT
: SELECT
Example : PICTURE2 Menu
(V POSITION)
PICTURE2 Menu
Item |
|
|
| Description |
|
| ||
|
|
|
|
| ||||
V POSITION | Adjust Vertical Position (for RGB): | Up | ⇔ | Down | ||||
|
|
|
| |||||
H POSITION | Adjust Horizontal Position (for RGB): Left | ⇔ | Right | |||||
|
| |||||||
| Adjust Horizontal Phase (for RGB/COMPONENT VIDEO): | |||||||
H PHASE | Right | ⇔ | Left |
|
|
|
| |
| • Adjust to eliminate flicker. |
|
|
|
| |||
|
|
|
|
| ||||
H SIZE | Adjust Horizontal Size (for RGB): | Large | ⇔ | Small | ||||
• If the horizontal size adjustment is excessive, the image may not be displayed | ||||||||
| correctly. In such a case, initialize H SIZE with the RESET button. | |||||||
|
| |||||||
| Select | |||||||
OVER SCAN | LARGE | ⇔ | MIDDLE | ⇔ | SMALL |
| ||
• It is recommended to select SMALL to avoid flicker at the lower part of the | ||||||||
| ||||||||
| picture. |
|
|
|
|
|
| |
|
|
|
|
|
|
|
| |
3
