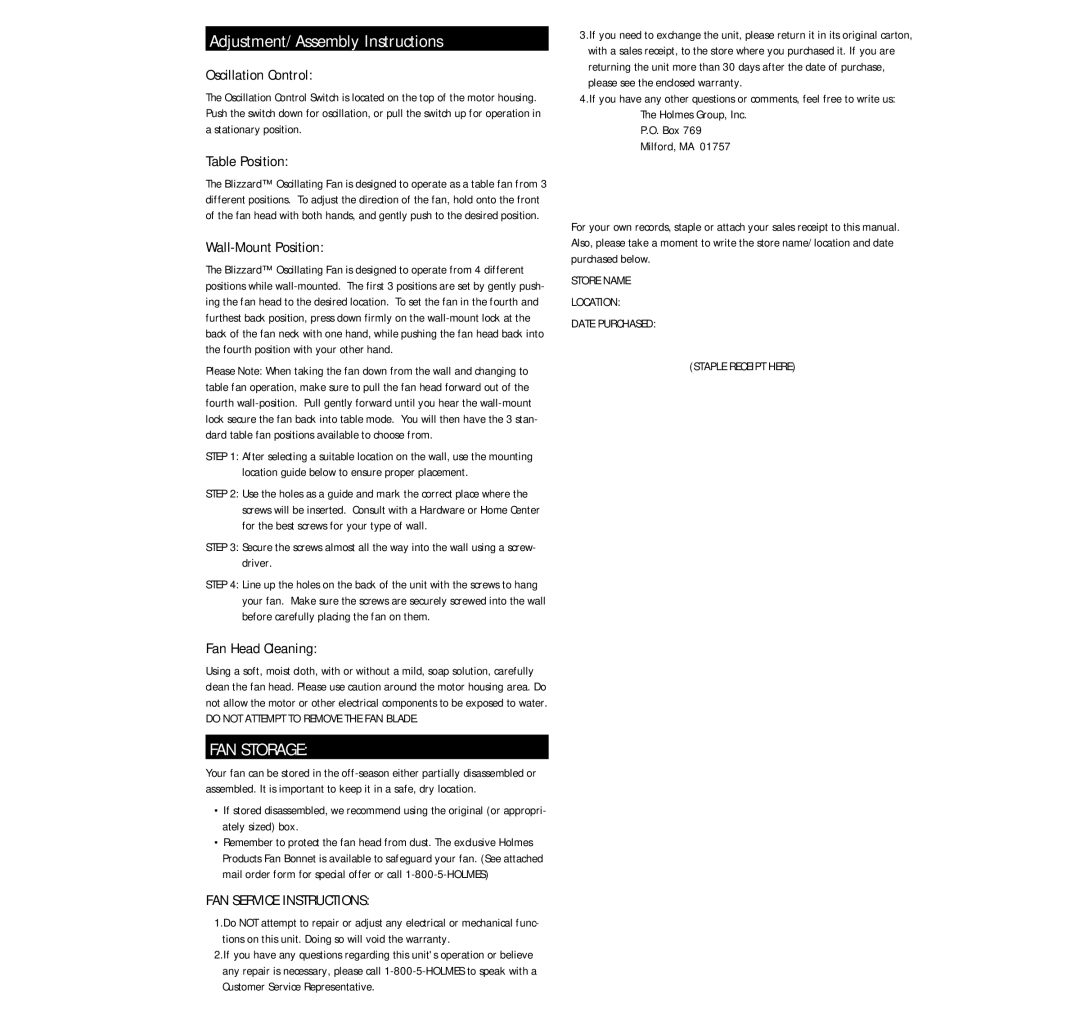
HAOF-90 specifications
The Holmes HAOF-90 is an innovative appliance designed to enhance the airflow and air quality within various indoor environments. This cutting-edge equipment strikes a perfect balance between functionality, efficiency, and user convenience, making it a favored choice for residences, offices, and large public spaces alike.At its core, the HAOF-90 features a powerful motor that delivers an impressive airflow capacity, enabling effective air circulation across extensive areas. With its ability to produce multiple fan speeds, users can easily customize the airflow intensity to suit their immediate comfort needs. Whether it's a warm summer day or a chilly winter evening, the HAOF-90 adapts to create a pleasant atmosphere.
One of the standout technologies employed in the HAOF-90 is its innovative air filtration system. Equipped with a multi-layer filtration mechanism, the device efficiently captures dust, allergens, and other airborne particles, promoting cleaner and healthier air. The replaceable filters are easily accessible, ensuring minimal downtime and hassle-free maintenance for users.
In terms of design, the Holmes HAOF-90 boasts a sleek and modern appearance that fits seamlessly into any setting. Its compact form factor allows for easy placement in various locations, while its lightweight build ensures portability. Additionally, integrated carrying handles enhance the user's experience, allowing for effortless relocation from one room to another.
The HAOF-90 is also equipped with advanced safety features. The device includes an automatic shut-off function that activates in the event of overheating, providing peace of mind for users concerned about potential hazards. The sturdy base design enhances stability, minimizing the risk of tipping over.
Furthermore, the HAOF-90 comes with user-friendly controls, often featuring intuitive dials or touch buttons that allow quick adjustment of settings. Some models may also offer remote control options, enabling users to operate the device from a distance.
Another notable characteristic of the Holmes HAOF-90 is its energy efficiency. Designed to operate optimally while consuming minimal power, it helps users reduce electricity costs without compromising performance.
In summary, the Holmes HAOF-90 is a versatile and effective air circulation appliance that combines modern technologies, innovative features, and user convenience. Its powerful airflow capabilities, advanced filtration system, safety features, and energy efficiency make it an ideal choice for anyone looking to improve indoor air quality and comfort.

