Holmes HASF1796RC Operating Instructions, Adjustment Instructions, Fan Storage, Final Assembly

Models: HASF1796RC

1 4
Download 4 pages 8.89 Kb
Page 3
Image 3
Final Assembly

Final Assembly

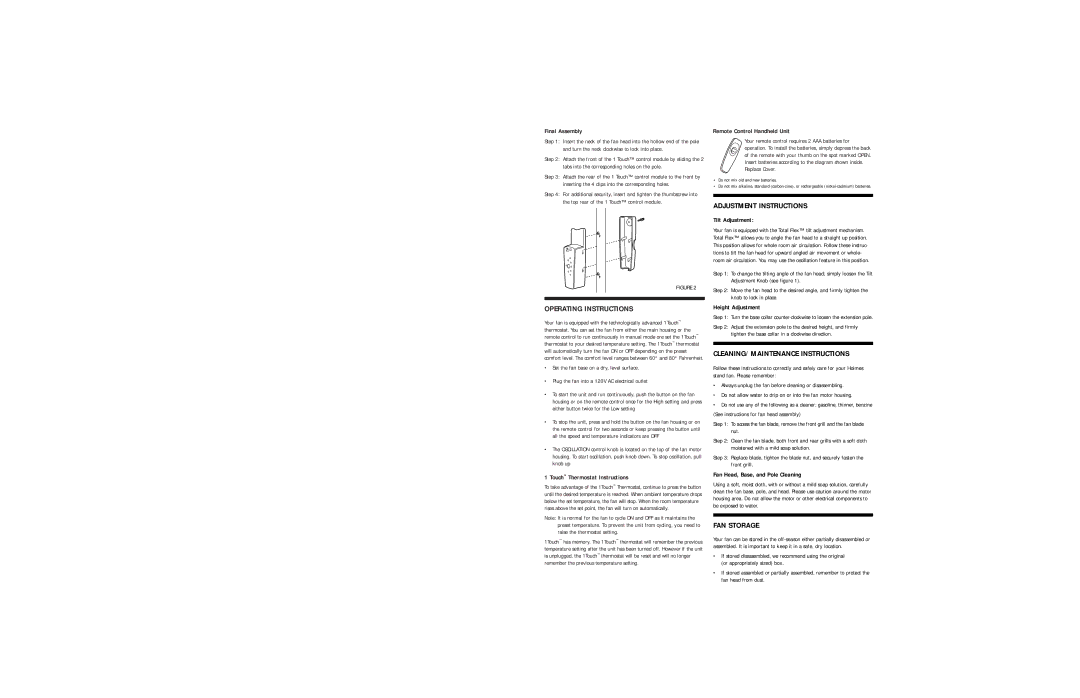
Step 1: Insert the neck of the fan head into the hollow end of the pole and turn the neck clockwise to lock into place.

Step 2: Attach the front of the 1 Touch™ control module by sliding the 2 tabs into the corresponding holes on the pole.

Step 3: Attach the rear of the 1 Touch™ control module to the front by inserting the 4 clips into the corresponding holes.

Step 4: For additional security, insert and tighten the thumbscrew into the top rear of the 1 Touch™ control module.

FIGURE 2

OPERATING INSTRUCTIONS

Your fan is equipped with the technologically advanced 1Touchthermostat. You can set the fan from either the main housing or the remote control to run continuously in manual mode ore set the 1Touchthermostat to your desired temperature setting. The 1Touchthermostat will automatically turn the fan ON or OFF depending on the preset comfort level. The comfort level ranges between 60° and 80° Fahrenheit.

Set the fan base on a dry, level surface.

Plug the fan into a 120V AC electrical outlet

To start the unit and run continuously, push the button on the fan housing or on the remote control once for the High setting and press either button twice for the Low setting

To stop the unit, press and hold the button on the fan housing or on the remote control for two seconds or keep pressing the button until all the speed and temperature indicators are OFF

The OSCILLATION control knob is located on the top of the fan motor housing. To start oscillation, push knob down. To stop oscillation, pull knob up

1 TouchThermostat Instructions

To take advantage of the 1TouchThermostat, continue to press the button until the desired temperature is reached. When ambient temperature drops below the set temperature, the fan will stop. When the room temperature rises above the set point, the fan will turn on automatically.

Note: It is normal for the fan to cycle ON and OFF as it maintains the preset temperature. To prevent the unit from cycling, you need to raise the thermostat setting.

1Touchhas memory. The 1Touchthermostat will remember the previous temperature setting after the unit has been turned off. However if the unit is unplugged, the 1Touchthermostat will be reset and will no longer remember the previous temperature setting.

Remote Control Handheld Unit

Your remote control requires 2 AAA batteries for operation. To install the batteries, simply depress the back of the remote with your thumb on the spot marked OPEN. Insert batteries according to the diagram shown inside. Replace Cover.

Do not mix old and new batteries.

Do not mix alkaline, standard (carbon-zine), or rechargeable (nickel-cadmium) batteries.

ADJUSTMENT INSTRUCTIONS

Tilt Adjustment:

Your fan is equipped with the Total Flex™ tilt adjustment mechanism. Total Flex™ allows you to angle the fan head to a straight up position. This position allows for whole room air circulation. Follow these instruc- tions to tilt the fan head for upward angled air movement or whole- room air circulation. You may use the oscillation feature in this position.

Step 1: To change the tilting angle of the fan head; simply loosen the Tilt Adjustment Knob (see figure 1).

Step 2: Move the fan head to the desired angle, and firmly tighten the knob to lock in place.

Height Adjustment

Step 1: Turn the base collar counter-clockwise to loosen the extension pole.

Step 2: Adjust the extension pole to the desired height, and firmly tighten the base collar in a clockwise direction.

CLEANING/MAINTENANCE INSTRUCTIONS

Follow these instructions to correctly and safely care for your Holmes stand fan. Please remember:

Always unplug the fan before cleaning or disassembling.

Do not allow water to drip on or into the fan motor housing.

Do not use any of the following as a cleaner: gasoline, thinner, benzine (See instructions for fan head assembly)

Step 1: To access the fan blade, remove the front grill and the fan blade nut.

Step 2: Clean the fan blade, both front and rear grills with a soft cloth moistened with a mild soap solution.

Step 3: Replace blade, tighten the blade nut, and securely fasten the front grill.

Fan Head, Base, and Pole Cleaning

Using a soft, moist cloth, with or without a mild soap solution, carefully clean the fan base, pole, and head. Please use caution around the motor housing area. Do not allow the motor or other electrical components to be exposed to water.

FAN STORAGE

Your fan can be stored in the off-season either partially disassembled or assembled. It is important to keep it in a safe, dry location.

If stored disassembled, we recommend using the original (or appropriately sized) box.

If stored assembled or partially assembled, remember to protect the fan head from dust.

Page 3
Image 3
Holmes HASF1796RC warranty Operating Instructions, Adjustment Instructions, Cleaning/Maintenance Instructions, Fan Storage