•The electrical cord of this product cannot be replaced. If it sustains damage, you must stop using the appliance immediately and return it to the HoMedics Service Center for examination and repair. (See the warranty section for HoMedics address).
•Disconnect the appliance from the electrical outlet before putting hands into water.
Assembly and Instructions for Use
1.Remove all contents from packaging and inspect to make sure all components have been received (Fig. 1):
•Base with attached electrical cord and water pump
•Fountain top
•Polished river rocks
•A/C Adaptor
2.Wipe any dust off the interior and exterior of the base and top and rinse river rocks under water.
3.Familiarize yourself with the pump. The pump speed is controlled by the dial located at the front of the pump. The speed is indicated by a
Figure 1
Fountain Top
PVC Tube
Fountain Pump
Fountain Base
Power Cord
Polished Rocks
A/C Adaptor
Figure 2
- |
+ |
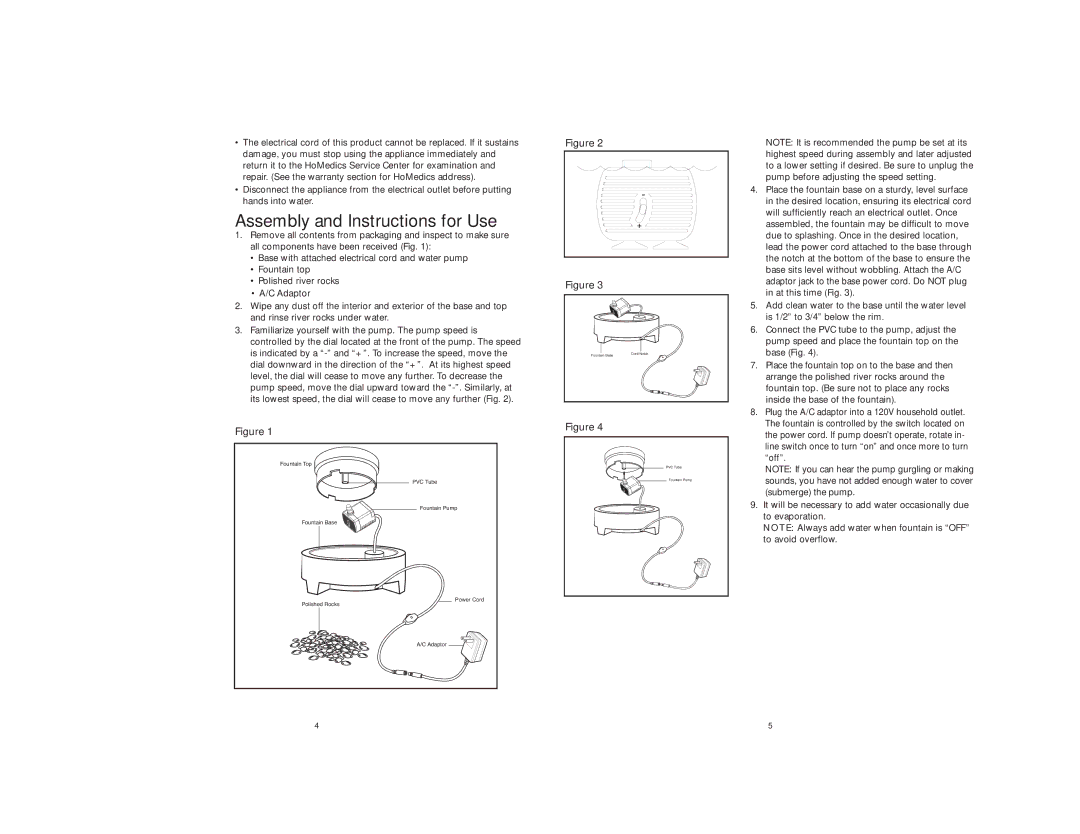
Figure 3
Fountain Base | Cord Notch |
Figure 4
PVC Tube
Fountain Pump
NOTE: It is recommended the pump be set at its highest speed during assembly and later adjusted to a lower setting if desired. Be sure to unplug the pump before adjusting the speed setting.
4.Place the fountain base on a sturdy, level surface in the desired location, ensuring its electrical cord will sufficiently reach an electrical outlet. Once assembled, the fountain may be difficult to move due to splashing. Once in the desired location, lead the power cord attached to the base through the notch at the bottom of the base to ensure the base sits level without wobbling. Attach the A/C adaptor jack to the base power cord. Do NOT plug in at this time (Fig. 3).
5.Add clean water to the base until the water level is 1/2” to 3/4” below the rim.
6.Connect the PVC tube to the pump, adjust the pump speed and place the fountain top on the base (Fig. 4).
7.Place the fountain top on to the base and then arrange the polished river rocks around the fountain top. (Be sure not to place any rocks inside the base of the fountain).
8.Plug the A/C adaptor into a 120V household outlet. The fountain is controlled by the switch located on the power cord. If pump doesn’t operate, rotate in- line switch once to turn “on” and once more to turn “off”.
NOTE: If you can hear the pump gurgling or making sounds, you have not added enough water to cover (submerge) the pump.
9.It will be necessary to add water occasionally due to evaporation.
NOTE: Always add water when fountain is “OFF” to avoid overflow.
4 | 5 |