WindTunnel Bagless Canister Cleaner with Powered Nozzle specifications
The Hoover WindTunnel Bagless Canister Cleaner with Powered Nozzle is a powerful and versatile cleaning solution designed to meet the needs of modern homes. Combining innovative technology with user-friendly features, this canister vacuum is crafted to deliver exceptional performance on various surfaces, from carpets to bare floors.One of the standout features of the Hoover WindTunnel is its patented WindTunnel technology. This system creates a powerful suction that lifts and removes dirt and debris from deep within carpets, ensuring a thorough clean every time. The bagless design not only eliminates the need for replacement bags but also simplifies the maintenance process. The transparent dirt cup allows users to see when it is full, and it can be easily emptied with a single button press.
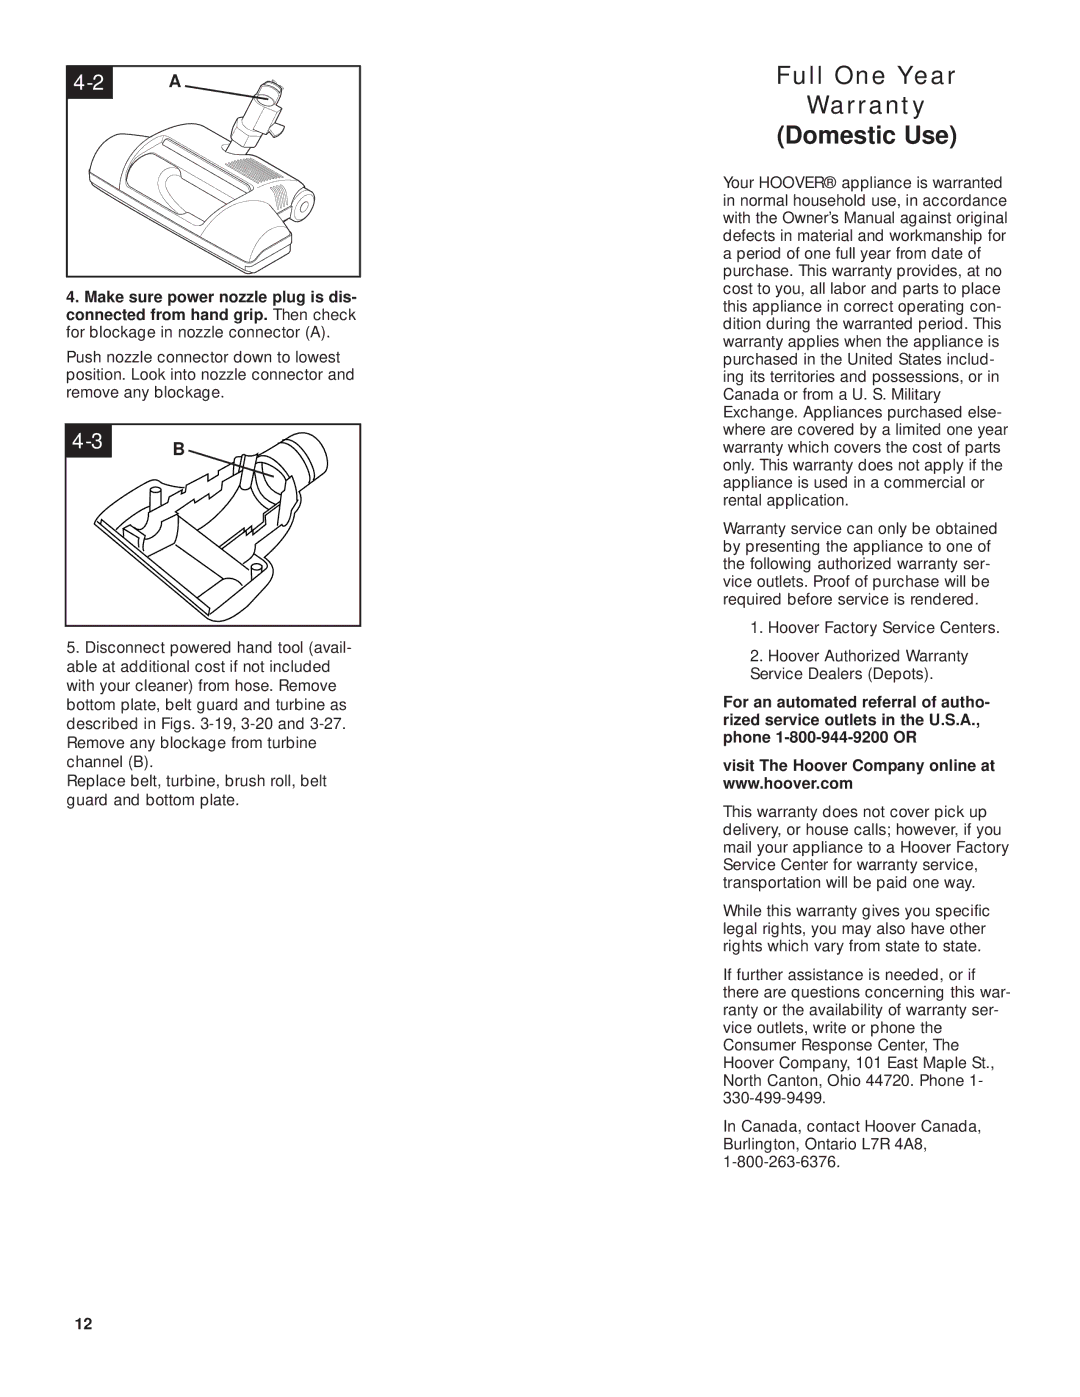
Equipped with a powered nozzle, this canister cleaner offers enhanced cleaning capabilities. The nozzle features rotating bristles that actively dig deep into carpet fibers to remove embedded dirt and allergens, making it ideal for pet owners and allergy sufferers. The adjustable height settings on the powered nozzle ensure optimal cleaning across different surface types, enabling a seamless transition from plush carpets to hard floors.
In addition, the Hoover WindTunnel is designed with convenience in mind. Its lightweight and compact structure allow for effortless maneuverability and storage, making it easy to carry up and down stairs or tuck away in a closet. The vacuum features a long cord, which provides extended reach without the hassle of frequent outlet switching.
Another notable characteristic is the comprehensive set of tools that come with the Hoover WindTunnel. These attachments include a crevice tool for tight spaces, a dusting brush for delicate surfaces, and an upholstery tool for maintaining furniture, all designed to enhance the vacuum's versatility. The onboard storage of these tools ensures they are always within reach during cleaning tasks.
The Hoover WindTunnel Bagless Canister Cleaner is also equipped with advanced filtration systems that capture allergens and dust particles, promoting a healthier indoor environment. This feature is particularly advantageous for families with children or individuals with respiratory issues.
In summary, the Hoover WindTunnel Bagless Canister Cleaner with Powered Nozzle embodies a blend of powerful performance, innovative technologies, and user-centric design, making it an excellent choice for those seeking an efficient and effective cleaning solution. Its combination of features and versatility ensures that your home remains spotless, regardless of the challenges presented by dirt and debris.

