
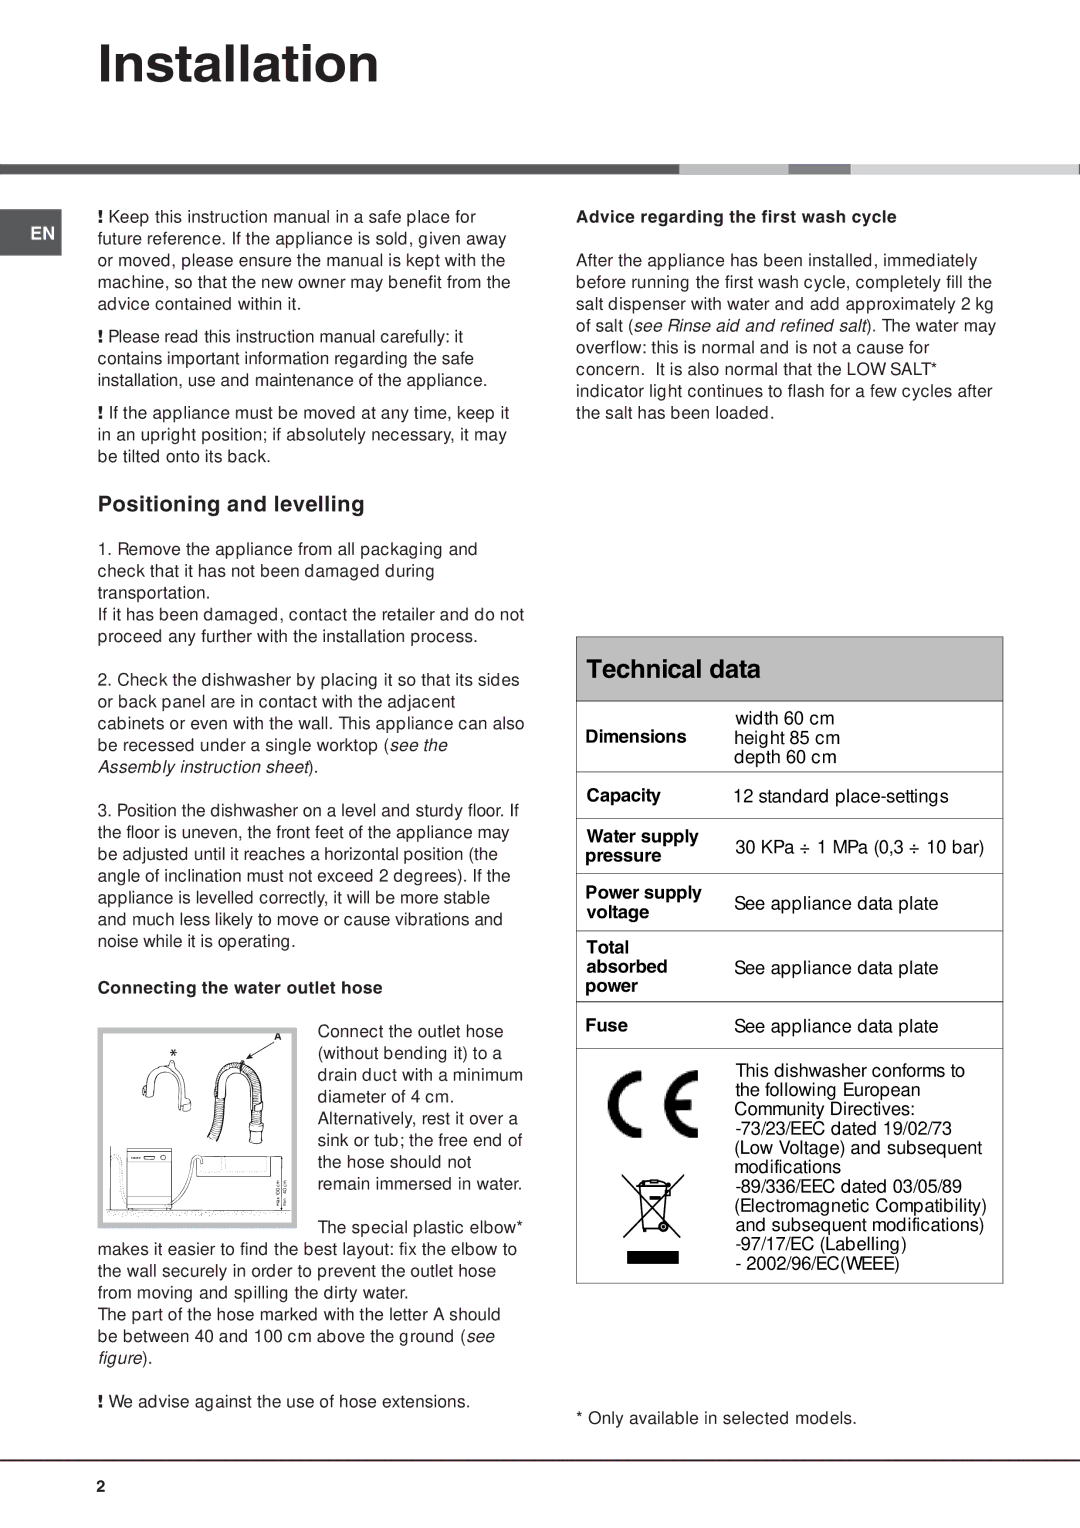
FDW 70, FDW 75 specifications
The Hotpoint FDW 75 and FDW 70 are two prominent freestanding dishwashers that have gained recognition for their efficiency, performance, and user-friendly features. Both models cater to households looking for effective cleaning solutions, providing a host of technological advancements designed to enhance the dishwashing experience.One of the standout features of the FDW 75 and FDW 70 is their energy efficiency. Both models are designed to consume minimal water and energy, which not only helps in reducing utility bills but also contributes positively to the environment. They are rated highly in energy efficiency, ensuring that users can clean their dishes without worrying about excessive energy consumption.
The design of both dishwashers is sleek and modern, making them an attractive addition to any kitchen. They boast a user-friendly control panel that allows users to select from multiple washing programs tailored to various types of dishes, from heavily soiled pots and pans to delicate glassware. With options for eco-friendly cycles, quick washes, and intensive clean settings, users can choose the perfect setting based on their needs.
Another notable characteristic of the FDW 75 and FDW 70 is their adjustable basket system. The flexible interior configuration allows users to customize the layout to accommodate larger items, such as baking trays or tall glasses. This adaptability means that no item is too difficult to fit, ensuring maximum use of space.
Both models feature advanced cleaning technologies, including spray arms that efficiently reach all surfaces to ensure comprehensive cleaning. Additionally, the stainless steel interiors are not only durable but also resistant to stains and odors, making maintenance easy.
Noise levels are often a concern with dishwashers, and both the FDW 75 and FDW 70 provide quiet operation, allowing them to be used without disturbing household activities. This means that users can run a load during the evening or during family gatherings without concern.
Safety features are another critical aspect of these models. They include anti-flood protection systems that help to prevent leaks and spills, ensuring peace of mind for homeowners.
In conclusion, the Hotpoint FDW 75 and FDW 70 are exemplary choices for those in need of reliable and efficient dishwashing solutions. Their array of features, advanced technologies, and user-centric design cater to the diverse needs of modern households, making dishwashing a less daunting task.