
GQ64ST, GQ74ST, GQ64SI, GQ74SI specifications
Hotpoint is a well-known brand in the home appliances market, and their series of gas cookers, including the GQ74SI, GQ64SI, GQ74ST, and GQ64ST models, have earned a reputation for performance, reliability, and advanced features, making them an excellent choice for both casual cooks and culinary enthusiasts.The Hotpoint GQ74SI and GQ64SI are distinguished by their sleek stainless steel finishes, which not only give them a modern aesthetic but also provide durability and ease of cleaning. Both models feature a gas oven and grill, allowing for versatile cooking options—from baking and roasting to grilling—all while providing precise temperature control.
One of the standout features of the GQ74SI and GQ64SI is the innovative Multiflow technology, which ensures even heat distribution within the oven. This technology minimizes cold spots, making it ideal for baking and roasting tasks, ensuring that dishes cook uniformly. Additionally, these models come equipped with a convenient electronic timer and programmable functions, allowing for the precise timing of your culinary endeavors, which is especially useful for busy households.
The Hotpoint GQ74ST and GQ64ST also feature similar functionalities with a slight twist in design, showcasing a more traditional finish that appeals to a wider range of kitchen styles. They maintain the same core technology of even cooking and grilling capabilities. Both models incorporate the clever Easy Clean Enamel interior, which simplifies the cleaning process by minimizing food residue buildup.
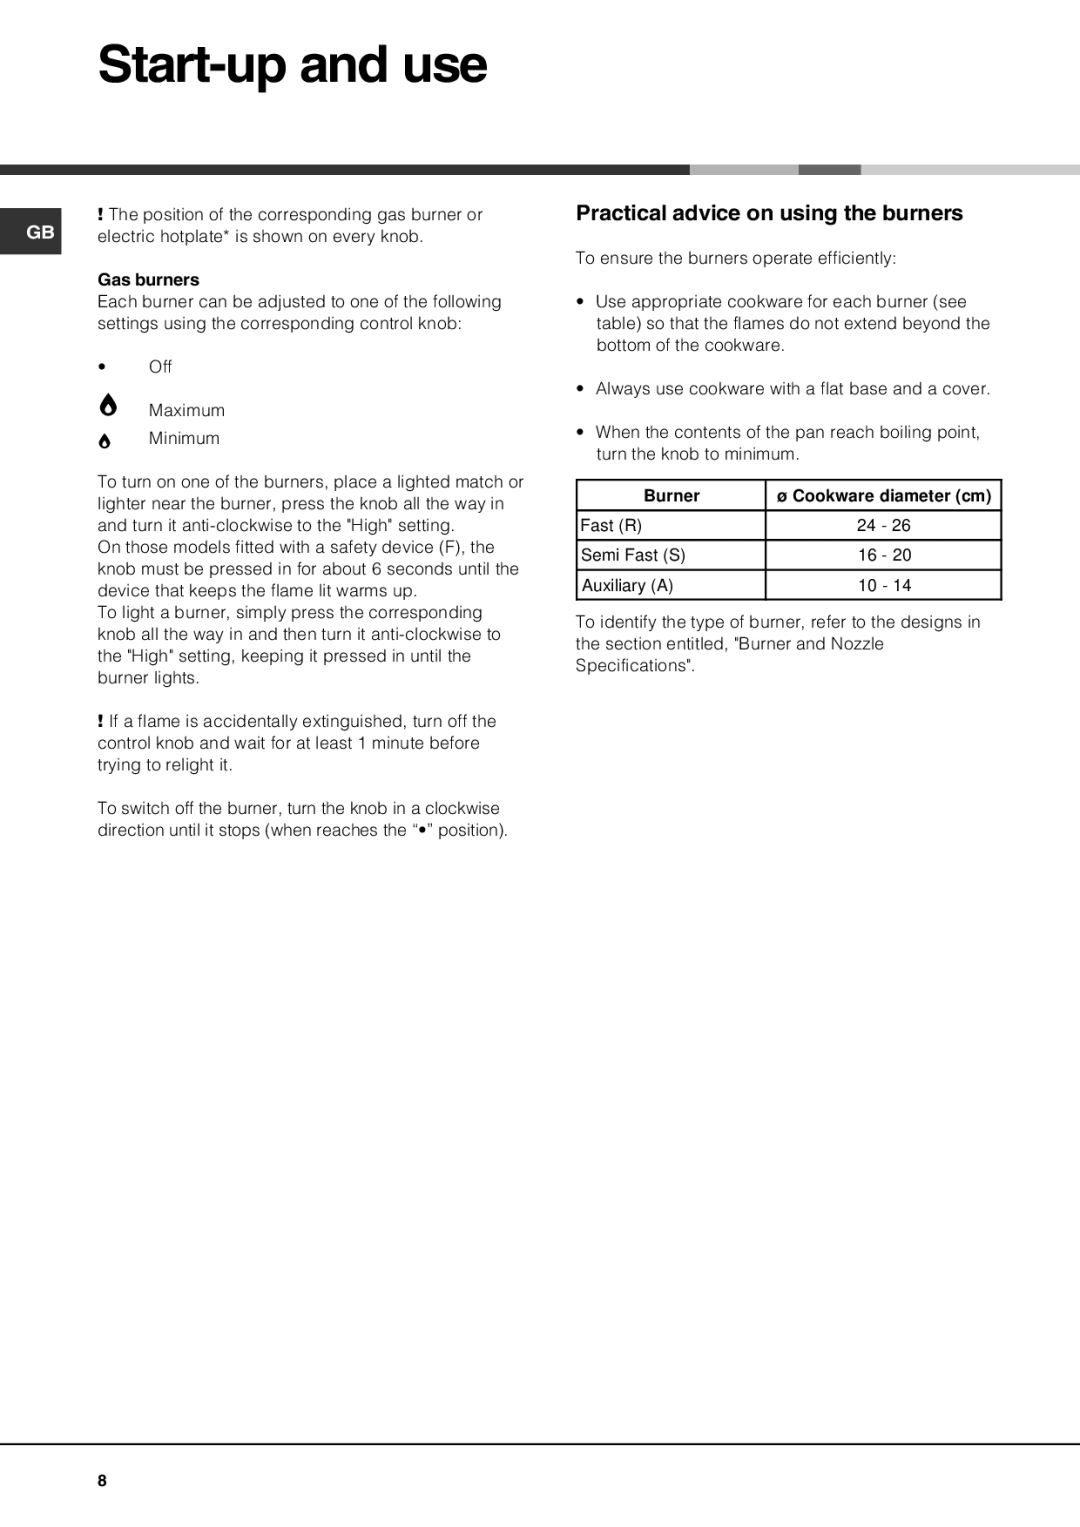
Safety is a paramount concern in any cooking appliance, and Hotpoint addresses this by integrating features like a flame safety device. This essential safety feature automatically cuts off gas flow if the flame goes out, providing peace of mind during cooking.
Furthermore, these models come with four gas burners, offering various heat settings for different cooking needs. The cast iron grates provide stability and durability, supporting heavy pots and pans while ensuring even heat transfer.
Overall, the Hotpoint GQ74SI, GQ64SI, GQ74ST, and GQ64ST gas cookers are built with a blend of functionality, modern technology, and user-friendly design, making them ideal for modern kitchens. Their robust features and commitment to safety make them a reliable choice for anyone looking to enhance their cooking experience. Whether you are simmering a sauce, baking a cake, or grilling vegetables, these cookers are designed to deliver exceptional results every time.