LARDER FRIDGE - MODELS RLA51, RLA53, RLA61, RLM51, RLM53, RLM61
INSTRUCTIONS FOR INSTALLATION & USE
GETTING STARTED: To ensure that your fridge runs reliably and efficiently follow these steps.
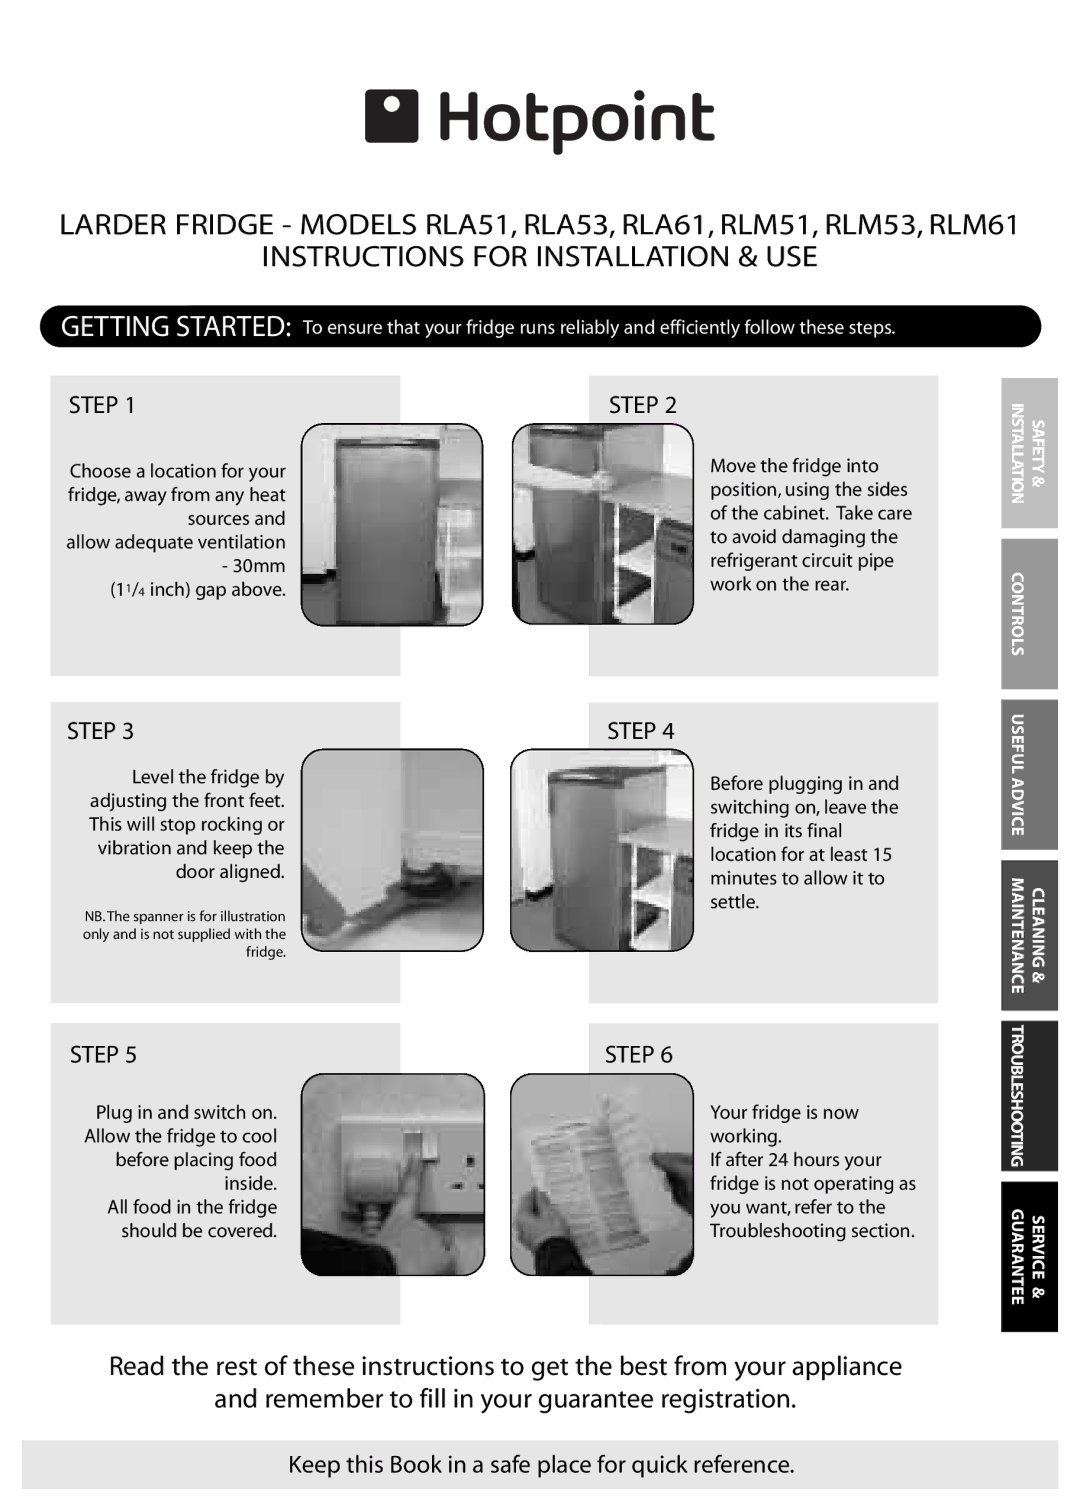
STEP 1
Choose a location for your fridge, away from any heat sources and allow adequate ventilation - 30mm
(11/4 inch) gap above.
STEP 2
Move the fridge into position, using the sides of the cabinet. Take care to avoid damaging the refrigerant circuit pipe work on the rear.
INSTALLATION | SAFETY & |
|
|
|
|
CONTROLS |
|
|
|
STEP 3
Level the fridge by adjusting the front feet. This will stop rocking or vibration and keep the door aligned.
NB. The spanner is for illustration only and is not supplied with the fridge.
STEP 5
Plug in and switch on. Allow the fridge to cool before placing food inside.
All food in the fridge should be covered.
STEP 4
Before plugging in and switching on, leave the fridge in its final location for at least 15 minutes to allow it to settle.
STEP 6
Your fridge is now working.
If after 24 hours your fridge is not operating as you want, refer to the Troubleshooting section.
USEFUL ADVICE |
|
|
|
|
|
MAINTENANCE | CLEANING & |
|
|
|
|
TROUBLESHOOTING |
|
|
|
GUARANTEE | SERVICE & |
|
|
Read the rest of these instructions to get the best from your appliance
and remember to fill in your guarantee registration.
Keep this Book in a safe place for quick reference.
