1

START HERE

2

Install the software first


12

a

Turn your PC on and wait for the Windows

9

3

desktop to appear.

b

Close any open programs, including virus-


6

checking programs.


Windows desktop

aInsert the HP OfficeJet software CD.

bFollow the onscreen instructions.

c

When prompted to set up your

device, go to step 3.

Notes:

If nothing appears on your computer screen after inserting the CD, go to the Windows task bar, click Start, and then choose Run. In the Run dialog box type d:\setup.exe (d= your PC's CD ROM drive letter).

You may see the minimum requirements screen first.

Make sure you are using the correct side of the poster.

Windows users: Follow the steps in order. Do not connect the USB cable until instructed to do so.

See your box for exact contents and system requirements.

3Attach the ADF tray extension

Slide the automatic document feeder (ADF) tray extension into the top of the unit. Match the gray tabs with the black slots.

4Attach the cover

a

5 Remove output tray and load paper

b

a

Insert the two tabs of the cover into


the top slots on the unit.


b

Tilt the cover down and press firmly.


Make sure the tabs lock into place


and the cover is even with the unit.

b

a

c

one

5

Step 5 continued

6

Connect the phone cord

Use blank white paper to prepare for print alignment.

1 To wall jack

2

To phone

7

Connect the power cord and the USB cable

8

Turn on your HP OfficeJet


3


a


b


1

Make sure you have


completed step 1


before this step.


poster series all-in-

f

9Insert and align the print cartridges

c

Black label (56)

2

10 Finish software setup

Windows setup hp officejet 6100

Make sure to remove any packing material from inside the unit.

a

b

latches

a

Lift the print carriage door up

b

Remove the bright pink tape

until it catches. Wait for the


print carriage to move to the

from the print cartridges. Do not


center. Lift the blue and gray


touch the gold-colored contacts


latches.


or re-tape the cartridges.

e


d

Color label (57)


cHold the black print cartridge with the label on top. Slide the cartridge into the right(gray


latch) side of the print carriage.

e

Pull the end of the gray latch toward


you, press down until it stops, and

d

Hold the tri-color print cartridge with the label


then release. Make sure the latch


catches below the bottom tabs. Repeat


on top. Slide the cartridge into the left(blue


with the blue latch.


latch) side of the print carriage.


f

fMake sure both latches are locked into position. Close the print carriage door.

g

gPress Enter to begin alignment. After a page prints, alignment is complete. Discard or recycle this page.

Look for the screen with the green checkmark, and then continue. If you see the screen with the red checkmark, follow the instructions in the Readme.

11 Set up faxing and take Product Tour

12

93

6

Make sure your PC is on.

Follow the onscreen instructions to enter your name, phone number, and other important settings. See the reference guide for more details.

Take the Product Tour to learn about your new HP OfficeJet.

www.hp.com/support

Copyright Hewlett-Packard Company 2002 Printed in USA

Page 1
Image 1
HP 6110v manual Attach the ADF tray extension, Attach the cover Remove output tray and load paper, Finish software setup

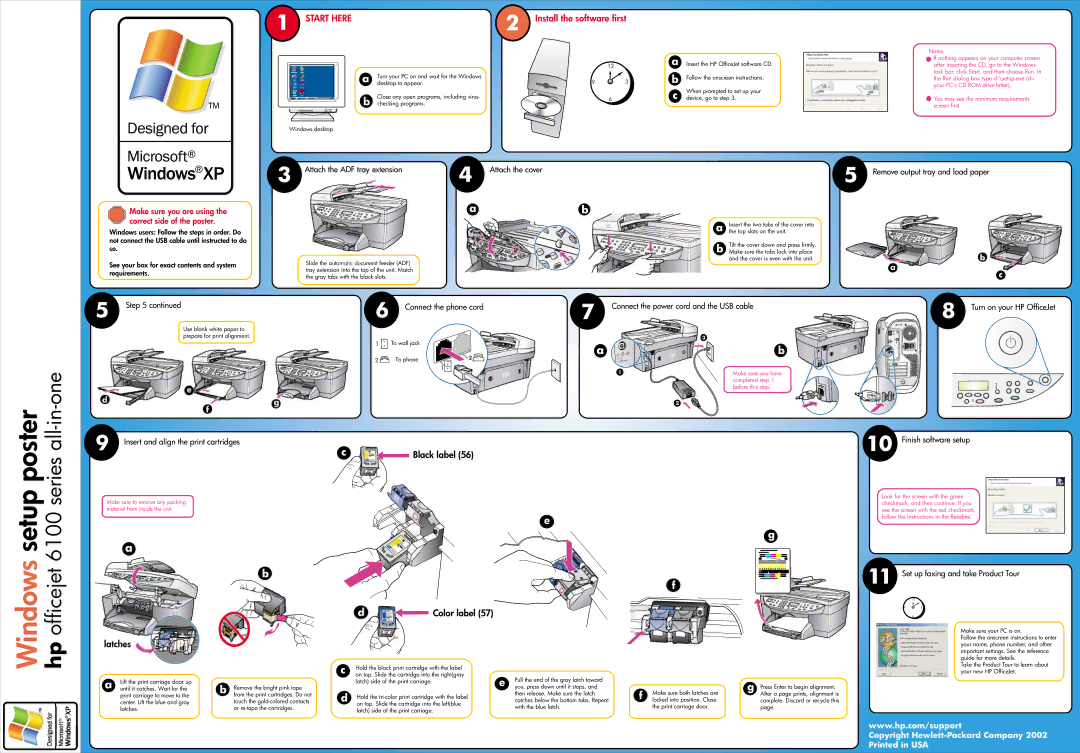
6110, 6110xi, 6110v specifications

The HP 6110, 6110v, and 6110xi are multifunction printers designed to cater to the needs of both home and small office users. These models stand out due to their versatility, combining printing, scanning, copying, and faxing functionalities in a single machine. This all-in-one design helps save space while ensuring excellent productivity.

One of the key features of the HP 6110 series is its print quality. With a maximum resolution of up to 4800 x 1200 optimized dpi on select media, users can expect sharp text and vivid color prints, making it suitable for both professional documents and vibrant graphics. The printers utilize HP’s advanced inkjet technology, which enables quick drying times and smudge-free prints, ensuring that each output is deliverable right away.

Speed is another significant attribute of the HP 6110 series. The printers are capable of producing up to 30 pages per minute for black-and-white printing and approximately 20 pages per minute for color prints. This efficiency is particularly beneficial for users who need to handle larger print jobs quickly.

In terms of scanning and copying, the HP 6110 series excels with an optical scan resolution of up to 1200 x 2400 dpi. The flatbed scanner allows for versatility in media types, accommodating various document sizes. Additionally, features like automatic document feeder (ADF) enhance productivity, enabling users to scan or copy multiple pages without manual intervention.

Connectivity is another highlight of the HP 6110 models. These printers typically offer USB connections for direct computer linking, ensuring hassle-free setup for users. Some variants may include additional options such as Ethernet or wireless connectivity, making it easier to share the printer within a network and enabling mobile printing capabilities.

The HP 6110 series also supports a range of operating systems and provides compatibility with various software applications, further enhancing its usability. Users can utilize HP’s software solutions for improved print management, enabling them to monitor supplies, access maintenance tools, and optimize performance.

Durability and reliability are central to the design of the HP 6110, 6110v, and 6110xi. With robust construction, these printers are built to handle regular use, making them dependable choices for day-to-day tasks. Overall, the HP 6110 series delivers an exceptional combination of features, technologies, and performance, making it a valuable asset for anyone in need of an all-in-one printing solution.