Microsoft Windows Server 2008 R2 specifications
HP Microsoft Windows Server 2008 R2 is a robust server operating system designed to provide enhanced performance and enhanced capabilities in IT infrastructure management. As a successor to Windows Server 2008, it brings a multitude of features that cater to the needs of businesses looking for reliability and efficiency in server operations.One of the key features of Windows Server 2008 R2 is its improved scalability and performance. It supports up to 256 logical processors and 1 terabyte of RAM, making it well-suited for enterprise environments that require heavy workloads and high availability. This capability allows organizations to run large-scale applications and services with minimal downtime.
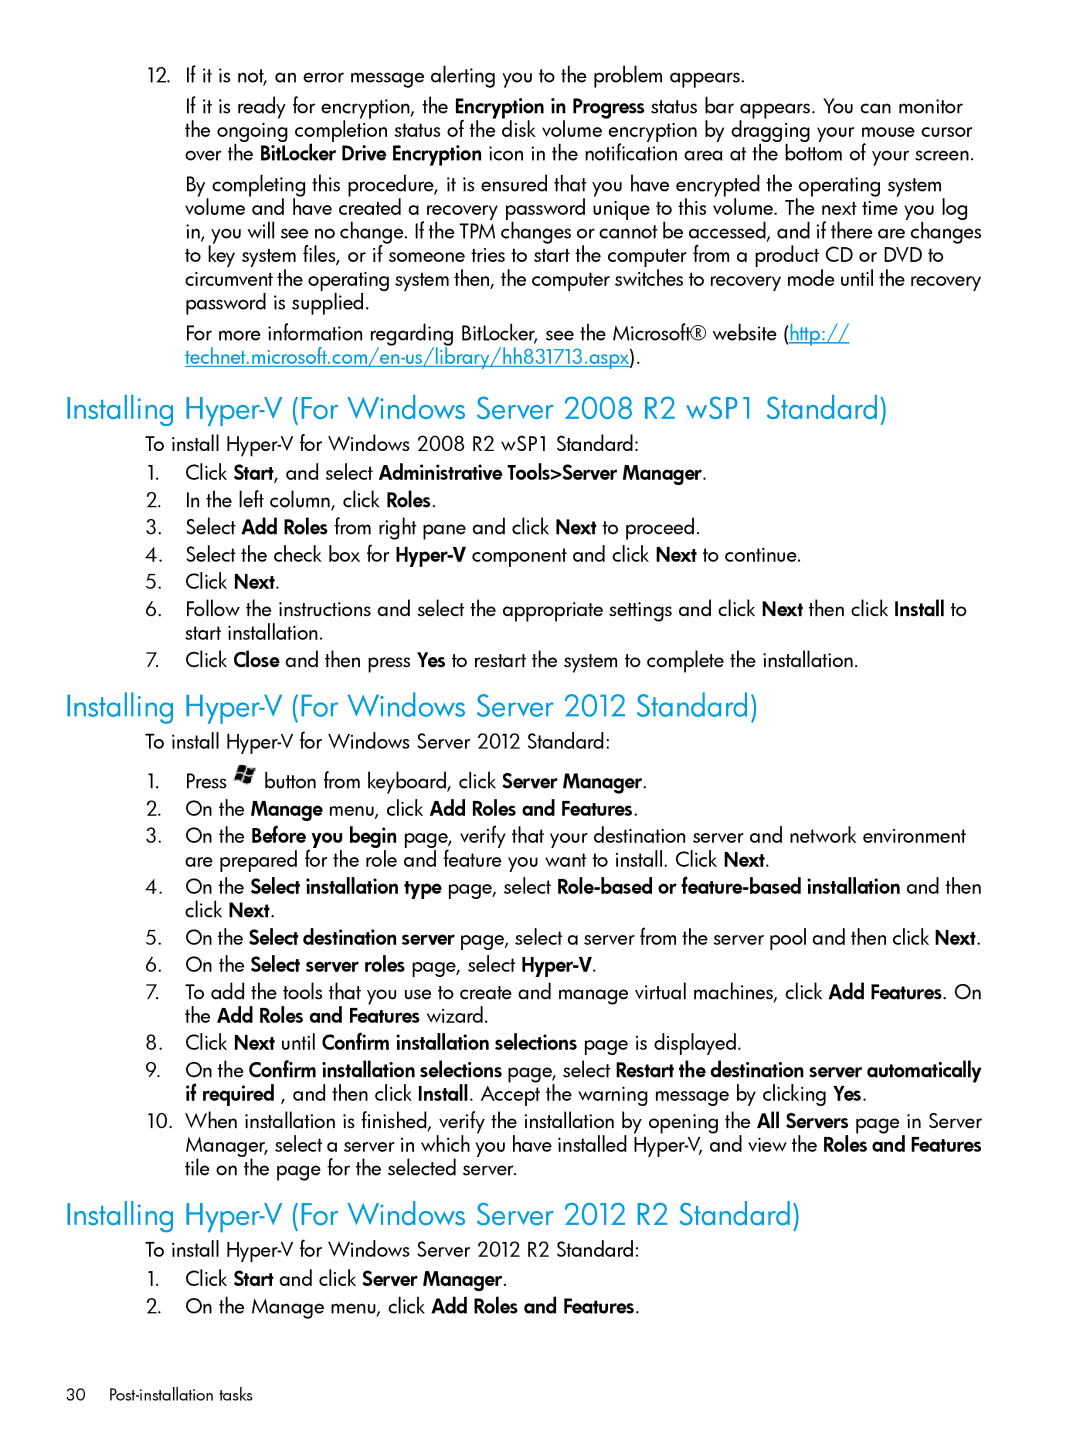
Windows Server 2008 R2 also introduces Hyper-V 2.0, an advanced virtualization technology that enables businesses to create and manage virtual machines. This technology allows for better resource utilization, as multiple virtual servers can run on a single physical server, reducing hardware costs and space requirements. Hyper-V supports live migration, which means virtual machines can be moved between physical servers without any disruption to services, enhancing load balancing and availability.
Another significant advancement is the introduction of the Remote Desktop Services (RDS), which improves the experience of accessing desktop applications remotely. With RDS, users can connect to their desktops and applications from virtually anywhere, maintaining productivity while working from different locations.
Windows Server 2008 R2 enhances security with several features such as BitLocker Drive Encryption, which helps protect data on physical drives by encrypting the entire volume. Additionally, the User Access Control (UAC) helps mitigate unauthorized changes by implementing a layered approach to security.
The operating system also incorporates updated networking features, including DirectAccess and BranchCache. DirectAccess allows remote users to connect to the internal network seamlessly without the need for traditional VPN, simplifying remote access and improving security. BranchCache optimizes bandwidth usage for users in branch offices by caching frequently accessed content.
Moreover, Windows Server 2008 R2 supports PowerShell 2.0, enabling administrators to automate tasks and manage server configurations efficiently. This scripting language improves administrative workflows and reduces the time required for routine management tasks.
In summary, HP Microsoft Windows Server 2008 R2 stands out due to its scalability, robust virtualization capabilities, advanced remote access solutions, and enhanced security features. It caters to the demands of modern businesses, creating an efficient, secure, and manageable IT infrastructure. For organizations looking for a reliable server operating system, Windows Server 2008 R2 remains a solid choice even in current technological advancements.
